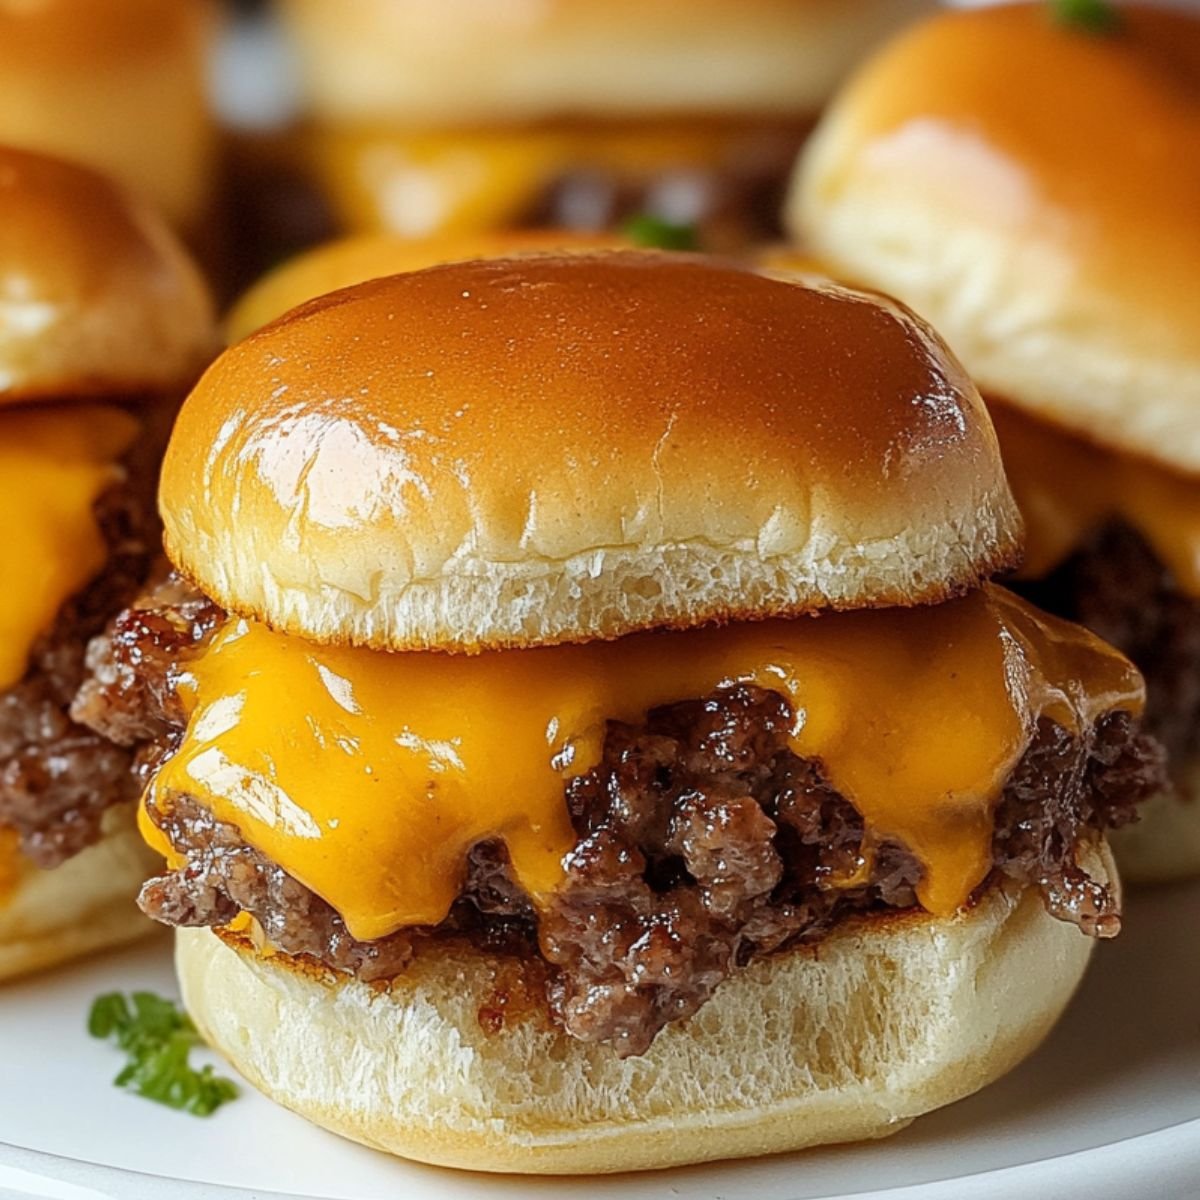
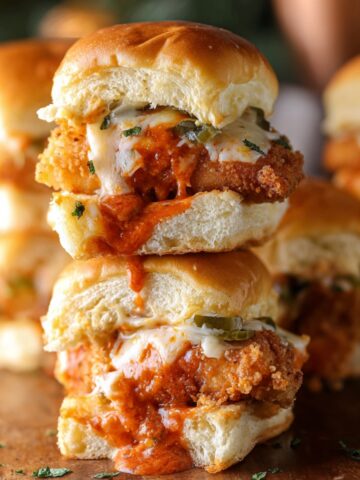
Last Friday, Oliver burst through the kitchen door asking if we could make "tiny burgers" for his soccer team sleepover. After fifteen years of recipe development and countless family gatherings, I knew exactly what he meant - cheeseburger sliders that disappear faster than I can make them. This isn't just another slider recipe; it's the result of feeding hungry kids, testing dozens of cheese combinations, and perfecting the art of mini burgers that actually taste like restaurant quality at home.

Why This Cheeseburger Sliders Works
From years of testing this Cheeseburger Sliders on picky eaters (including Oliver and his soccer teammates), I can tell you exactly why these sliders never fail. The secret lies in building flavor layers - seasoned ground beef, perfectly melted cheese, and that magical sauce combination that keeps everything moist. Oliver's friends have declared these better than any restaurant version, and after making over 200 batches for various events, I've never had leftovers.
What makes these sliders truly special is their make-ahead magic. You can prep everything in advance, and they freeze beautifully for busy weeknights. They reheat perfectly without losing that fresh-made taste, making them always impressive for unexpected guests. Plus, the entire recipe comes together in 30 minutes using simple ingredients you probably already have in your kitchen.
Jump to:
- Why This Cheeseburger Sliders Works
- Cheeseburger Sliders Ingredients
- How To Make Cheeseburger Sliders
- Cheeseburger Sliders Variations
- Substitutions
- Storage Tips For Cheeseburger Sliders
- Equipment For Cheeseburger Sliders
- Why You'll Love This Cheeseburger Sliders
- Top Tip
- My Mother's Secret Worth Sharing
- FAQ
- Ready for Slider Success!
- Related
- Pairing
- Cheeseburger Sliders
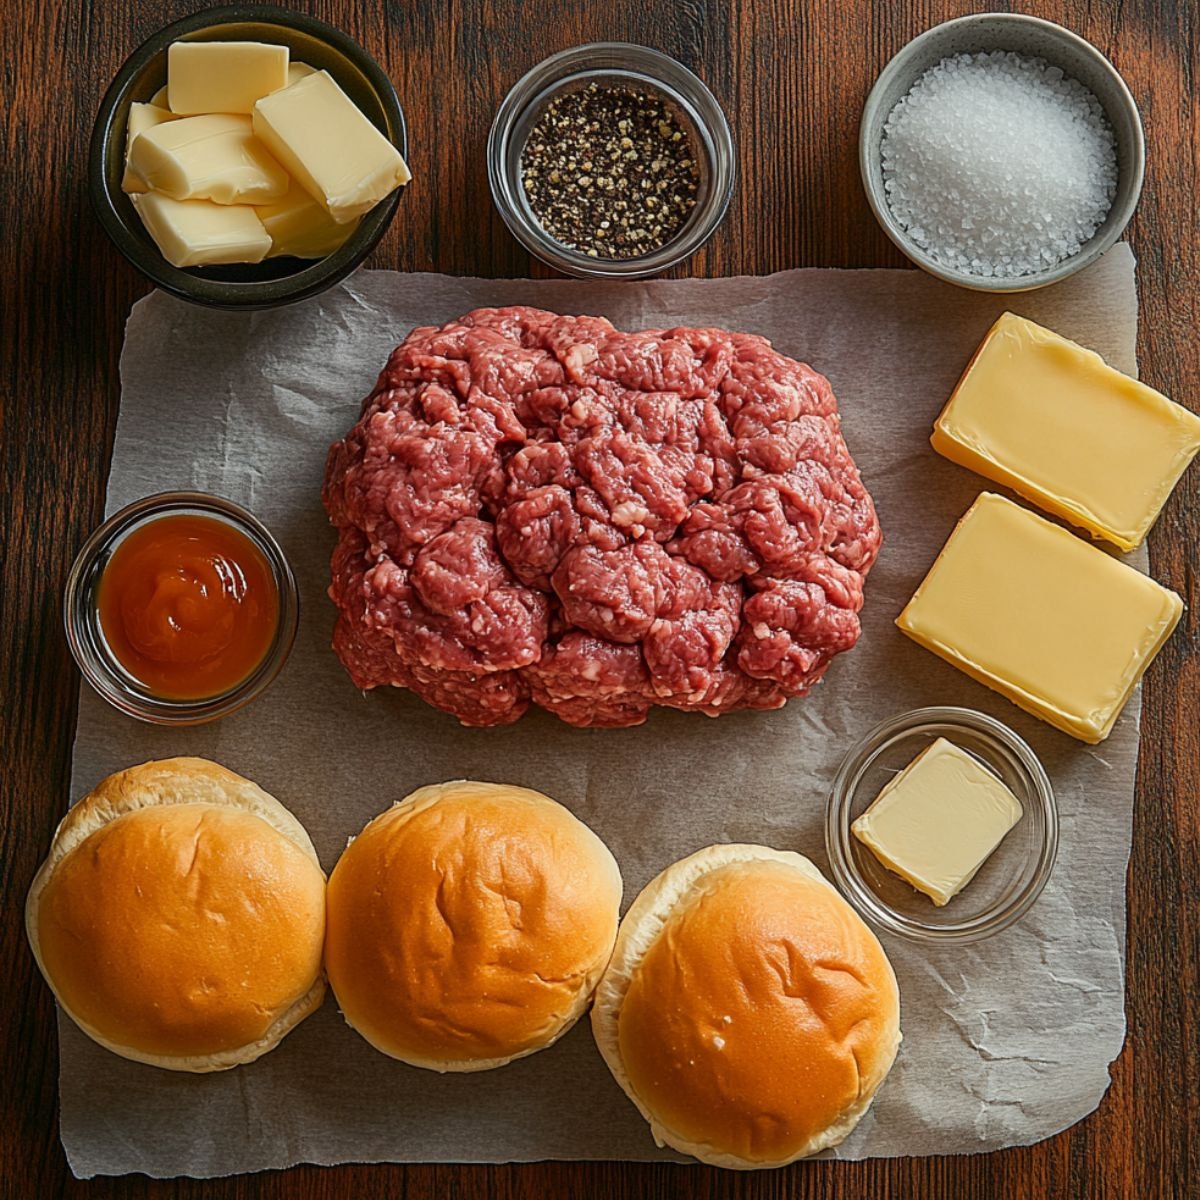
Cheeseburger Sliders Ingredients
The Foundation:
- Ground beef
- Hawaiian rolls
- American cheese slices
- Yellow onion
- Butter
- Worcestershire sauce
- Garlic powder
- Salt and pepper
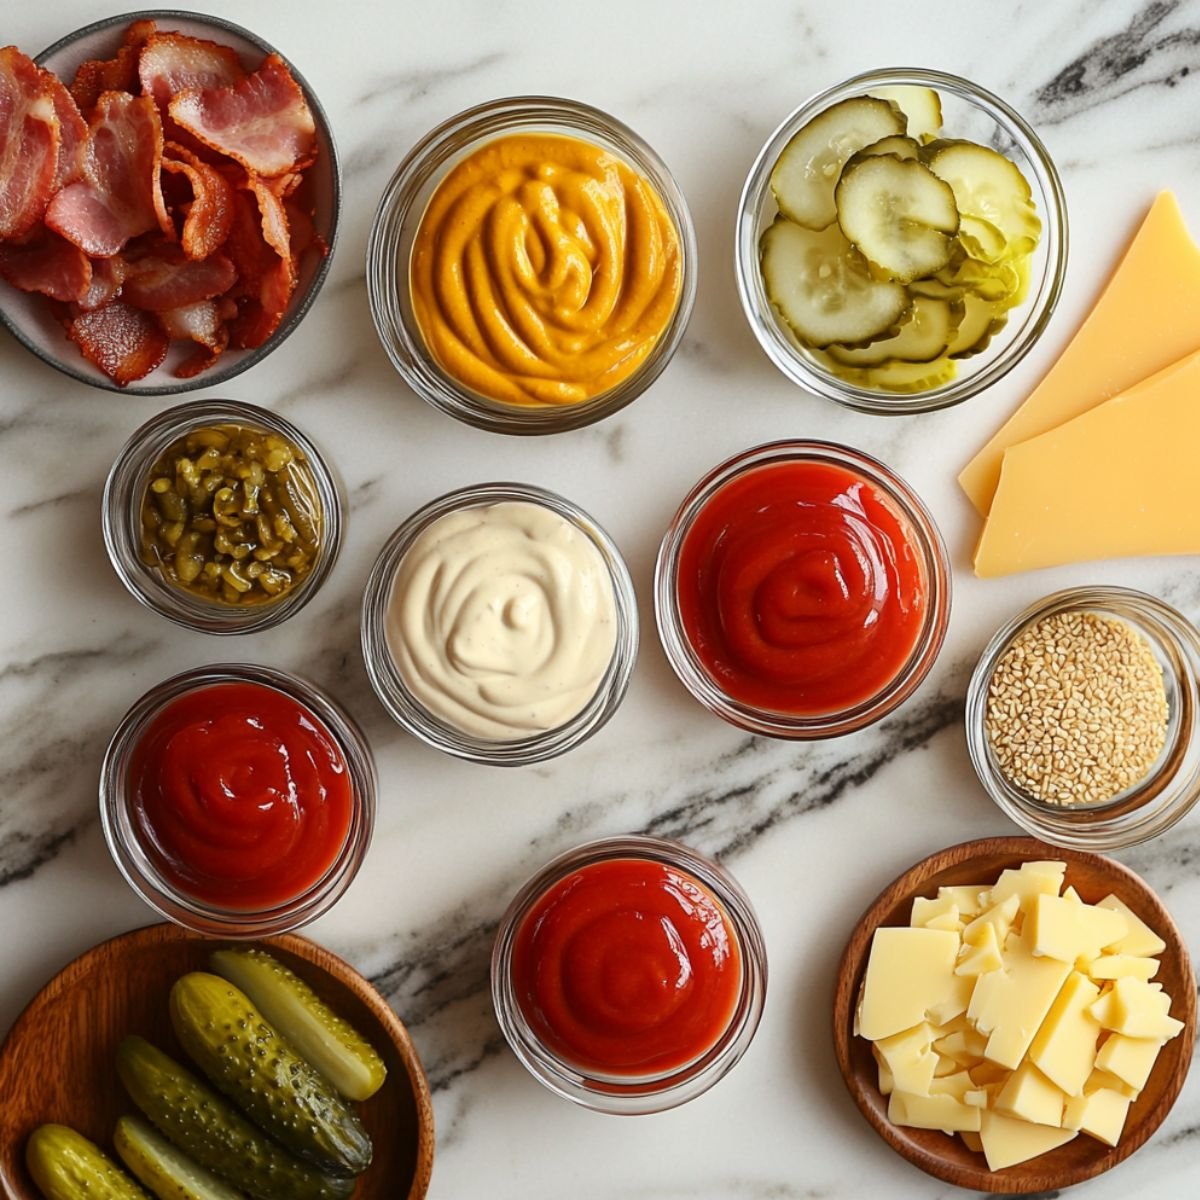
The Magic Sauce:
- Ketchup
- Mayonnaise
- Yellow mustard
- Sweet pickle relish
- Paprika
Optional Boosters:
- Bacon bits
- Dill pickles
- Extra cheese
- Sesame seeds
See recipe card for quantities.
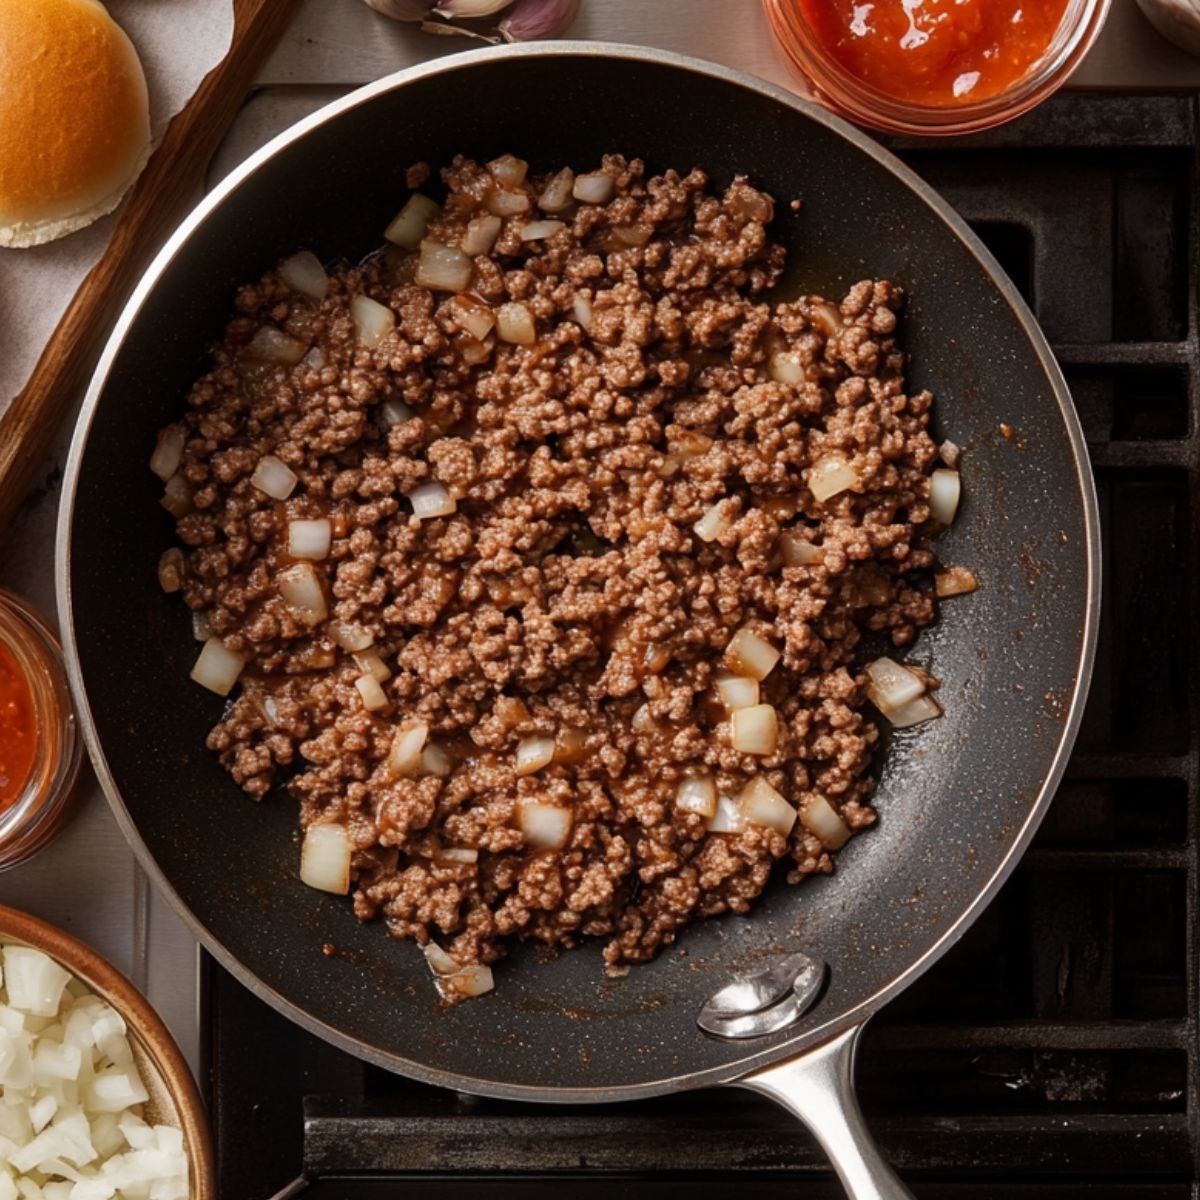
How To Make Cheeseburger Sliders
Prep Stage:
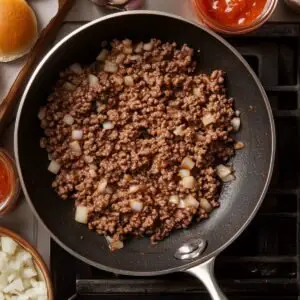
- Brown ground beef with diced onions
- Season with Worcestershire and garlic powder
- Let cool slightly while mixing sauce
- Slice Hawaiian rolls horizontally
Assembly Magic:
- Spread sauce on both roll halves
- Layer seasoned beef on bottom rolls
- Top with cheese slices
- Cover with top halves

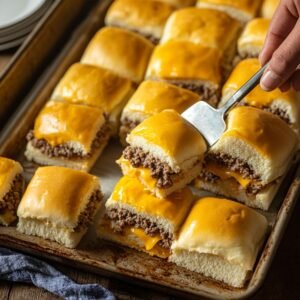
Baking Perfection:
- Brush tops with butter
- Bake at 350°F for 15 minutes
- Check for melted cheese
- Rest 5 minutes before serving
Cheeseburger Sliders Variations
From years of experimenting in our kitchen and listening to Oliver's creative ideas, these variations always impress:
BBQ Bacon Style:
- Add crispy bacon pieces
- BBQ sauce with ranch
- Sharp cheddar cheese
- Crispy fried onions
Pizza Sliders:
- Marinara sauce
- Pepperoni slices
- Mozzarella cheese
- Italian seasoning
Breakfast Versions:
- Scrambled eggs
- Breakfast sausage
- American cheese
- Hash brown side
Tex-Mex Kick:
- Taco seasoning
- Diced jalapeños
- Pepper jack cheese
- Salsa and sour cream
Substitutions
From years of making these for families with different dietary needs, these substitutions work beautifully:
Protein Options:
- Ground turkey → Ground beef
- Plant-based meat → Traditional beef
- Ground chicken → Regular beef
- Turkey bacon → Regular bacon
Bread Choices:
- Dinner rolls → Hawaiian rolls
- Whole wheat rolls → Regular rolls
- Gluten-free buns → Standard rolls
- Brioche rolls → Hawaiian rolls
Cheese Alternatives:
- Cheddar → American cheese
- Swiss → Regular cheese
- Dairy-free → Traditional cheese
- Pepper jack → American
Sauce Swaps:
- Greek yogurt → Mayonnaise
- Avocado → Mayo base
- Sugar-free ketchup → Regular
- Dijon → Yellow mustard
Storage Tips For Cheeseburger Sliders
Counter Storage (2-3 days):
- Cool completely first
- Airtight container works best
- Room temperature only
- Away from heat and sunlight
Make-Ahead Magic:
- Assemble without baking
- Cover and refrigerate overnight
- Bake fresh when ready
- Add 5 extra minutes to cooking time
Freezer Storage (2-3 months):
- Cool completely before freezing
- Wrap individually in foil
- Place in freezer bags
- Label with date clearly
Reheating Tips:
- Oven at 300°F works best
- Cover with foil to prevent drying
- Heat for 10-15 minutes
- Check that cheese melts again
Equipment For Cheeseburger Sliders
- Large skillet
- Sheet pan
- Sharp knife
- Mixing bowls
- Measuring cups/spoons
Why You'll Love This Cheeseburger Sliders
From years of testing this Cheeseburger Sliders on picky eaters (including Oliver and his soccer teammates), I can tell you exactly why these sliders never fail. The secret lies in building flavor layers - seasoned ground beef, perfectly melted cheese, and that magical sauce combination that keeps everything moist. Oliver's friends have declared these better than any restaurant version, and after making over 200 batches for various events, I've never had leftovers.
What makes these sliders truly special is their make-ahead magic. You can prep everything in advance, and they freeze beautifully for busy weeknights. They reheat perfectly without losing that fresh-made taste, making them always impressive for unexpected guests. Plus, the entire recipe comes together in 30 minutes using simple ingredients you probably already have in your kitchen.
Top Tip
- One busy Tuesday, I was rushing to get dinner ready while Oliver "helped" by making his own sauce mixture. He accidentally knocked over the paprika container, dumping way more than I wanted into our usual ketchup-mayo blend. I was about to start over when he convinced me to try it anyway - "Maybe it'll taste like those fries we love, Mom!"
- He was completely right. That extra paprika made a smoky, slightly spicy flavor that changed our ordinary slider sauce into something really special. The paprika didn't just add color - it gave the sauce this great depth that made everyone ask what we put in there. Now we add that extra shake of paprika every time we make these sliders.
- Our other discovery happened by accident too. Oliver was helping press the sliders down before baking and noticed that the ones he pressed gently tasted way better than the ones I pressed hard. Turns out, a light touch keeps the buns soft and fluffy instead of dense and tough.
My Mother's Secret Worth Sharing
My mother found something great about cheeseburger sliders back when I was Oliver's age. She was making them for my little league team, and instead of just using regular ground beef, she would save all the drippings from cooking bacon throughout the week in a small jar in the fridge. When it came time to make sliders, she'd use those bacon drippings to cook the ground beef.
The result was amazing - every bite had this deep, smoky flavor that made our sliders taste totally different from anyone else's. The bacon fat gave the meat this rich taste that regular oil or butter just couldn't do. But her real trick was adding a tiny splash of pickle juice to the beef while it cooked. "It makes everything taste better," she'd say as she stirred it in.
Years later, when I started making these for Oliver and his friends, I remembered Mom's method. That little bit of pickle juice doesn't make the sliders taste like pickles - it just adds this nice tang that makes all the other flavors stand out more. Now Oliver helps me save our bacon drippings each week, and he always gets to add the pickle juice splash. Some of the best cooking tricks get passed down through generations of busy weeknight dinners.
FAQ
What should I serve cheeseburger sliders with?
These pair perfectly with classic sides like crispy french fries, onion rings, or coleslaw. For family gatherings, I love serving them with baked sweet potato fries and a simple green salad. Oliver's favorite combo is sliders with kettle chips and watermelon - the sweet fruit balances the rich, savory flavors beautifully.
Can I make these ahead of time?
Absolutely! Assemble the sliders completely but don't bake them. Cover tightly and refrigerate for up to 24 hours. When ready to serve, add 5-10 minutes to the baking time since they're starting cold. This make-ahead trick saves so much stress during busy entertaining.
How should I reheat the sliders?
For best results, reheat in a 300°F oven for 8-10 minutes until warmed through. Avoid the microwave if possible - it makes the Hawaiian rolls soggy. If you must microwave, wrap each slider in a damp paper towel and heat for 30-45 seconds maximum.
Can I freeze cheeseburger sliders?
These freeze well for up to 2 months when properly wrapped. Cool completely, wrap individually in foil, then place in freezer bags. Thaw overnight in the refrigerator before reheating. The texture stays surprisingly good, though fresh is always best for optimal flavor and cheese melt.
Ready for Slider Success!
What I love most about this Cheeseburger Sliders is how it brings families together. Oliver always invites his friends over when he knows we're making sliders, and watching a bunch of hungry kids devour these in minutes never gets old. There's something about the combination of sweet Hawaiian rolls, perfectly seasoned beef, and that special sauce that just works every single time. Even the pickiest eaters in our neighborhood ask for seconds.
Want more family favorites that everyone will love? Try our Best Tortellini Pasta Salad Recipe that's great for potlucks and picnics - it's another one of those recipes that disappears fast. Looking for something fresh and tasty? Our Best Margarita Pizza Recipe brings restaurant taste right to your kitchen without the expensive price tag. Need another crowd-pleasing dinner that's just as easy? Our Easy Chicken Enchilada Casserole has cheesy, comforting goodness that makes even the busiest weeknights feel special.
Share your slider success! We love seeing your family creations and hearing about your own kitchen discoveries!
Rate this Cheeseburger Sliders and join our cooking community!
Related
Looking for other recipes like this? Try these:

Pairing
These are my favorite dishes to serve with Cheeseburger Sliders

Cheeseburger Sliders
Equipment
- Large skillet (For browning beef)
- Sheet pan (For baking sliders)
- Sharp knife (For slicing rolls)
- Mixing bowls (One for beef, one for sauce)
- Measuring cups/spoons (For seasoning, sauce)
Ingredients
Sliders Base:
- 1 lb Ground beef - Use 80/20 for best flavor
- 1 pack Hawaiian rolls - 12-count slider rolls
- 6 slices American cheese - Halved to cover evenly
- 1 small Yellow onion - Finely diced
- 1 tablespoon Butter - Melted, for brushing tops
- 1 tablespoon Worcestershire sauce - For beef flavor depth
- 1 teaspoon Garlic powder
- Salt & pepper - To taste
Magic Sauce:
- 3 tablespoon Ketchup
- 2 tablespoon Mayonnaise
- 1 tablespoon Yellow mustard
- 1 tablespoon Sweet pickle relish
- ½ teaspoon Paprika - More if desired
Optional Boosters:
- ¼ cup Bacon bits - For extra richness
- 12 slices Dill pickles - Inside each slider
- 3 slices Extra cheese - For double layer
- 1 tablespoon Sesame seeds - For bun tops
Instructions
- Heat skillet over medium. Cook beef and diced onion until browned. Drain fat. Add seasoning.

- In a small bowl, stir ketchup, mayo, mustard, relish, and paprika until smooth.
- Slice entire Hawaiian roll pack horizontally. Place bottom half on a sheet pan.
- Spread sauce on both halves. Layer beef, cheese, and optional toppings.
- Brush buns with melted butter. Bake at 350°F for 15 min until cheese is melted.
- Let sliders cool 5 minutes. Slice and serve warm.

Leave a Reply