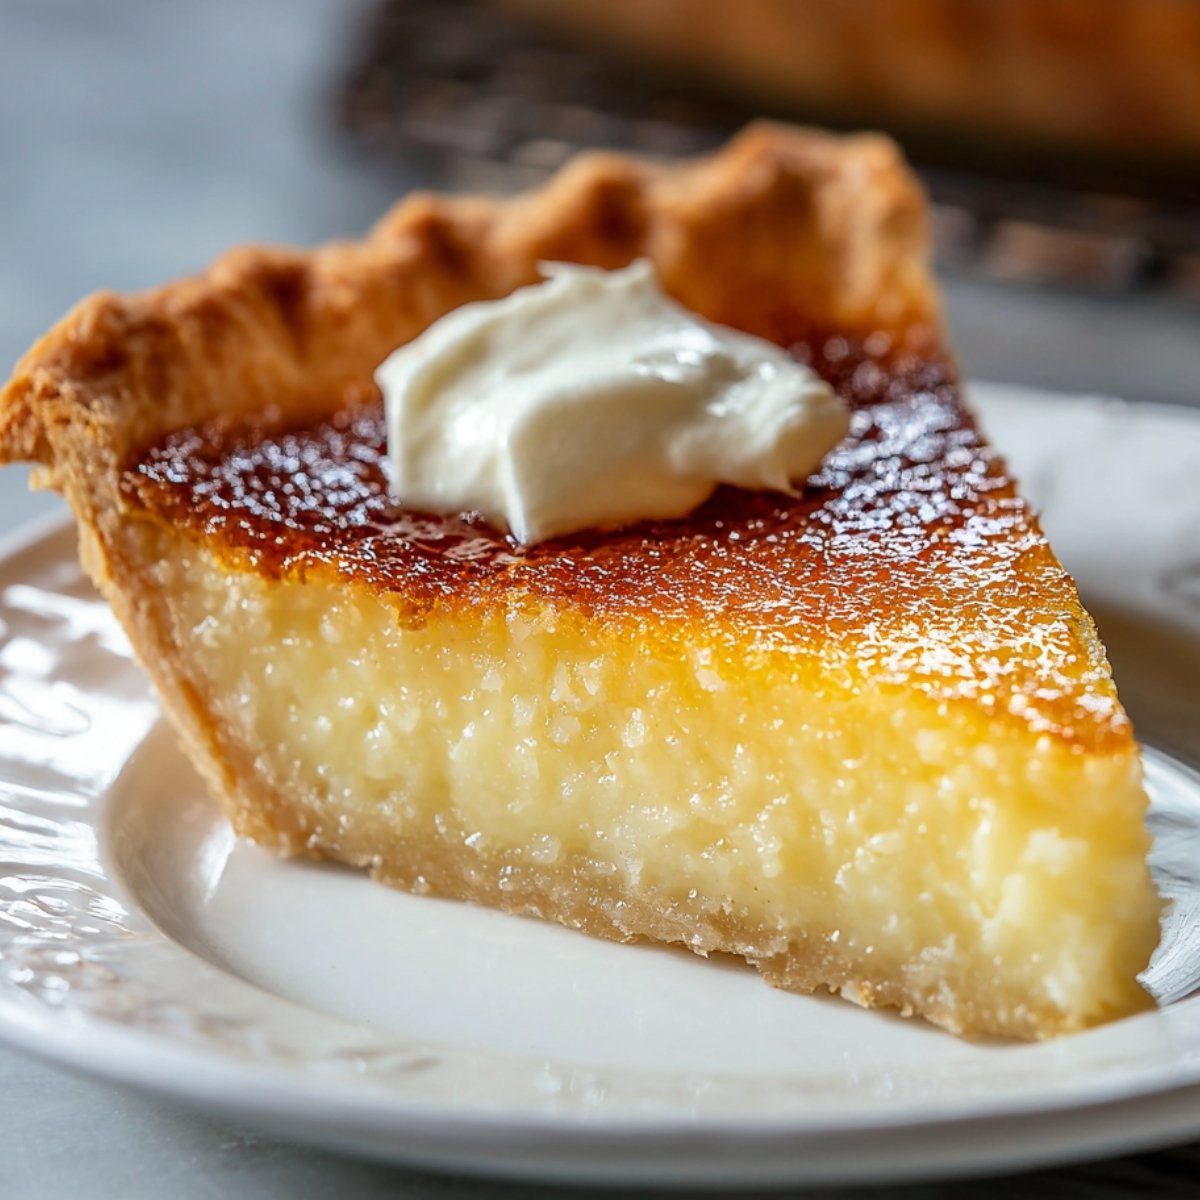
Last Sunday, I pulled this buttermilk pie from the oven and watched the filling settle into that perfect creamy custard texture my grandmother always talked about. Oliver peeked over the counter, drawn by that sweet vanilla aroma mixed with a hint of tang, and asked if we could skip straight to dessert. After 15 years of baking Southern classics and teaching pie techniques in my cooking workshops, I've learned that the simplest recipes often create the most memorable moments. This old-fashioned pie delivers that silky, custard-like filling with just a handful of pantry staples - no fancy ingredients or complicated steps required.

Why You'll Love This Buttermilk Pie
This buttermilk pie became my go-to dessert after countless family gatherings and bake sales proved its universal appeal. Everyone from picky kids to critical grandmothers asks for seconds, and the ingredient list is so simple you probably have everything in your pantry right now. Unlike fussy desserts that require special trips to specialty stores or advanced pastry skills, this homemade pie comes together quickly with basic baking knowledge.
What makes this southern buttermilk pie truly special is its versatility and forgiving nature. The filling is smooth and creamy with that distinctive tangy sweetness from the buttermilk, while the top develops a delicate golden crust during baking. Oliver initially wrinkled his nose at the name "buttermilk," but after one bite of that silky custard, he declared it his favorite pie - yes, even beating out chocolate. The texture sits somewhere between chess pie and custard pie, with a richness that satisfies without feeling heavy. After years of testing variations, this version balances sweetness perfectly with that characteristic buttermilk tang that makes every bite interesting.
Jump to:
Buttermilk Pie Ingredients
The Foundation:
- 1½ cups granulated sugar
- ½ cup unsalted butter, melted
- 3 large eggs, room temperature
- 1 cup buttermilk
- 3 tablespoons all-purpose flour
- 1 tablespoon fresh lemon juice
- 1 teaspoon pure vanilla extract
- ¼ teaspoon salt
The Base:
- 1 unbaked 9-inch pie crust
Optional Enhancements:
- ½ teaspoon nutmeg, freshly grated
- 1 teaspoon lemon zest
- ¼ teaspoon almond extract
How To Make Perfect Buttermilk Pie
Step 1: Prepare Your Foundation
Start by preheating your oven to 350°F and placing your unbaked pie crust in a 9-inch pie dish. If using store-bought, let it sit at room temperature for about 10 minutes so it's pliable. Crimp the edges decoratively if you like - I always do because presentation matters, even for simple desserts. Prick the bottom of the crust lightly with a fork in a few places to prevent bubbling. This prep work takes just minutes but sets you up for success with this easy pie recipe.
Step 2: Mix the Sweet Base
In a large mixing bowl, whisk together your sugar and melted butter until well combined and slightly cooled - you don't want it hot enough to cook the eggs when you add them. This is where technique matters for this buttermilk dessert. The mixture should look smooth and glossy, with the sugar starting to dissolve into the butter. Take your time here because proper incorporation at this stage prevents a grainy texture in your finished custard pie filling.
Step 3: Add Eggs and Buttermilk
Beat in your room temperature eggs one at a time, whisking well after each addition until the mixture is smooth and pale yellow. Pour in the buttermilk and whisk until everything is perfectly combined. Add your flour, lemon juice, vanilla extract, and salt, then whisk until the batter is silky smooth with no lumps. The flour helps stabilize the custard while the lemon juice enhances that characteristic tang. This is what creates that signature rich pie filling texture in authentic southern buttermilk pie.
Step 4: Bake to Golden Perfection
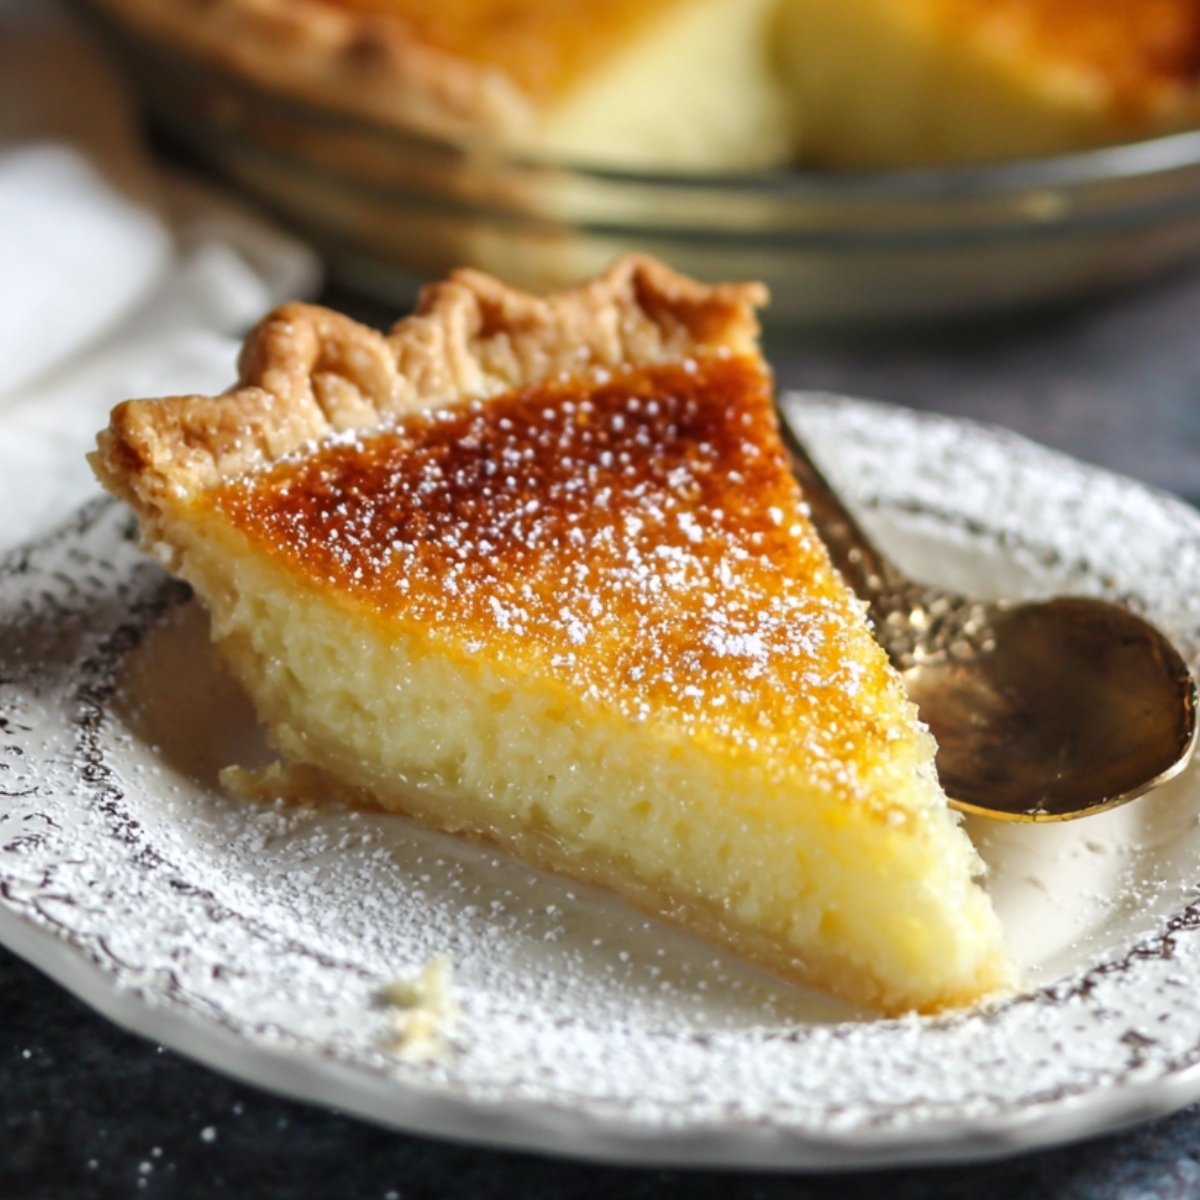
Pour your smooth filling into the prepared pie crust - it will look quite liquid, but don't worry, that's normal. Carefully transfer to your preheated oven and bake for 50-55 minutes. The pie is done when the edges are set and golden but the center still has a slight jiggle when you gently shake the pan. That jiggle is important - it means you'll have creamy, custard-like filling rather than a rubbery texture. The top will develop a beautiful golden color and may crack slightly, which is completely normal and traditional for this classic pie.
Step 5: Cool and Set Properly
This is the hardest part but crucial - let your buttermilk pie cool completely on a wire rack for at least 2 hours before slicing. I know it's tempting when your kitchen smells like vanilla and butter, but cutting too early means runny filling. The pie continues setting as it cools, transforming from that jiggly custard into the perfect sliceable texture. Once cooled to room temperature, refrigerate for at least 2 hours before serving. This final chill gives you those clean slices that look bakery-perfect.
Buttermilk Pie Variations
Lemon Buttermilk Pie
- Add 2 tablespoons fresh lemon zest to the filling mixture
- Increase lemon juice to 3 tablespoons for extra brightness
- Top with sweetened whipped cream and candied lemon peel
- Creates refreshing twist perfect for spring and summer gatherings
Chocolate Buttermilk Pie
- Melt 4 ounces semi-sweet chocolate with the butter
- Reduce sugar to 1¼ cups to balance chocolate sweetness
- Add 2 tablespoons cocoa powder for deeper chocolate flavor
- Transforms traditional recipe into decadent chocolate lover's dream
Coconut Buttermilk Pie
- Stir in 1 cup sweetened shredded coconut to filling
- Add ½ teaspoon coconut extract with vanilla
- Toast extra coconut to sprinkle on top before serving
- Brings tropical flair to this classic southern buttermilk pie
Spiced Buttermilk Pie
- Add 1 teaspoon cinnamon and ½ teaspoon nutmeg to filling
- Include ¼ teaspoon cardamom for warm spice notes
- Serve with cinnamon whipped cream for extra indulgence
- Perfect for fall holidays when you want cozy dessert flavors
Substitutions
Dairy Alternatives:
- Buttermilk → Plain yogurt thinned with milk (¾ cup yogurt + ¼ cup milk)
- Butter → Coconut oil (slightly different flavor but works)
- Regular buttermilk → Low-fat buttermilk (lighter texture)
Sweetener Options:
- White sugar → Half white, half brown sugar (deeper flavor)
- Granulated → Coconut sugar (caramel notes)
- Regular → Reduced to 1¼ cups for less sweet version
Crust Choices:
- Traditional pie crust → Graham cracker crust (no-bake option)
- Butter crust → Shortening crust (flakier texture)
- Regular → Gluten-free pie crust
Equipment For Buttermilk Pie
- 9-inch glass or ceramic pie dish (even heat distribution)
- Large mixing bowl (at least 3 quarts)
- Balloon whisk (better than electric mixer for this)
- Liquid measuring cup (for accurate buttermilk measurement)
Storage Tips
Based on professional kitchen experience and Southern baking traditions:
Best Fresh
- Serve at room temperature or slightly chilled for optimal flavor
- The custard texture is creamiest within first 2 days of baking
- That delicate vanilla aroma is strongest when pie is freshly made
- Whipped cream or vanilla ice cream complement the tangy sweetness perfectly
Refrigerator Storage
- Cover loosely with plastic wrap or pie dome to prevent absorbing odors
- Store in refrigerator for up to 4 days maximum
- Bring to room temperature 30 minutes before serving for best flavor
- The filling firms up more each day making slicing easier but texture denser
Serving Suggestions
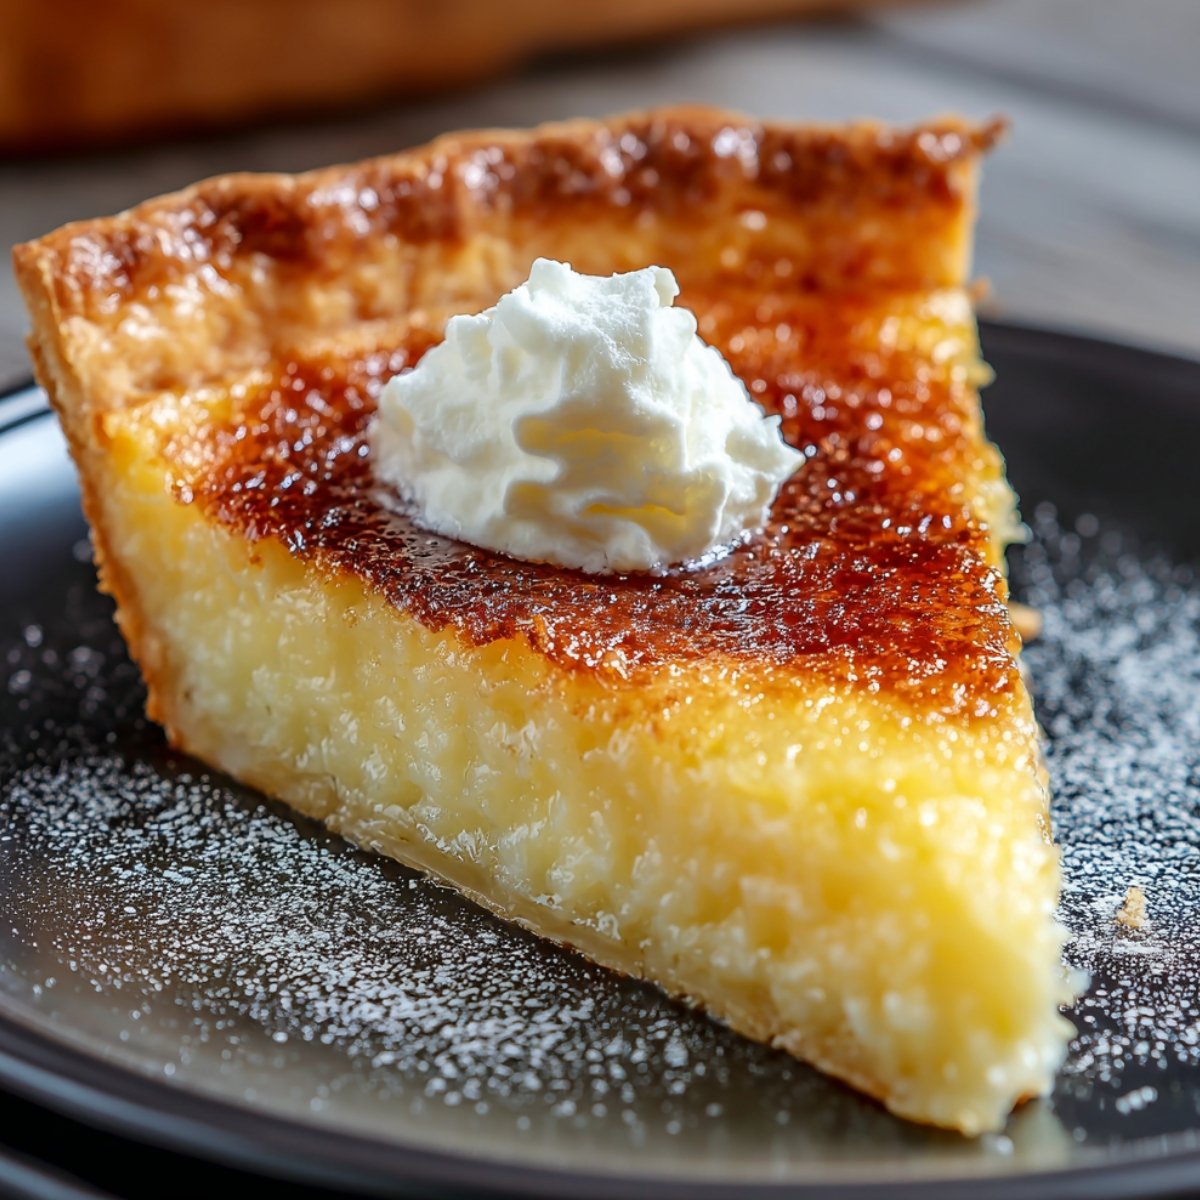
- Dust with powdered sugar just before serving for elegant presentation
- Top with fresh berries during summer for color and freshness
- Dollop of sweetened whipped cream balances the tangy filling perfectly
- Serve with strong coffee or sweet tea for authentic Southern experience
Top Tip
- Mix Gently for Silky Texture The biggest mistake I see home bakers make with this buttermilk custard is overmixing. You want to whisk just until the ingredients are combined and smooth - aggressive beating incorporates too much air, creating bubbles that mar that beautiful golden surface. After the eggs go in, switch to gentle folding motions. This is a custard pie, not a cake, so you're not trying to add volume. That smooth, silky filling comes from careful, deliberate mixing, not vigorous beating.
- Watch for the Jiggle Learning to recognize the perfect doneness took me years of baking this southern buttermilk pie. The edges should be set and slightly puffed, with a light golden color across the top. But here's the crucial part - the center should still jiggle like Jell-O when you gently shake the pan. It feels wrong pulling a "not quite done" pie from the oven, but trust the process. That jiggly center sets perfectly as it cools, giving you creamy custard instead of rubbery filling.
FAQ
What is a buttermilk pie made of?
Buttermilk pie is made from simple pantry staples - sugar, butter, eggs, buttermilk, flour, vanilla, and lemon juice baked in a pie crust. The magic happens when these ingredients combine into a smooth custard filling during baking. The buttermilk provides that signature tangy flavor while creating a creamy texture similar to custard pie but with more character and depth.
What's the difference between a chess pie and a buttermilk pie?
While both are Southern custard pies, chess pie typically uses milk or cream and includes cornmeal for texture, creating a denser, sweeter filling. Buttermilk pie uses buttermilk instead, which gives it a lighter, tangier flavor profile and smoother texture. Chess pie often has that characteristic crackly top, while southern buttermilk pie develops a more subtle golden crust.
Do you eat buttermilk pie warm or cold?
Buttermilk pie tastes best served at room temperature or slightly chilled. While it's tempting to dig in when warm, the filling needs time to fully set for proper slicing. Most Southern bakers serve this classic pie chilled from the refrigerator, then let it sit 20-30 minutes before serving so the flavors can fully develop and the custard reaches ideal creamy consistency.
What is the origin of the buttermilk pie?
Buttermilk pie originated in the American South during the 19th century when resourceful home bakers created desserts from readily available ingredients. After churning butter, leftover buttermilk became the base for this simple dessert that required no expensive ingredients or special techniques. This old-fashioned pie remains a Southern classic, passed down through generations as a testament to creative, economical baking.
Your Perfect Southern Dessert Awaits!
You now have my professional techniques for creating silky-smooth buttermilk pie that tastes like generations of Southern baking wisdom. This easy pie recipe proves that the best desserts often come from the simplest ingredients and time-tested methods.
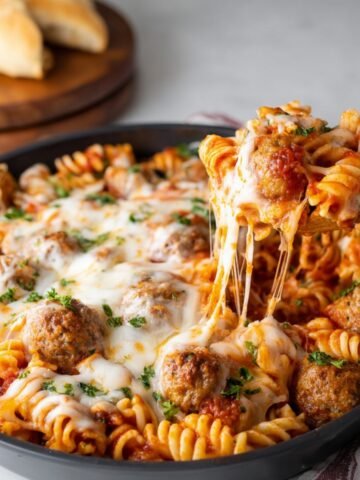
Craving more comfort food classics? Our Best Crock Pot Pork Chops Recipe delivers tender, juicy chops with minimal effort. Need something lighter and fresh? Try our Healthy Orzo Vegetable Soup Recipe for a satisfying one-pot meal. For another tangy-sweet dessert treat, our Classic Lemon Bars Recipe offers that same bright flavor in a handheld square!
Share your pie success! Tag @SarahAndoliverKitchen and #SouthernBaking. We celebrate every homemade dessert win!
⭐⭐⭐⭐⭐ Rate this recipe and join our baking community!
Related
Looking for other recipes like this? Try these:


Pairing
These are my favorite dishes to serve with Buttermilk Pie


Buttermilk Pie
Equipment
- 9-inch pie dish (Glass or ceramic recommended)
- Large mixing bowl (at least 3 quarts)
- Balloon whisk
- Liquid measuring cup
Ingredients
- 1½ cups Granulated Sugar
- ½ cup Unsalted Butter
- 3 Large Eggs - room temperature
- 1 cup Buttermilk
- 3 tablespoon All-purpose Flour
- 1 tablespoon Fresh Lemon Juice
- 1 teaspoon Pure
- ¼ teaspoon Salt Salt
- 1 9- inch Unbaked Pie Crust - Store-bought or homemade
Instructions
- Preheat oven to 350°F. Place your unbaked pie crust in a 9-inch pie dish, crimp the edges, and prick the bottom with a fork.
- In a large bowl, whisk together sugar and melted butter. Whisk until smooth and glossy.
- Beat in eggs one at a time, then whisk in buttermilk, flour, lemon juice, vanilla, and salt until smooth.
- Pour the filling into the prepared crust. Bake for 50-55 minutes, or until the edges are set and golden but the center is still jiggly.
- Let pie cool completely for 2 hours before refrigerating. Chill for at least 2 hours before slicing.
Leave a Reply