These mini fruit galettes are buttery, flaky, individual hand pies with jammy fruit centers peeking through golden, crinkled edges. I started making them the summer my sister Lina brought over a huge basket of mixed berries from the farmers market, and now they're my favorite dessert when I want something that looks fancy but comes together easier than a full pie. The crust gets so crisp and tender, and each little galette is just the right size for one person.


If you love easy, impressive desserts, you might also enjoy my Lemon Swiss Roll Recipe or these Magic Cookie Bars.
What Are Mini Fruit Galettes?
A Mini Fruit Galettes is a free-form, rustic fruit tart made by folding pie dough around a simple filling. Unlike a traditional pie, there's no pie pan, no crimping, and no perfect edges required. These mini versions are even easier since you're working with smaller rounds of dough, making them great for parties, potlucks, or when you just want a single-serving dessert that feels special.
Jump to:
- What Are Mini Fruit Galettes?
- Mini Fruit Galettes Ingredients
- How to Make Mini Fruit Galettes
- Ingredient Substitutions and Variations
- Equipment For Mini Fruit Galettes
- How to Store Mini Fruit Galettes
- Serving Suggestions
- Expert Tips
- Why You'll Love These Mini Fruit Galettes
- FAQ
- Related
- Pairing
- Mini Fruit Galettes
Mini Fruit Galettes Ingredients
Here's everything you'll need to make these homemade Mini Fruit Galettes:
See Recipe Card Below This Post For ingtedient Quantites
- Flaky Pie Crust or All Butter Pie Crust dough: You'll need enough dough for two crusts. Homemade works best, but store-bought will do in a pinch. Make sure it's well chilled before you start rolling.
- Mixed berries or other fruit : Blueberries, raspberries, strawberries, or blackberries all work beautifully. You can also use sliced peaches, plums, or cherries.
- Cornstarch : Thickens the fruit juices so your galettes don't get soggy.
- Granulated sugar : Sweetens the filling just enough without overpowering the fruit.
- Lemon juice or vanilla extract : Adds brightness and balances the sweetness.
- Whole milk : Brushed on the crust to help it brown and gives it a lovely golden finish.
- Optional topping: Coarse sugar and chopped or sliced nuts add extra crunch and sweetness.
How to Make Mini Fruit Galettes
Here's how to put together these beautiful rustic fruit tarts step by step.
Prepare the pie dough: Make sure your pie dough is already made and has been chilling in the fridge for at least 2 hours, or overnight if possible. Cold dough is key for a flaky crust.
Prepare baking sheets: Line two large baking sheets with parchment paper or silicone mats. Clear some space in your fridge since you'll need to chill the shaped galettes later.
Make the filling: In a medium bowl, gently toss the berries with the cornstarch, sugar, and lemon juice or vanilla until everything is coated. Pop the bowl in the fridge while you work on the dough.

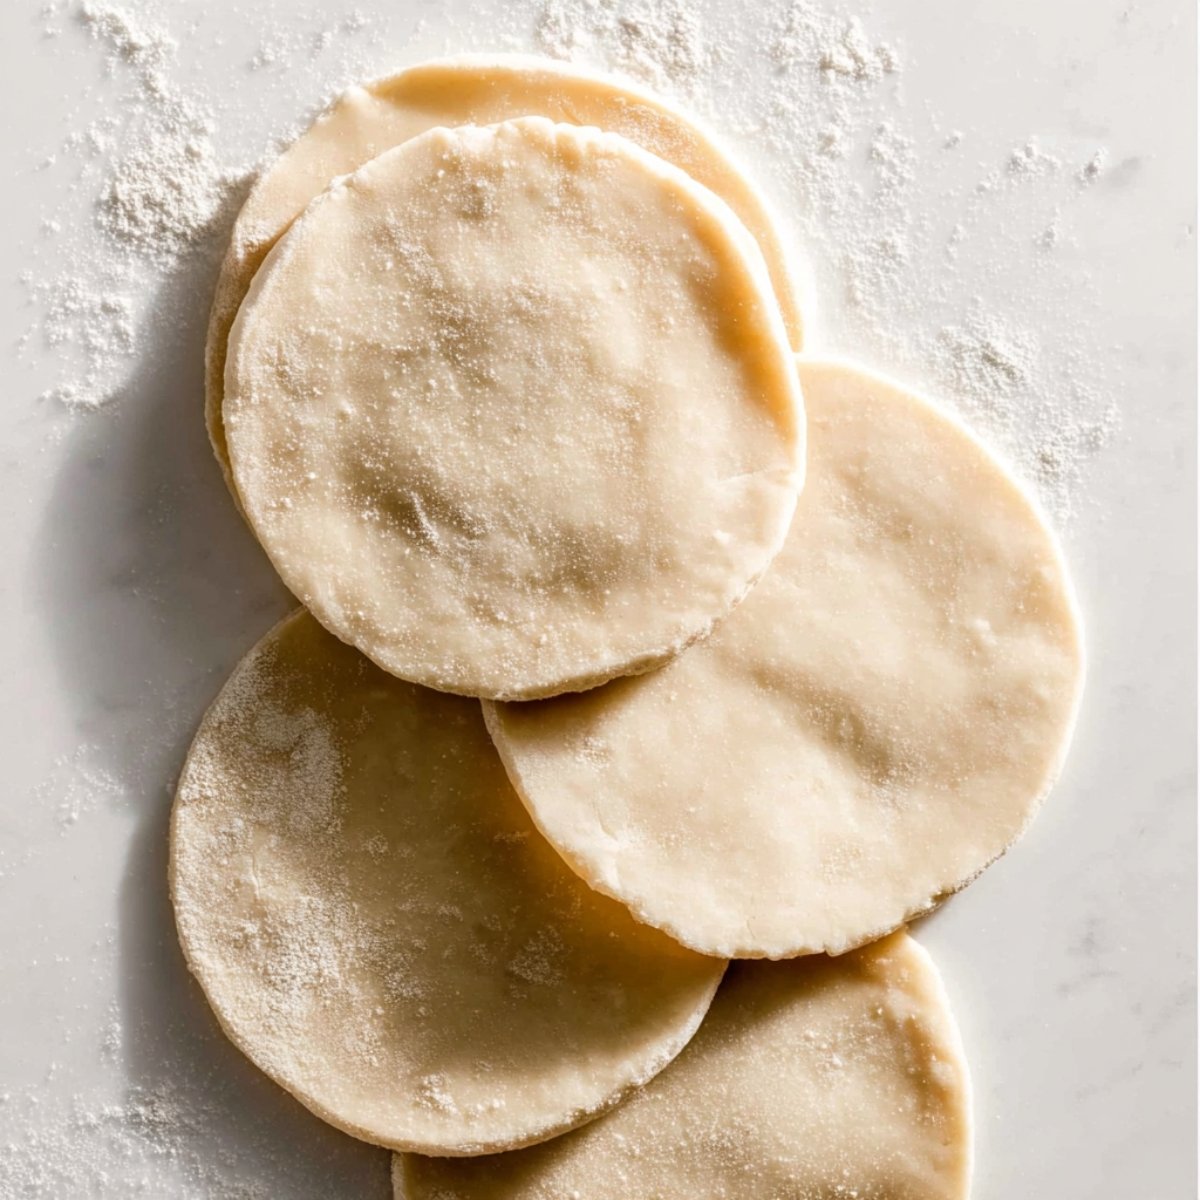
Shape the crusts: Working with one chilled dough at a time, place it on a lightly floured surface and roll it into a 12-inch circle. Use a 5.5 to 6-inch round cutter or the rim of a bowl to cut out rounds. Re-roll the scraps and cut more circles, but work quickly since the dough softens at room temperature. You should get about 5 rounds per crust, or 10 total.
Fill the galettes: Place the dough rounds on your prepared baking sheets. Spoon about ¼ cup of filling into the center of each round, leaving any excess juice in the bowl. Fold the edges of the dough up and over the filling, pleating as you go and leaving the center exposed. Press the folds gently so they hold their shape.
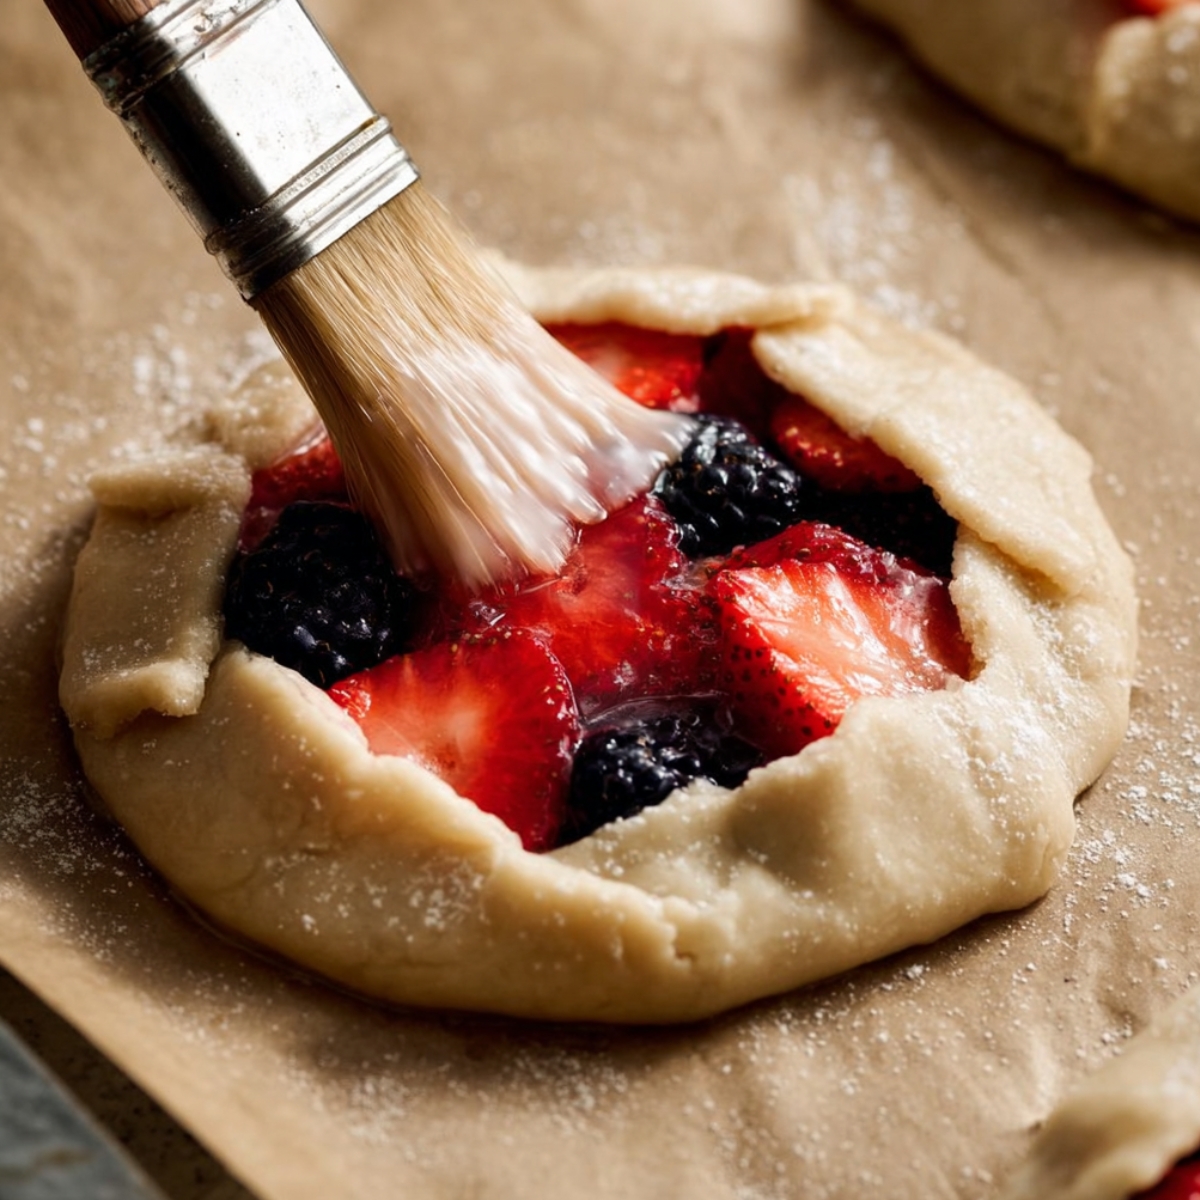
Brush and top: Brush the edges of the dough with milk. If you like, sprinkle coarse sugar or chopped nuts on top for extra flavor and crunch.
Chill: Slide the baking sheets into the fridge and chill the shaped galettes for at least 20 minutes, or up to 4 hours. This helps the dough stay flaky and prevents spreading.
Preheat oven: Heat your oven to 375°F (191°C).
Bake: Bake the chilled galettes for 26 to 28 minutes, or until the edges are golden brown and the fruit is bubbling.
Cool and serve: Let the galettes cool on the baking sheet for at least 5 minutes before serving. Enjoy them warm or at room temperature, plain or with a scoop of vanilla ice cream or a dollop of whipped cream.
Store: Cover leftover galettes and store them in the fridge for up to 5 days. Reheat gently in the oven if you want to crisp them up again.
Ingredient Substitutions and Variations
Fruit: Swap in peaches, plums, cherries, apricots, or a mix of whatever's in season. Frozen fruit works too, but thaw and drain it first.
Sweetener: Use brown sugar or coconut sugar instead of granulated for a deeper flavor.
Dairy-free: Brush the crust with melted coconut oil or a plant-based milk instead of whole milk.
Gluten-free: Use a gluten-free pie crust recipe or store-bought gluten-free dough.
Equipment For Mini Fruit Galettes
- Baking sheets
- Parchment paper or silicone baking mats
- Mixing bowl
- Rolling pin
- Pastry brush
- 5.5 to 6-inch round cutter or bowl
- Knife or ruler
How to Store Mini Fruit Galettes
Cover cooled galettes and store them in the fridge for up to 5 days. To reheat, place them on a baking sheet in a 350°F oven for about 8 to 10 minutes, until the crust crisps up again. You can also freeze baked galettes for up to 2 months. Wrap them individually in plastic wrap and foil, then thaw in the fridge overnight before reheating.
Serving Suggestions
Serve these warm with a scoop of vanilla ice cream melting over the top. They're also lovely at room temperature with a dollop of whipped cream or a drizzle of honey. Pair them with hot coffee or iced tea for an afternoon treat, or set them out on a platter for brunch or a backyard gathering.
Expert Tips
- Keep the dough cold. If it starts to soften while you're rolling or cutting, pop it back in the fridge for a few minutes.
- Don't overfill. Too much filling will leak out during baking. About ¼ cup per galette is just right.
- Leave the juice behind. Scoop the fruit out of the bowl and leave the extra liquid. This keeps the crust from getting soggy.
- Chill before baking. This step isn't optional. Chilling helps the dough hold its shape and bake up flaky.
- Watch the edges. If the crust is browning too quickly, tent the Mini Fruit Galettes loosely with foil for the last few minutes of baking.
Why You'll Love These Mini Fruit Galettes
These individual Mini Fruit Galettes are everything you want in a summer dessert. The flaky pie crust bakes up golden and tender, with buttery layers that shatter when you bite in. The fruit filling stays juicy and bright, and you can use any berries or stone fruit you have on hand. They're easier to make than a full pie, but they look bakery-quality when you pull them out of the oven. Plus, everyone gets their own little tart, which makes serving a breeze. If you're a fan of handheld desserts, try my Twix Cookie Cups or Butterfinger Balls next.
FAQ
What is the best fruit to use in a galette?
Berries are classic, but stone fruits like peaches, plums, and cherries work beautifully too. Use whatever's ripe and in season for the best flavor. My daughter loves blueberries, so we use those most often.
Is galette dough the same as pie dough?
Yes, galette dough is just pie dough. You can use any flaky or all-butter pie crust Mini Fruit Galettes you like. The difference is in how it's shaped, not the dough itself.
How do you keep the bottom of a galette from getting soggy?
Make sure to drain off excess juice from the fruit filling before adding it to the dough. Chilling the shaped Mini Fruit Galettes before baking also helps the crust stay crisp.
What pastry is best for galette?
A buttery, flaky pie crust is ideal. You want something tender but sturdy enough to hold the filling. Avoid puff pastry unless you're going for a different texture, though it can work in a pinch.
Related
Looking for other recipes like this? Try these:


Pairing
These are my favorite dishes to serve with Mini Fruit Galettes


Mini Fruit Galettes
Ingredients
- 2 full pie crust dough discs well-chilled and ready to roll
- 3 cups mixed fruit or berries washed, dried and cut into small pieces
- 1 ¼ tablespoons cornstarch for thickening the juices
- 2 ½ tablespoons granulated sugar adjust to fruit sweetness
- 1 ¼ teaspoons lemon juice or vanilla extract for brightness or aroma
- 2 ½ tablespoons whole milk for brushing the crust edges
- 2 tablespoons coarse sugar or chopped nuts optional for crunchy topping
Instructions
- Prepare the pie dough ahead of time and keep it chilled in the refrigerator until you are ready to work with it.
- Line two large baking sheets with parchment paper or silicone mats and clear space in the refrigerator for them later.
- Combine the fruit, cornstarch, sugar, and lemon juice or vanilla in a bowl and stir gently until everything is evenly coated, then refrigerate the mixture.
- Place one chilled dough disc on a floured surface, roll it into a large circle, and patch any cracked edges with your fingers.
- Cut the dough into 5.5-6 inch rounds, re-rolling scraps as needed, and repeat with the second dough disc to make about 12 circles total.
- Arrange the dough circles on the prepared baking sheets and spoon about ¼ cup of fruit filling into the center of each, leaving excess liquid behind.
- Fold the edges of each circle snugly over the fruit, leaving the center exposed and shaping them into compact little galettes.
- Brush the exposed dough edges with milk and, if you like, sprinkle with coarse sugar or chopped nuts.
- Place the shaped galettes in the refrigerator and chill for at least 20 minutes while you preheat the oven to 375°F (191°C).
- Bake the chilled galettes until the crust is lightly golden and the filling is bubbling, about 25-30 minutes.
- Remove from the oven and let them cool for at least 5 minutes before serving warm or at room temperature.
Leave a Reply