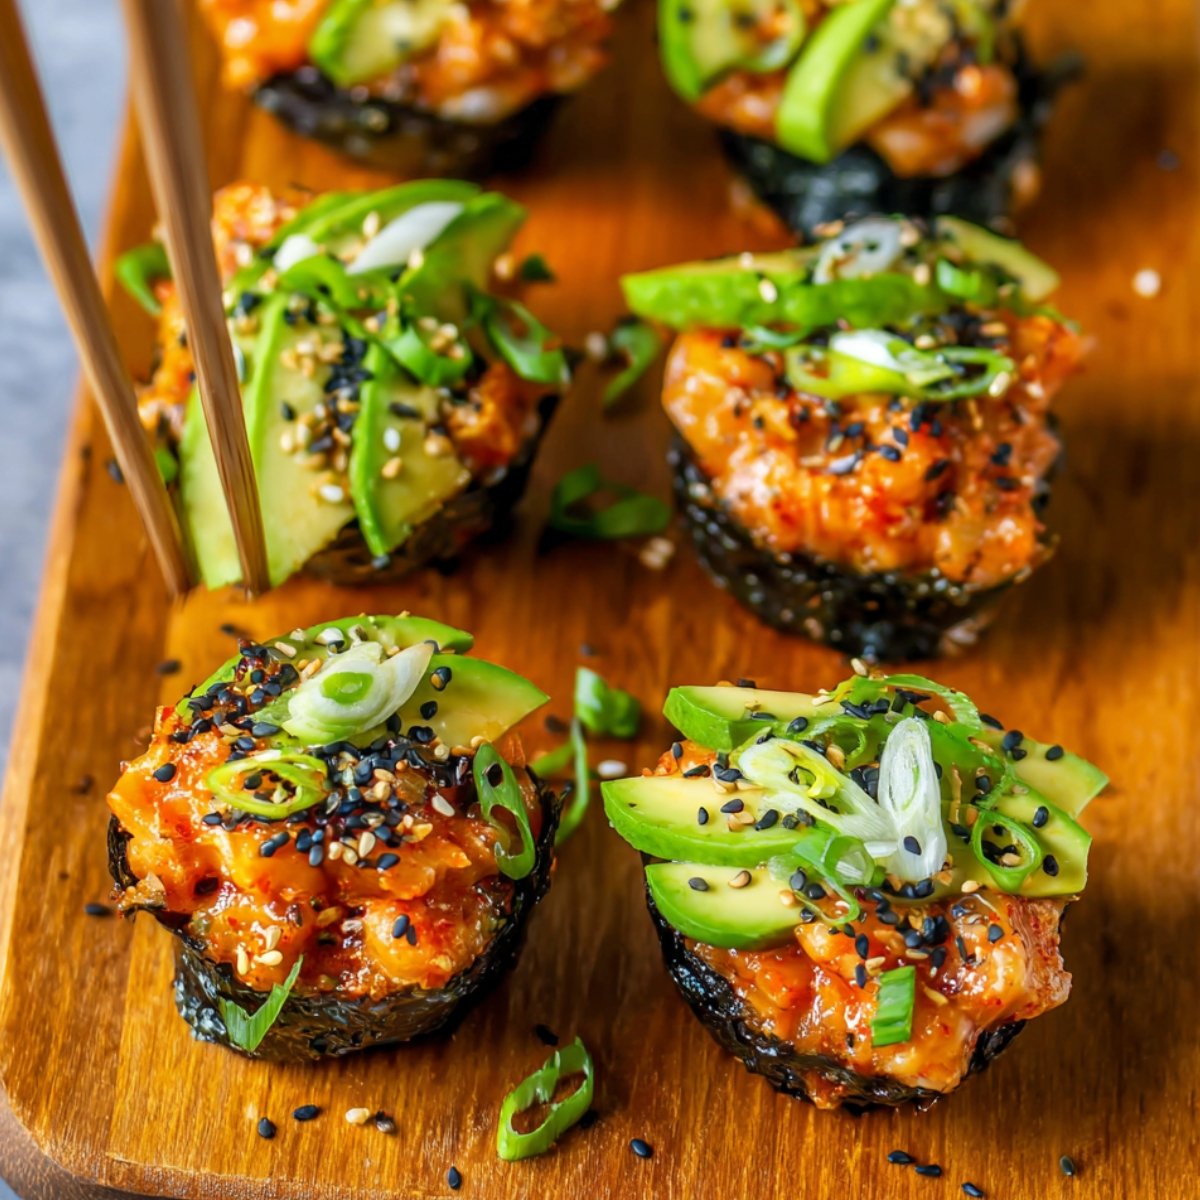
These crispy-edged Baked Salmon Sushi Cups bring together buttery baked salmon, sticky sushi rice, and a kick of spicy mayo in cute little muffin-sized bites. I first tried making these on a night when I was craving sushi but didn't want to fuss with rolling mats or worry about raw fish, and honestly, they turned out even better than I'd hoped. They're simple to put together, surprisingly quick.
if you've been loving bold flavors like our Easy Gochujang Pasta Recipe or the heat from Louisiana Voodoo Fries, these will hit that same spot. Plus, they're packed with protein and taste like something you'd order at a trendy spot, except you made them in your own kitchen.
Why You'll Love This Baked Salmon Sushi Cups
These Baked Salmon Sushi Cups check a lot of boxes. They're macro-friendly and high in protein, so if you're keeping an eye on your nutrition, they fit right in. The salmon marinates quickly, the rice presses into the muffin tin without any drama, and the whole thing bakes while you prep the toppings. You don't need any special skills or equipment beyond a standard muffin pan.
The flavor is bold but balanced. The marinade has a hint of sweetness from brown sugar, warmth from the spices, and that umami depth from soy sauce. The spicy mayo ties everything together, and the toppings add little bursts of freshness and texture. If you've been enjoying recipes like Easy Bang Bang Chicken Fried Rice, you'll love how these Baked Salmon Sushi Cups deliver big flavor in a compact form.
Jump to:
Baked Salmon Sushi Cups Ingredients
Here's what goes into these Baked Salmon Sushi Cups, and why each part matters.
See Recipe Card Below This Post For ingtedient Quantites
Atlantic salmon: Cut into small cubes so it cooks evenly and marinates well. The salmon stays tender and flaky after baking, and the marinade gives it a slightly sweet and savory crust.
Brown sugar: Adds a touch of sweetness that balances the salty soy sauce and helps the salmon caramelize in the oven.
Garlic powder, onion powder, chili powder, sweet paprika, salt: This spice blend creates layers of flavor without overpowering the salmon. The paprika gives a warm color, and the chili powder adds a gentle kick.
Low-sodium soy sauce: Brings umami and saltiness to the marinade. Using low-sodium keeps the flavor balanced so it doesn't taste too salty after baking.
Olive oil: Helps the marinade coat the salmon and keeps everything moist during baking.
Roasted nori paper: These seaweed sheets form the base of each cup and add that classic sushi flavor. They crisp up slightly in the oven.
Cooked sushi rice: The sticky texture holds the cups together and provides a mild, slightly sweet base that soaks up the salmon juices.
Light mayo: Forms the base of the spicy mayo. Using light mayo keeps the calories down without sacrificing creaminess.
Sriracha sauce: Adds heat and tanginess to the mayo. Adjust the amount based on how spicy you like things.
Avocado: Adds creaminess and a buttery texture that contrasts nicely with the baked salmon.
Green onions: Bring a fresh, mild onion flavor and a pop of color.
Sesame seeds: A mix of white and black sesame seeds adds a nutty crunch and makes the cups look polished.
How to Make Baked Salmon Sushi Cups
Here's how to put these Baked Salmon Sushi Cups together, step by step.
Preheat the oven: Set your oven to 400°F and lightly grease a 12-cup muffin pan. A little cooking spray or a brush of oil will keep the cups from sticking.
Marinate the salmon: In a bowl, whisk together the garlic powder, onion powder, chili powder, paprika, and salt until combined. Add the cubed salmon, soy sauce, and olive oil, then toss everything together until the salmon is coated. Pop the bowl in the fridge while you prep the other ingredients so the flavors have time to soak in.

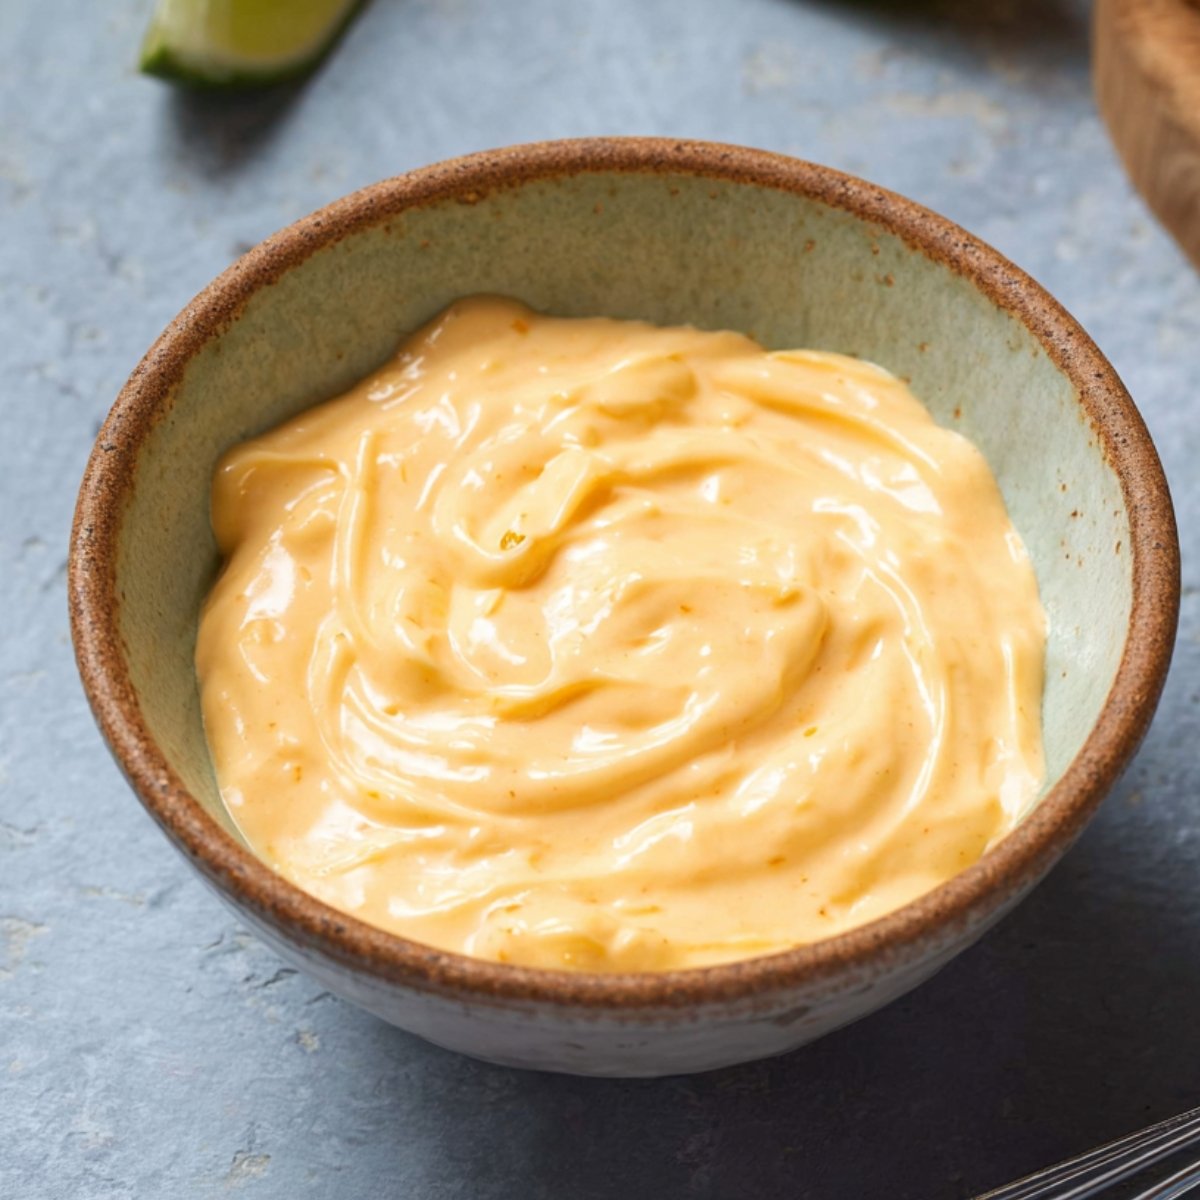
Prepare the spicy mayo: In a small bowl, mix the light mayo and Sriracha sauce. Start with 1 teaspoon of Sriracha and taste it. If you want more heat, add the second teaspoon. Set it aside.
Prepare the nori: Grab your kitchen scissors and cut each nori sheet into four equal squares. You'll end up with 12 small sheets, one for each muffin cup.
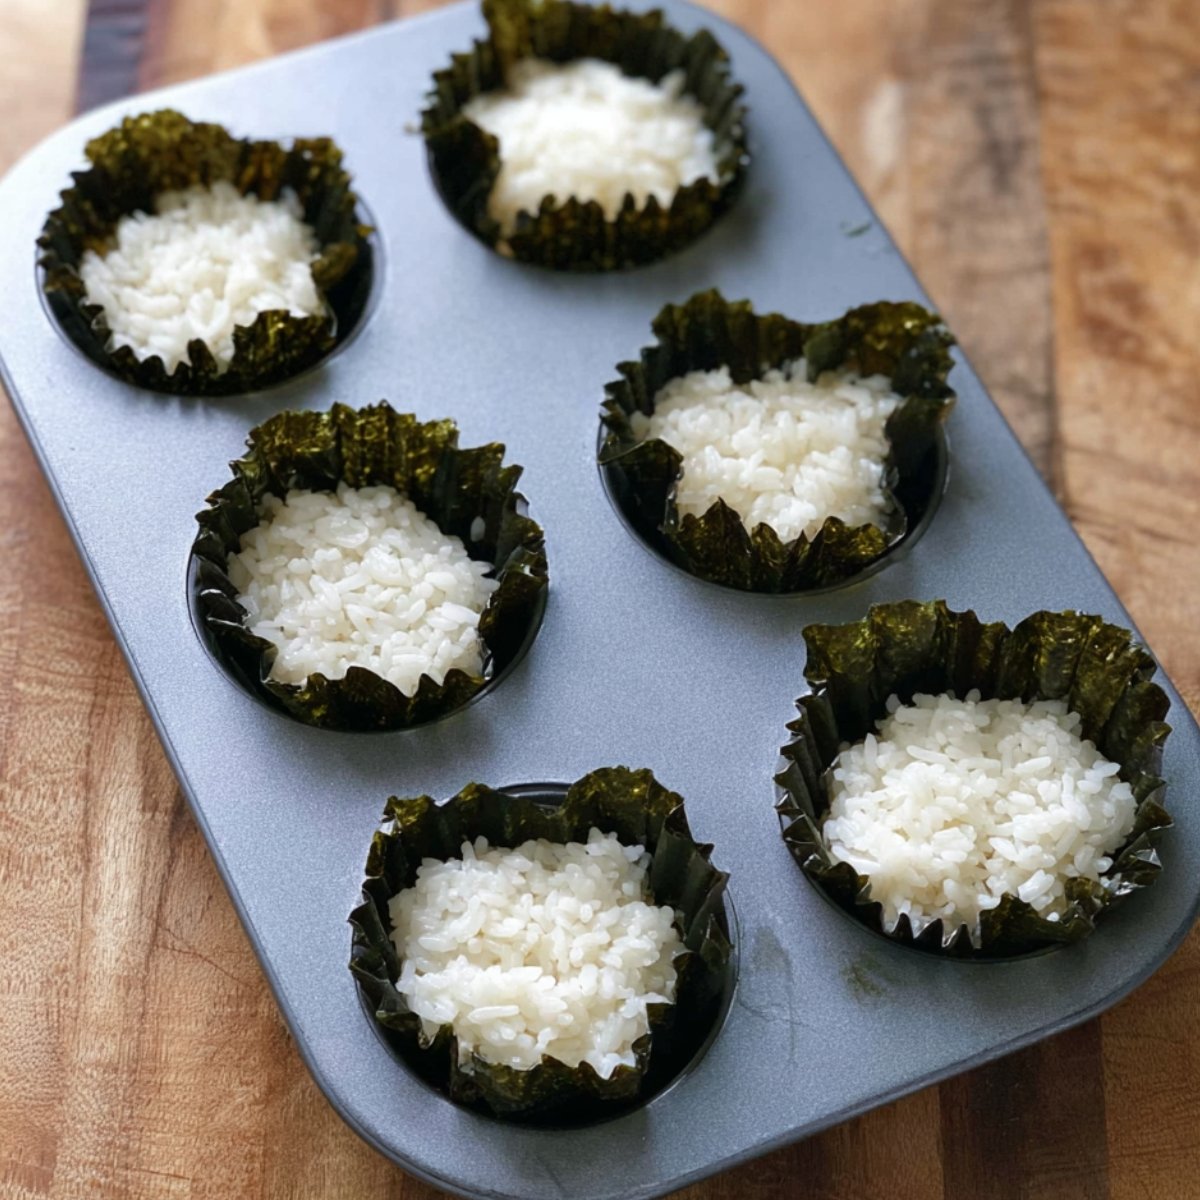
Assemble the sushi cups: Place one nori square into each muffin cup. Add 2 tablespoons of sushi rice on top of each nori sheet, then use your fingers or the back of a spoon to press the rice down gently. You want it to stick to the nori and form a little base.
Add the salmon: Take the marinated salmon out of the fridge and spoon it evenly over the rice in each cup. Bake for 13 to 15 minutes, or until the salmon is cooked through and the edges look golden and slightly caramelized. If you want a little extra char on top, turn on the broiler for 1 to 2 minutes at the end, but watch it closely so it doesn't burn.
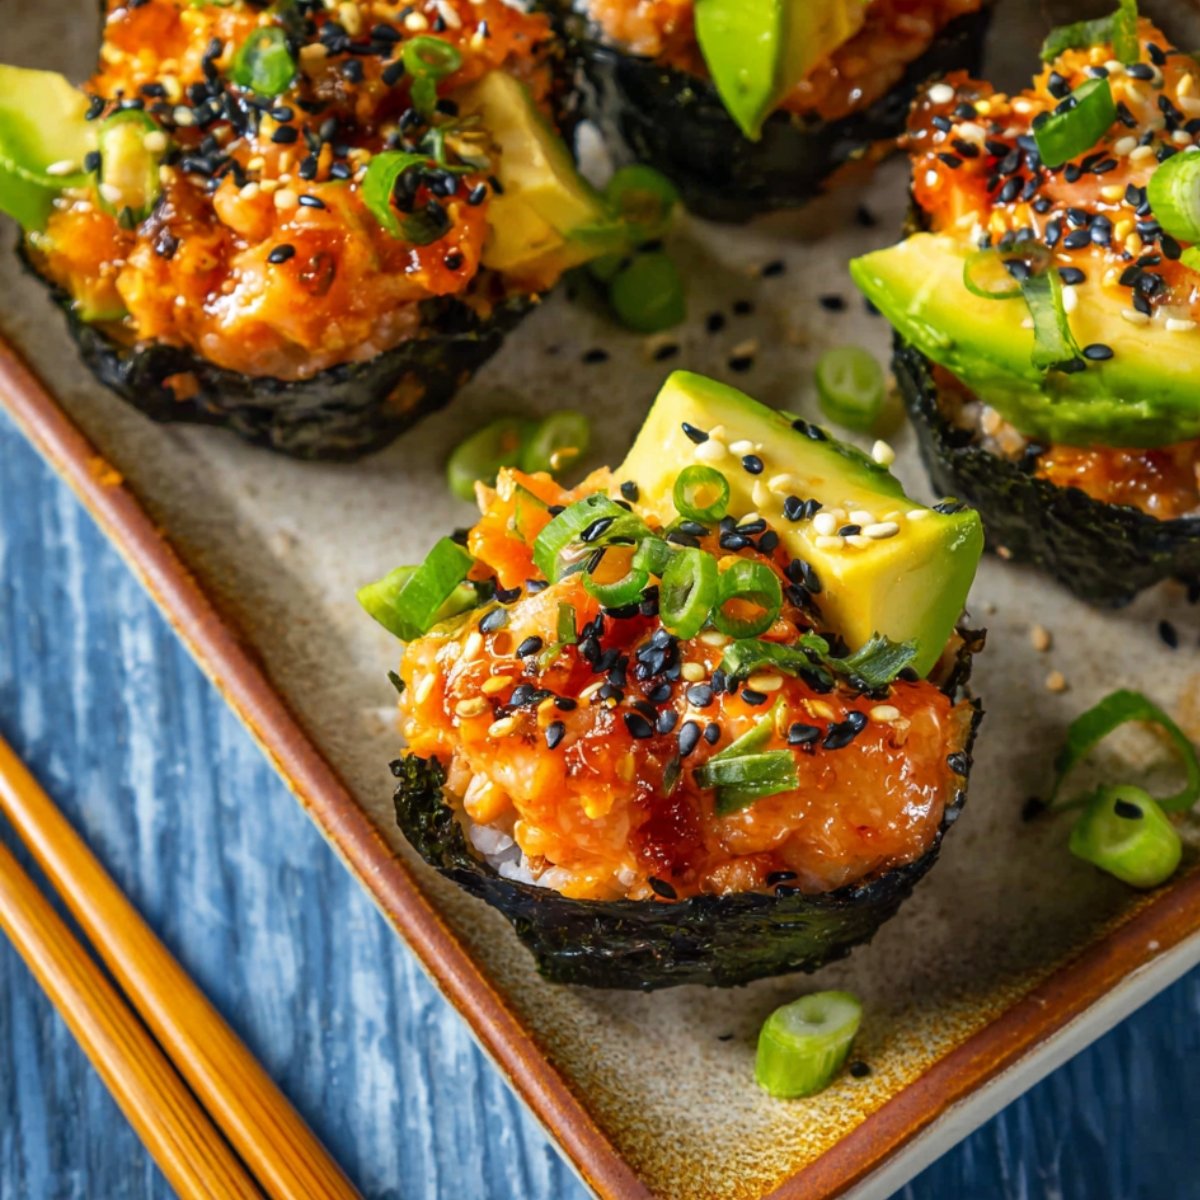
Cool and garnish: Let the sushi cups cool in the pan for 5 to 10 minutes. They'll firm up as they cool, making them easier to remove. Use a butter knife to gently wedge each cup out of the pan. Drizzle the spicy mayo over the tops, then add the diced avocado, sliced green onions, and a sprinkle of sesame seeds.
Enjoy: Serve them right away, or let them cool completely if you prefer them cold.
Substitutions and Swaps
If you need to change things up based on what you have, here are some options that work well.
Swap the Baked Salmon Sushi Cups for another fish like tuna or even cooked shrimp if that's what you have on hand. The marinade works with most seafood. If you're not into fish at all, try using diced chicken thighs marinated the same way.
For a lower-carb version, skip the rice and press the nori directly into the muffin tin, then add the salmon. You'll get more of a crispy nori cup with all the toppings. If you don't have sushi rice, short-grain white rice or even quinoa can work, though the texture will be a bit different.
If you're out of Sriracha, mix the mayo with a little hot sauce or even a pinch of cayenne and a squeeze of lime juice. The avocado can be replaced with diced cucumber for crunch, and if you're not a fan of green onions, try chopped cilantro instead.
Equipment For Baked Salmon Sushi Cups
You don't need much to make these Baked Salmon Sushi Cups. A standard 12-cup muffin pan is the star here. You'll also want a couple of mixing bowls, a whisk, and a set of measuring cups and spoons. Kitchen scissors make cutting the nori easy, and a butter knife helps you lift the finished cups out of the pan without tearing them.
How to Store Baked Salmon Sushi Cups
These Baked Salmon Sushi Cups keep well in the fridge for up to three days in an airtight container. They're actually really good cold, which makes them perfect for meal prep or a quick snack straight from the fridge. If you prefer them warm, reheat them in the microwave for 30 to 60 seconds. The rice will soften up a bit, and the salmon warms through nicely.
Don't freeze these, though. The rice gets mushy when thawed, and the nori loses its texture.
Serving Suggestions
These Baked Salmon Sushi Cups work well on their own, but if you want to make a bigger meal out of them, serve them with a side of miso soup or a simple cucumber salad dressed with rice vinegar and sesame oil. They're also great as part of an appetizer spread if you're having people over.
For a fuller meal, pair them with edamame or a bowl of steamed veggies. If you're in the mood for more bold, comforting flavors, they go surprisingly well with dishes like Peruvian Chicken with Green Sauce, where the tangy sauce balances the richness of the salmon.
Expert Tips
Use room-temperature salmon if possible. Cold salmon straight from the fridge doesn't absorb the marinade as well, and it can cool down your oven temperature when you add it to the pan.
Press the rice firmly into the nori so it holds together when you lift the cups out. If the rice is too loose, the cups might fall apart.
Don't skip the cooling step. The cups need a few minutes to set after baking, or they'll be too soft to handle. If you try to remove them right away, they might stick or crumble.
Broiling at the end is optional, but it adds a nice charred edge to the Baked Salmon Sushi Cups that makes the flavor more complex. Just keep a close eye on it so it doesn't burn.
FAQ
How to make your own salmon sushi rolls?
Making salmon sushi rolls at home is easier than it looks. You'll need a bamboo sushi mat, nori sheets, cooked sushi rice, and your fillings like salmon, avocado, and cucumber. Spread the rice on the nori, add your fillings, then roll it tightly using the mat. Slice it into pieces with a sharp, wet knife. If you want to skip the rolling, these Baked Salmon Sushi Cups are a simpler option that gives you similar flavors without the technique.
Do you marinate salmon for sushi?
Traditional Baked Salmon Sushi Cups uses raw, unseasoned salmon, but if you're baking or cooking your salmon like in this recipe, marinating it adds a lot of flavor. A quick marinade with soy sauce, spices, and a little sugar works really well and only needs about 10 to 15 minutes to soak in. For raw sushi, you'd skip the marinade and focus on the freshness of the fish.
Do I need to cook salmon for sushi?
Not if you're making traditional sushi with sashimi-grade salmon, which is safe to eat raw. But if you're not comfortable with raw fish or can't find sashimi-grade salmon, cooking it like in these Baked Salmon Sushi Cups is a great alternative. You still get all the sushi flavors, and the cooked salmon is tender and flavorful without any food safety concerns.
How to make sushi in a muffin tin?
Press a square of nori into each muffin cup, then add a layer of sushi rice and press it down so it sticks. Top with your protein or filling, then bake until everything is cooked through. The muffin tin holds everything in place and gives you perfectly portioned cups. Once they cool, you can pop them out and add toppings like spicy mayo, avocado, and sesame seeds. It's a simple way to make sushi without rolling.
Related
Looking for other recipes like this? Try these:


Pairing
These are my favorite dishes to serve with Baked Salmon Sushi Cups


Baked Salmon Sushi Cups
Equipment
- 1 Muffin pan To bake the sushi cups
- 1 Small bowl For mixing the spicy mayo
- 1 Whisk For whisking the spices and sauce
- 1 Set of measuring cups and spoons For accurately measuring ingredients
- 1 Kitchen scissors For cutting the nori sheets
- 1 Butter knife For lifting the finished cups out of the pan
Ingredients
- 1 lb skinless Atlantic salmon cut into ¼ to ½-inch cubes
- 1 tablespoon brown sugar(12g ) sweetener for the salmon
- ½ teaspoon garlic powder flavor enhancer
- ½ teaspoon onion powder flavor enhancer
- ½ teaspoon chili powder adds mild heat
- ½ teaspoon sweet paprika adds subtle smokiness
- ½ teaspoon salt adjust to taste
- 1 tablespoon low sodium soy sauce(15g ) adds savory umami
- 1 teaspoon olive oil for marinating the salmon
- 3 sheets roasted nori paper for the sushi cups
- 1.5 cups cooked sushi rice(300g) sticky rice for the base
Spicy mayo:
- ¼ cup light mayo(60g ) creamy base for the sauce
- 1-2 teaspoon Sriracha sauce adds heat and flavor
Toppings:
- ½ avocado(70g ) diced for topping
- 2 green onions for garnish
- 2 teaspoon sesame seeds for texture and garnish
Instructions
- Preheat the oven to 400°F and lightly grease a muffin pan.
- In a bowl, whisk together all the spices. Add the salmon, soy sauce, and olive oil, tossing to coat the salmon evenly. Let marinate in the fridge while preparing the other components.
- In a small bowl, mix together the Sriracha sauce and light mayo until well combined.
- Use scissors to cut the nori sheets into four equal squares, creating 12 small sheets.
- Place 2 tablespoons of cooked sushi rice onto each sheet of nori, then transfer to the muffin pan. Repeat for all 12 sheets.
- Remove the marinated salmon from the fridge and evenly distribute it over the rice in the muffin pan. Bake for 12-15 minutes or until the salmon is cooked through and slightly golden. If desired, broil for 1-2 minutes for extra char.
- Allow the cups to cool for 5-10 minutes before carefully using a butter knife to lift them out of the muffin pan. Finish by drizzling the spicy mayo on top and garnish with diced avocado, green onions, and sesame seeds.


Leave a Reply