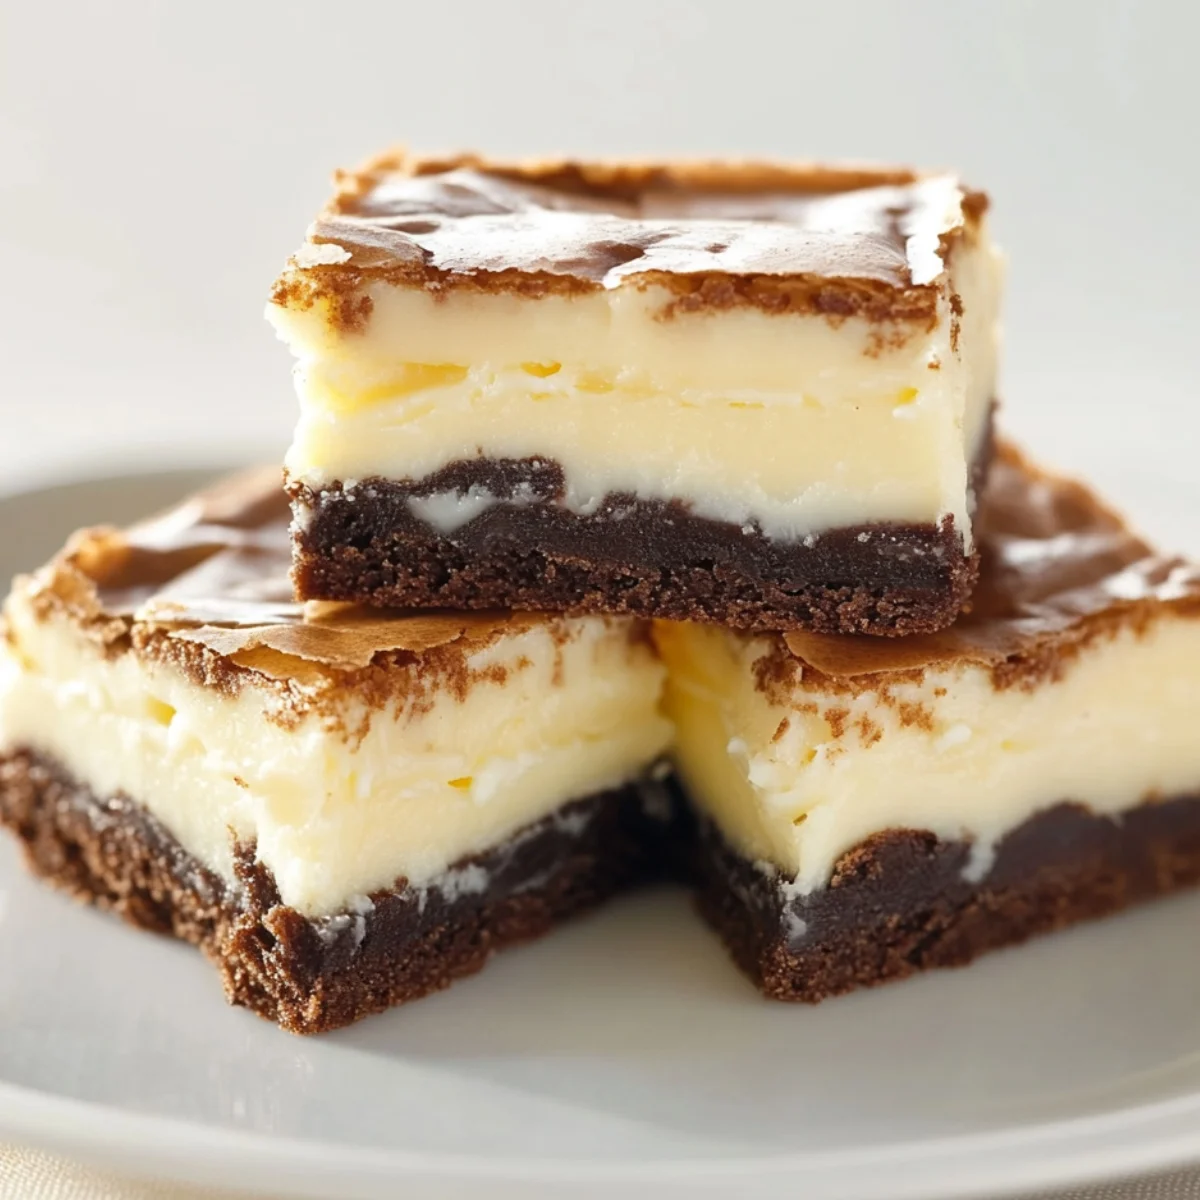
Have you ever bitten into something expecting one flavor but discovered something even better? That's what happens with these vanilla brownies. Last weekend, I made these for Max's playdate, and one mom actually gasped after taking her first bite. "I thought these were just blondies," she said, reaching for another square. Unlike typical brownies or blondies, these treats highlight pure vanilla in a way that creates something uniquely delicious - dense, chewy squares with that classic crackly top but with a warm, buttery vanilla flavor instead of chocolate.
Why These Vanilla Brownies Will Become Your New Favorite
After bringing these to six school bake sales and countless family gatherings, I can tell you exactly why they always disappear first. There's something magical about the way these vanilla brownies welcome everyone to the table - no chocolate stains on nice clothes, perfect for those who don't love chocolate, and somehow beloved by both kids and adults alike. Their beautiful golden color even makes them elegant enough for special occasions.
What makes them a favorite in our kitchen is how baker-friendly they are. You only need basic pantry ingredients, can mix everything in one bowl if you're in a hurry, and never have to fuss with melting chocolate. But what I love most is their reliability - even when I'm baking with Max "helping" (aka creating flour clouds), these vanilla brownies turn out perfectly every time. Even his notoriously picky friend Jacob asked for seconds last week, which his mom assured me was "nothing short of a miracle."
Jump to:
- Why These Vanilla Brownies Will Become Your New Favorite
- Vanilla Brownies Ingredients
- How To Make Vanilla Brownies
- Substitutions
- Vanilla Brownies Variations
- Equipment For Vanilla Brownies.
- Storage Tips
- Top Tip
- Grandma's Special Secret for Vanilla Brownies
- FAQ
- Ready for Vanilla Brownie Bliss!
- Related
- Pairing
- vanilla brownies
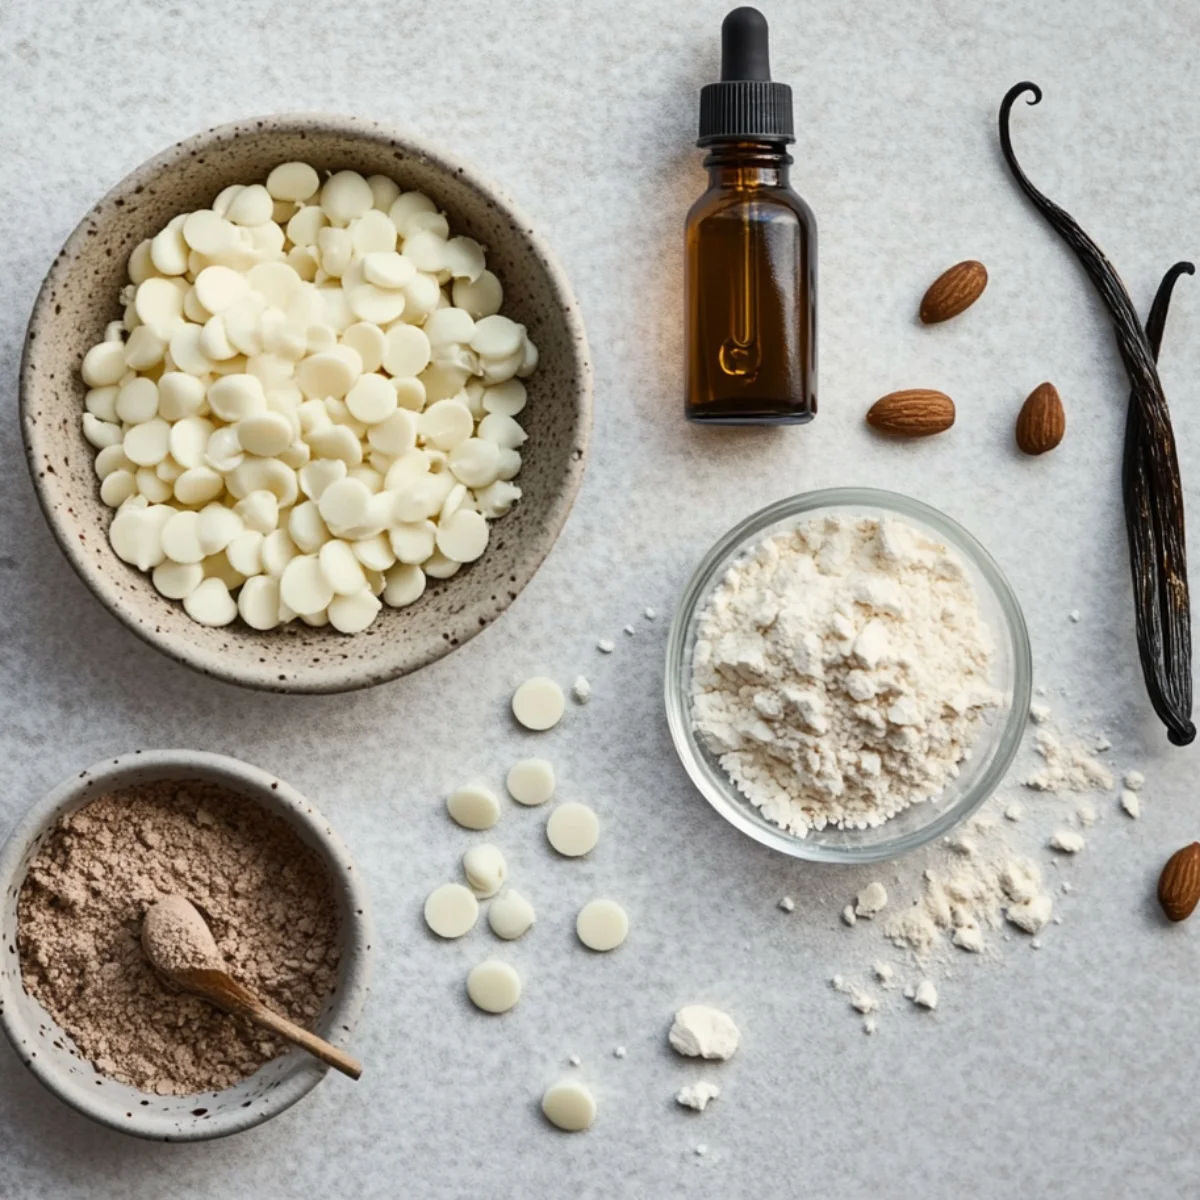
Vanilla Brownies Ingredients
The Foundation:
- Unsalted butter
- White granulated sugar
- Light brown sugar
- Large eggs
- Pure vanilla extract
- All-purpose flour
- Salt
- Baking powder

Secret Enhancers:
- Vanilla bean seeds
- White chocolate chips
- Almond extract
- Malted milk powder
See recipe card for quantities.
How To Make Vanilla Brownies
First Stage (Prep):
- Preheat oven to 350°F
- Line an 8×8 pan with parchment paper (with overhang for easy lifting)
- Melt butter until just liquid but not hot
- Gather all ingredients at room temperature
The Magic Mix:
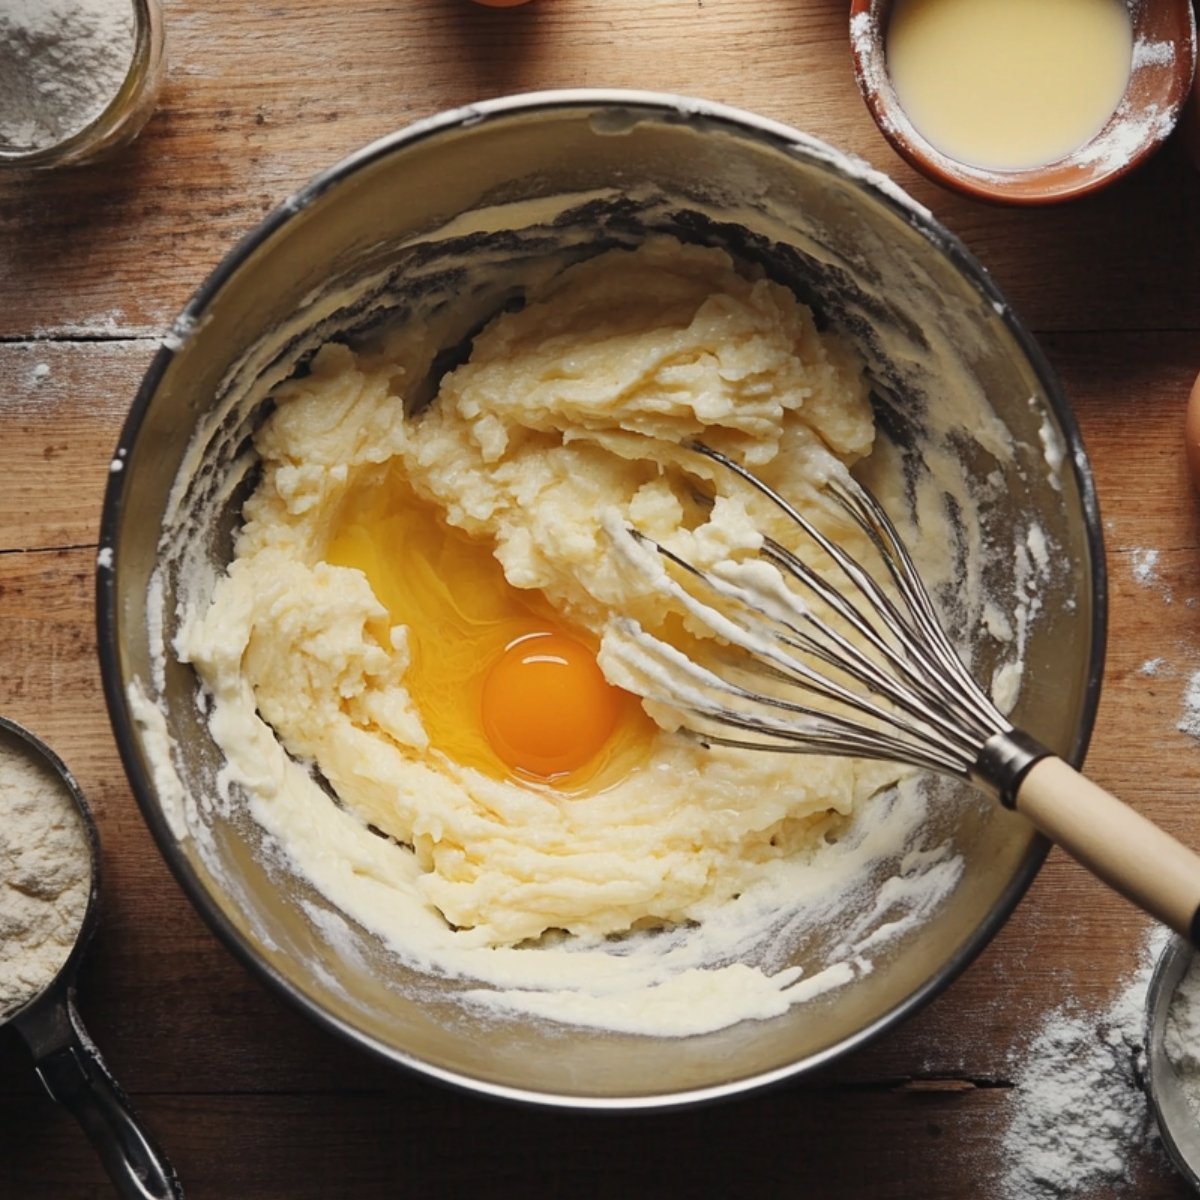
- Whisk both sugars into the melted butter until completely combined
- Add eggs one at a time, beating well after each
- Mix in extra yolk and vanilla thoroughly
- Fold in dry ingredients just until no flour streaks remain
Into the Pan:
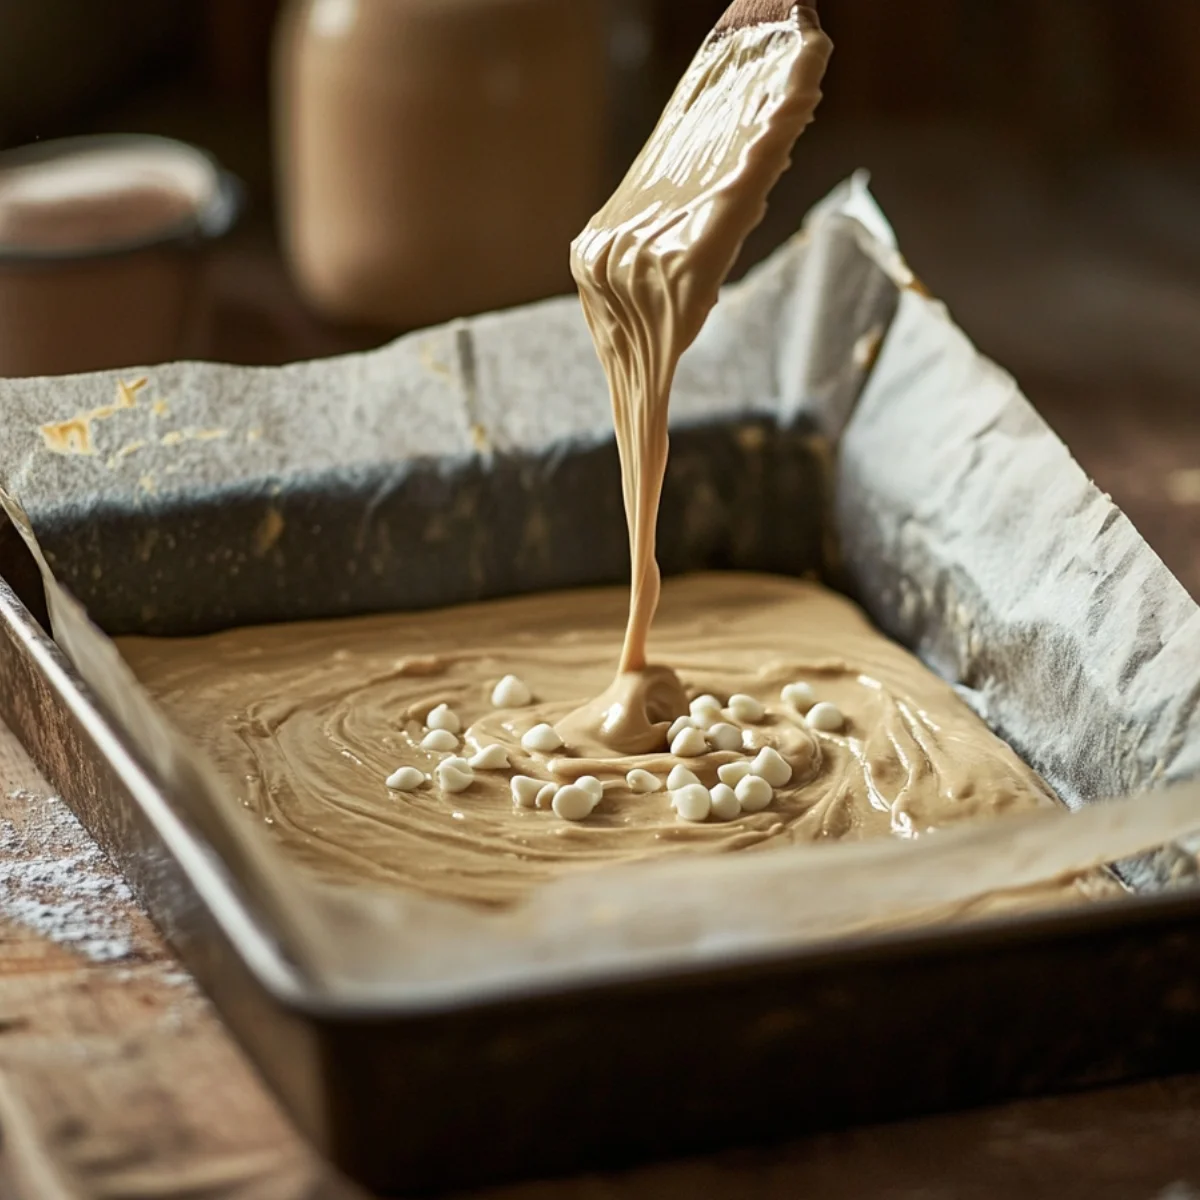
- Pour batter into prepared pan (it will be thick)
- Tap pan firmly on counter to remove air bubbles
- Optional: sprinkle with a few extra white chocolate chips
- Smooth top with spatula
Perfect Baking:
- Bake 25-30 minutes until edges are set but center is slightly soft
- Look for that slightly crackly top
- Test with toothpick - a few moist crumbs are perfect
- Cool completely in pan before cutting
Substitutions
Flour Options:
- All-purpose → 1:1 gluten-free baking blend
- Regular → White whole wheat flour (slightly nuttier taste)
- Standard → Part almond flour (up to 25% for extra moisture)
Sugar Alternatives:
- White sugar → Coconut sugar (will darken color)
- Brown sugar → Maple sugar
- Standard → Reduce by 25% for less sweet version
Butter Swaps:
- Regular → Browned butter (for a caramel note)
- Unsalted → Plant-based butter sticks
- Standard → Coconut oil (adds slight coconut flavor)
Flavor Variations:
- Vanilla extract → Maple extract
- Standard → Add citrus zest
- Plain → Add warming spices
Vanilla Brownies Variations
Berry Beautiful:
- Fresh raspberries folded in
- White chocolate chips
- Lemon zest
- Vanilla bean glaze
Caramel Dream:
- Salted caramel swirl
- Toffee bits scattered on top
- Brown butter base
- Flaky sea salt finish
Birthday Celebration:
- Rainbow sprinkles
- Vanilla frosting swirls
- Tiny bit of almond extract
- White chocolate chunks
Cozy Spice:
- Cinnamon-sugar swirl
- Nutmeg pinch
- Maple extract
- Toasted pecans
Equipment For Vanilla Brownies.
- 8×8-inch metal baking pan (conducts heat better than glass)
- Parchment paper (with overhang for easy lifting)
- Medium mixing bowl
- Whisk or electric mixer
- Silicone spatula
- Cooling rack
Storage Tips
Counter Storage (3-4 days):
- Cool completely before storing
- Use airtight container
- Layer with parchment paper
- Keep at room temperature
Fridge Tips (1 week):
- Seal tightly in container
- Bring to room temp before eating
- Warm slightly for gooey texture
- Great for ice cream topping
Freezer Magic (3 months):
- Wrap individual squares in plastic
- Place in freezer container
- Thaw at room temperature
- Warm slightly to serve
Top Tip
After dozens of batches and a few memorable kitchen disasters, I've discovered the small details that make all the difference in these vanilla brownies. The most important trick is taking your time with the sugar-butter mixing stage - don't rush this! A full minute of whisking until the mixture lightens in color creates that perfect crackly top that makes brownies special, even without chocolate. I've found that room temperature ingredients are absolutely essential - cold eggs hitting melted butter will give you a lumpy, uneven batter that never quite bakes right.
When it comes to baking, I've learned to trust my eyes over the timer. The edges should be golden and set, but the center should still look slightly underdone. This leads to Max's least favorite tip - the waiting game. Despite his constant negotiating for "just one tiny corner, please Mom!", letting these cool completely in the pan makes the difference between perfect, chewy squares and a gooey mess. Last month during a baking playdate, Max's friend Olivia accidentally added a full teaspoon of salt instead of a quarter teaspoon.
Grandma's Special Secret for Vanilla Brownies
My grandmother passed down a special trick for these vanilla brownies that I've never seen in any cookbook. Back in the 1960s, she discovered that adding a small splash of almond extract - just a quarter teaspoon - creates a depth of flavor that makes people ask "what's that amazing taste?" without being able to identify the almond itself. She called it her "secret background note" and would wink at me when anyone complimented her baking.
But her real magic touch was in how she cooled these brownies. Instead of letting them cool gradually at room temperature, she'd let them sit for just 10 minutes before placing them (still in the pan) in the refrigerator for exactly 30 minutes, then bringing them back to room temperature before cutting. "It's the temperature shock that makes the texture perfect," she'd explain. I was skeptical until I tried it myself - that brief chill creates a texture that's somehow both fudgy and chewy at the same time.
Max loves helping with Grandma's special cooling timer. He sits by the refrigerator with his dinosaur timer, waiting to announce "Brownies are ready for their nap to be over!" I've taught him to keep the almond extract our family secret, though last week he whispered it to his best friend during a playdate, saying, "This is top secret kitchen magic, okay?" Some traditions are just too sweet not to pass down.
FAQ
What is the vanilla version of a brownie?
Vanilla brownies have the same dense, chewy texture as chocolate brownies but feature vanilla as the star flavor. They're different from blondies (which rely heavily on brown sugar for a butterscotch flavor) because they maintain that classic brownie texture with a crackly top and chewy center, just without the chocolate. Some bakers call them "white brownies," but true vanilla brownies highlight pure vanilla flavor rather than simply being chocolate-free.
What are the three types of brownies?
The three main brownie styles are fudgy (dense, moist, almost truffle-like), cakey (lighter, more airy, with a little bounce), and chewy (the perfect middle ground with a slight bend when you bite). These vanilla brownies fall into the chewy category, with a slightly fudgy center. The style comes from the ratio of fat to flour and the mixing method rather than the flavor, so these principles apply to both chocolate and vanilla versions.
Should you add vanilla to brownies?
Absolutely! Vanilla enhances and deepens all flavors, even in chocolate brownies. In these vanilla brownies, it's the star attraction. Quality matters - use pure vanilla extract rather than imitation for the richest flavor. Adding it after removing your mixture from heat preserves more of the aromatic compounds that might otherwise bake off. For special occasions, real vanilla bean seeds create beautiful specks and intense flavor.
What is the secret to moist brownies?
The secret to moist vanilla brownies is threefold: slightly underbaking them (removing from the oven when the center still looks soft), using the right ratio of fat to flour (more butter creates moister results), and not overmixing once the flour is added. Another key is proper storage in an airtight container at room temperature, which prevents them from drying out. Adding an extra egg yolk, as in this recipe, also contributes wonderful richness and moisture
Ready for Vanilla Brownie Bliss!
Now you have all the secrets behind creating perfect vanilla brownies - from the ideal ingredient ratios to Grandma Rose's special cooling technique. These golden, chewy treats prove that vanilla deserves to be the star sometimes, not just a supporting flavor. Max and I hope these become a family favorite in your home too, bringing the same joy they've brought to our kitchen and countless playdates, bake sales, and family gatherings.
Looking for more crowd-pleasing desserts? Try our Easy Dulce de Leche Ice Cream Recipe that requires no churning and pairs perfectly with these brownies. Need a quick dessert for unexpected guests? Our Easy Pineapple Dump Cake Recipe comes together in minutes with just a few ingredients. For special celebrations, our Easy Triple Chocolate Mousse Cake creates a showstopping presentation with surprisingly simple techniques!
Share your vanilla brownie success! We love seeing your kitchen creations!
Rate this recipe and join our baking community!
Related
Looking for other recipes like this? Try these:
Pairing
These are my favorite dishes to serve with vanilla brownies
vanilla brownies
Equipment
- 1 8×8-inch metal baking pan (Better heat conduction for chewy edges)
- 1 Parchment paper (With overhang for easy lifting)
- 1 Medium mixing bowl (For wet and dry ingredients)
- 1 Whisk or electric mixer (For smooth sugar-butter mixture)
- 1 Silicone spatula (To fold in dry ingredients and smooth top)
- 1 Cooling rack (Cools brownies evenly after baking)
Ingredients
- ½ cup Unsalted butter - European-style preferred ,melted
- ¾ cup White sugar
- ¼ cup Light brown sugar - For moisture and flavor depth
- 2 Large eggs - Room temperature
- 1 Egg yolk - Adds richness and moisture
- 1½ teaspoon Pure vanilla extract - Use real extract ,not imitation
- 1 cup All-purpose flour - Spoon and level to measure
- ¼ teaspoon Salt - Essential for flavor balance
- ¼ teaspoon Baking powder - Gives slight lift
- ½ teaspoon Almond extract - Optional ,Grandma's secret touch
- 1 tablespoon Malted milk powder - Optional ,enhances flavor
- ⅓ cup White chocolate chips - Optional,for texture and sweetness
- 1 pod Vanilla bean seeds - Optional ,for special occasions
Instructions
- Preheat oven to 350°F and line an 8×8 pan with parchment paper.
- Melt the butter until liquid but not hot. Let cool slightly.
- Whisk in both sugars until mixture lightens and looks glossy.
- Add eggs one at a time, whisking well after each. Add yolk and vanilla.
- Stir in almond extract, vanilla bean seeds, and malted milk powder (if using).
- Fold in flour, baking powder, and salt just until no dry streaks remain.
- Fold in white chocolate chips if using. Batter will be thick.
- Spread into prepared pan, smoothing the top. Tap pan on counter to remove air.
Leave a Reply