Hey there, fellow baking enthusiast! You know those moments when you discover something so wonderfully clever it makes you smile? Well, let me share one of my favorite baking mysteries - the enchanting Impossible Pie Recipe! This delightful creation has been making bakers gasp in delight since the groovy 1970s, and trust me, once you see it in action, you'll understand why everyone falls in love with it.
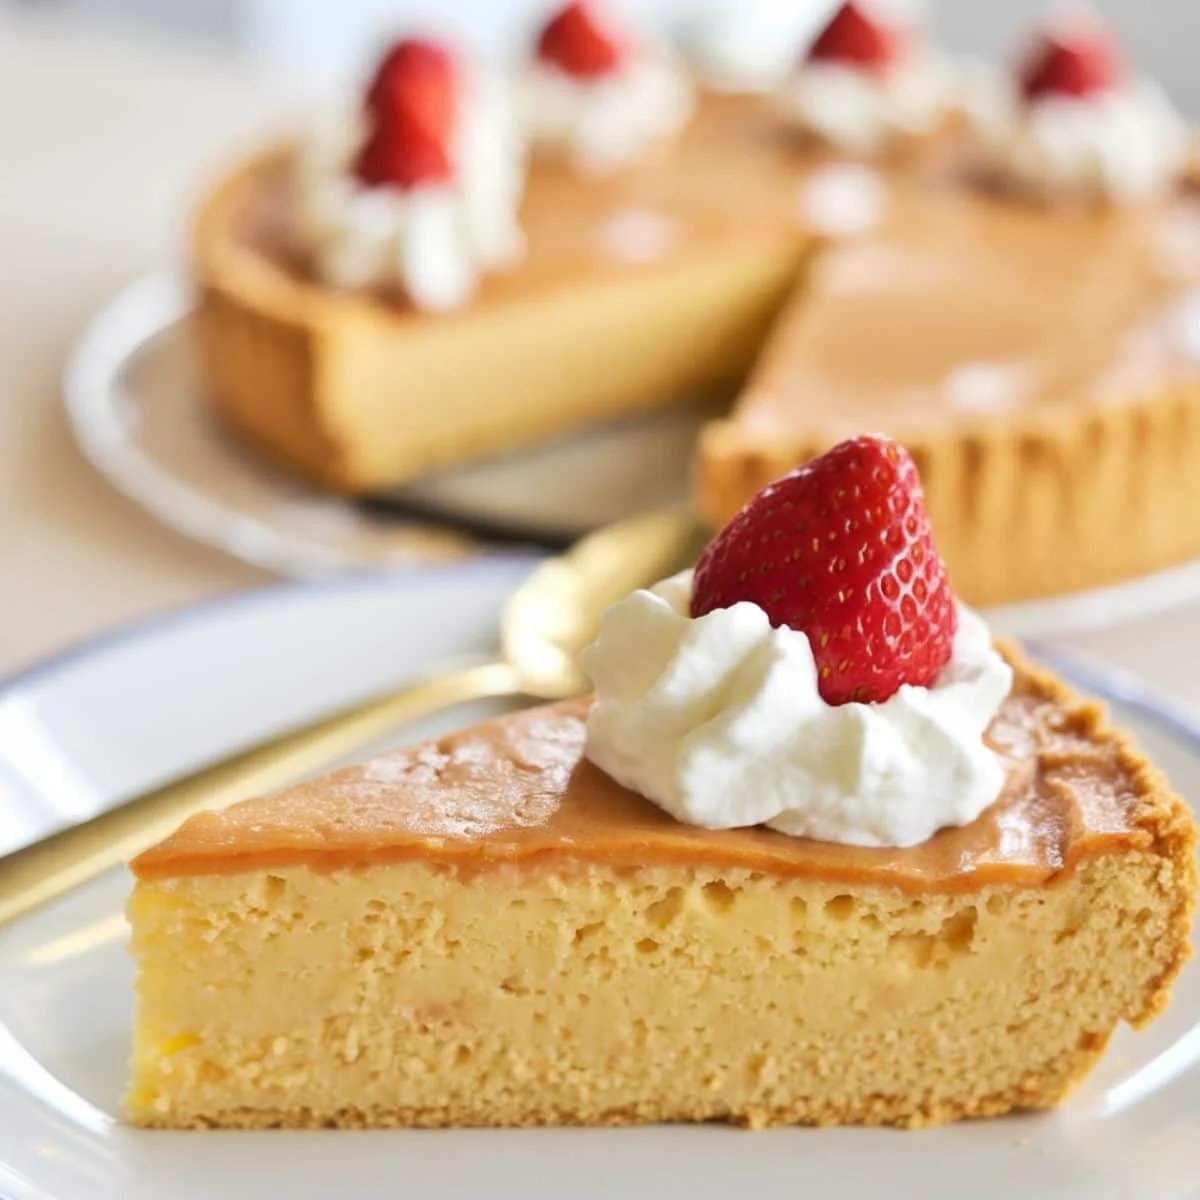
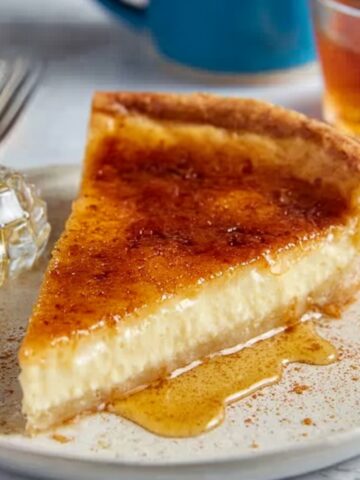
Here's the fun part - imagine mixing up a simple batter (nothing fancy, just your everyday ingredients!), pouring it into a pie dish, and then watching the magic unfold. Like a culinary magician, this clever recipe transforms itself into three gorgeous layers while baking. I'm not kidding - you get a custardy base that's perfectly tender, a dreamy creamy middle, and the most beautiful coconut-dusted crust on top. And the best part? You didn't have to do anything special to create those layers!

What Makes This Impossible Pie Recipe So Special
You know what I absolutely love about this Impossible Pie Recipe? It's like having a magical baking assistant in your kitchen. No fussy techniques, no complicated steps - just toss all your ingredients into a blender, give them a whirl, and pour the mixture into your pie dish. That's it! Your work is basically done, and now the real magic show begins.
Here's where things get really exciting - as your Impossible Pie Recipe bakes in the oven, something absolutely incredible happens. Those simple ingredients you mixed together? They start doing a beautiful dance, naturally separating into three perfect layers. It's like they know exactly where they need to be! You end up with a tender, perfectly formed crust on the bottom (without ever having to roll out pastry!), the most luscious, creamy custard filling in the middle, and a gorgeous golden coconut topping that browns to perfection.
And the best part about this Impossible Pie Recipe? Every time you make it, you get to watch your friends' faces light up when you tell them how it was made. There's always that moment of disbelief when you explain that no, you didn't carefully create each layer - the pie did it all by itself! It's these little kitchen miracles that make baking such a joy, don't you think?
Jump to:
- What Makes This Impossible Pie Recipe So Special
- Ingredients
- Instructions
- Hints and Tips
- Dietary Benefits & Serving Suggestions
- Recipe Variations & Substitutions
- Equipment For Impossible Pie Recipe
- Storage
- Top Tip
- Grandma's Magic Touch:
- FAQ
- How did your Impossible Pie Recipe turn out?
- 1Related
- Pairing
- Magical Impossible Pie Recipe 5-Ingredient
Ingredients
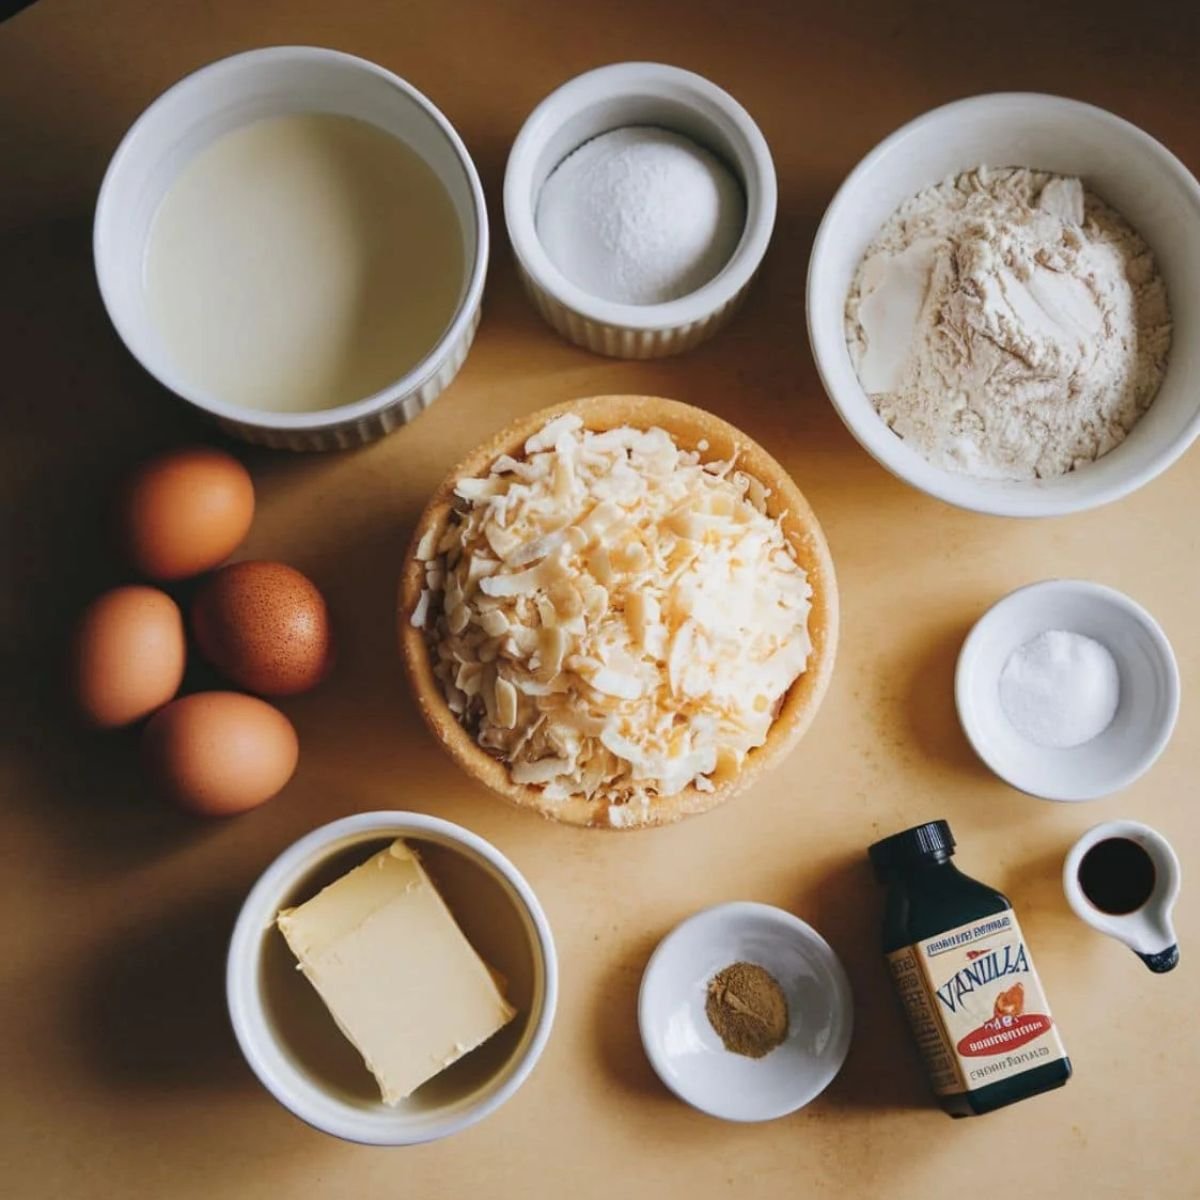
For this impossible pie recipe, you'll need:
- 4 large eggs, at room temperature
- 1¾ cups whole milk
- 1 cup granulated sugar
- ½ cup all-purpose flour
- ¼ cup unsalted butter, melted and cooled
- 1 cup sweetened shredded coconut
- 1 teaspoon vanilla extract
- ¼ teaspoon salt
- Pinch of ground nutmeg (optional)
Instructions
Let's Make the Perfect Impossible Pie Recipe - Step by Step!
Getting Started - Let's Prep!
First things first, let's get your kitchen ready for some magic. Crank up that oven to 350°F (175°C) - this is super important for getting those perfect layers! While that's heating up, grab your favorite 9-inch pie dish and give it a light coating of butter or cooking spray. Pro tip: having your ingredients at room temperature is like giving your pie a head start to greatness - so let those cold ingredients warm up a bit!
Time to Make Some Magic!
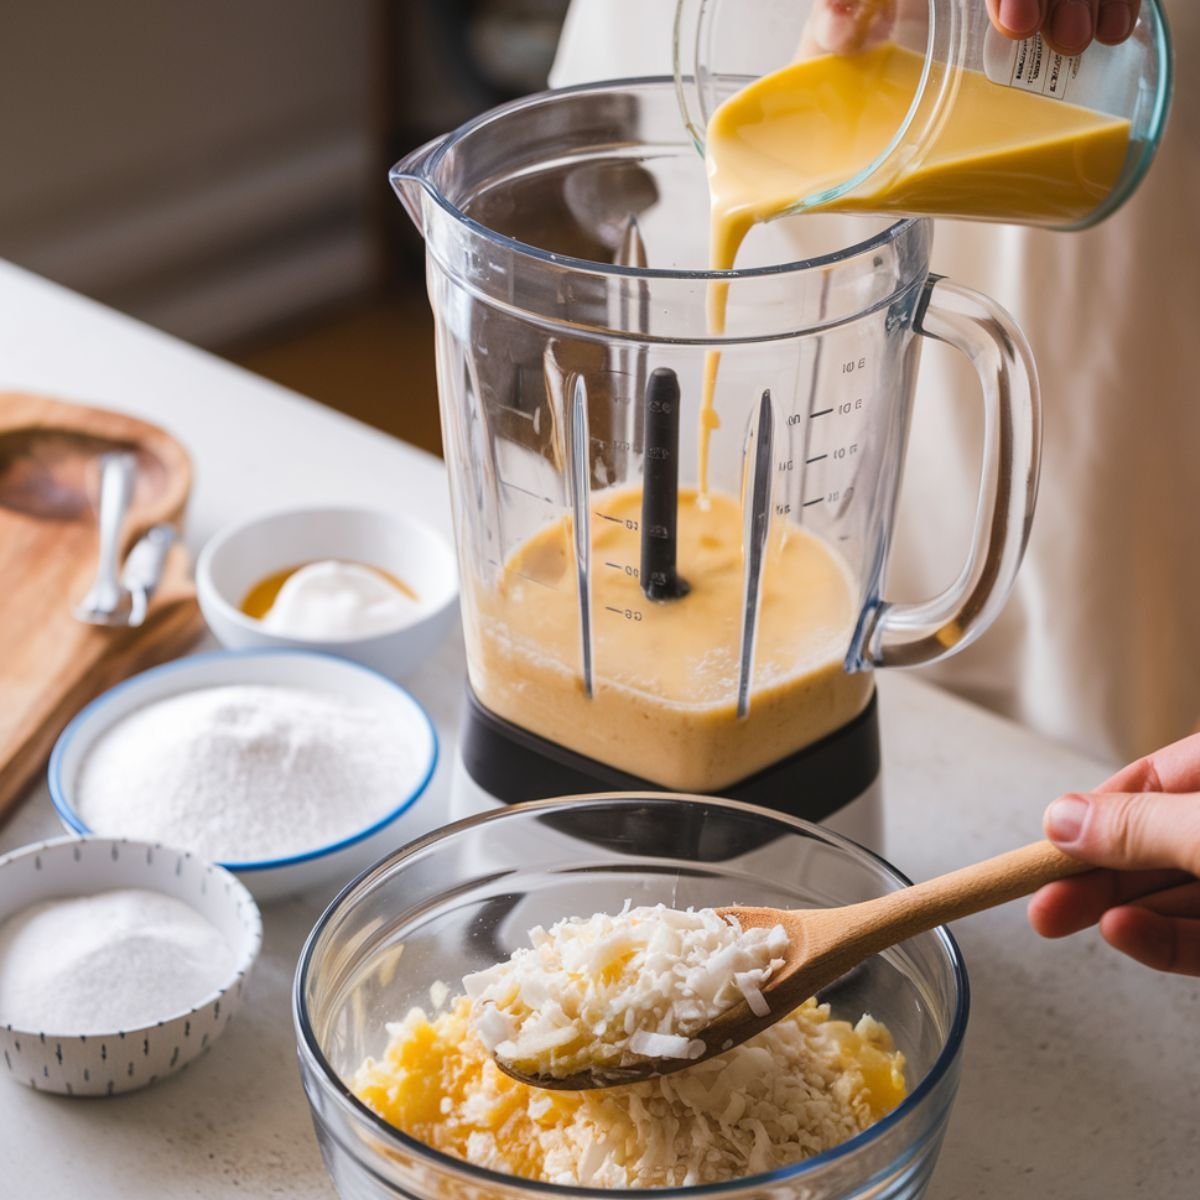
Now for the fun part! Grab your blender (yep, that's all you need - no fancy equipment here!). First, let's get those eggs, milk, and vanilla extract swirling together. Once they're partying in the blender, drizzle in that melted butter - it's like adding liquid gold! Next up, in goes your sugar, flour, and salt. Give everything a good whirl for about 30 seconds until it's smooth as silk. Here's a special touch - we're going to fold in that coconut by hand. Trust me, your pie will thank you for this extra love!
The Big Bake!
This is where the real magic happens! Pour your batter into that waiting pie dish - watch it flow like velvet! If you're feeling fancy, a little sprinkle of nutmeg on top adds a wonderful touch of warmth. Now, pop it in your preheated oven and let it do its thing for 50-60 minutes. You'll know it's ready when the top is wearing a gorgeous golden-brown crown, and the center has just a tiny wiggle when you gently shake the dish - like it's doing a happy little dance!
Hints and Tips
The secret to a perfect impossible pie lies in the temperature of your ingredients. Room temperature eggs and milk create a smoother batter that separates more effectively during baking. For the best results, take these ingredients out of the refrigerator about 30 minutes before starting.
Dietary Benefits & Serving Suggestions
While this is definitely a treat, impossible pie is lighter than many traditional desserts since it doesn't have a heavy pastry crust. Serve it slightly warm or chilled, perhaps with:
- Fresh berries
- A dollop of whipped cream
- A scoop of vanilla ice cream
- A light dusting of powdered sugar
Recipe Variations & Substitutions
Make this impossible pie recipe your own with these variations:
- Dairy-free: Use coconut milk and dairy-free butter
- Lower sugar: Reduce sugar to ¾ cup and use unsweetened coconut
- Flavor twist: Add ½ teaspoon almond extract or lemon zest
- Chocolate version: Add 2 tablespoons cocoa powder to the batter
Equipment For Impossible Pie Recipe
You'll need:
- 9-inch pie dish
- Blender or food processor
- Measuring cups and spoons
- Mixing bowl
- Rubber spatula
Storage
Store your impossible pie in an airtight container:
- Room temperature: Up to 24 hours
- Refrigerated: 3-4 days
- Freezer: Up to 2 months (though texture may change slightly)
Top Tip
The key to achieving distinct layers is to avoid overmixing after adding the coconut. Gentle stirring allows the ingredients to separate properly during baking.
Grandma's Magic Touch:
You know those special recipes that instantly transport you back to grandma's kitchen? This Impossible Pie Recipe is absolutely one of those treasures! My grandmother used to say the secret ingredient in her famous Impossible Pie Recipe wasn't in the list at all - it was the love and patience she stirred into every batch. She'd tell us kids that while the Impossible Pie Recipe seemed simple, it was her special touch that made the layers separate so perfectly every time.
I can still picture her in her favorite apron, showing me how to blend the ingredients for her treasured Impossible Pie Recipe "just so" while sharing stories of how she learned this magical dessert back in the 1970s. She always insisted on room temperature ingredients ("They get along better that way, dear!") and would never skip her ritual of gently tapping the pie dish three times before putting it in the oven - her lucky baking charm, she'd say with a wink.
The best part? Even though this Impossible Pie Recipe might seem like it needs a grandmother's years of experience to perfect, it's actually one of the most forgiving desserts you'll ever make. As Grandma would say, "The Impossible Pie Recipe knows what to do - we just need to trust it to work its magic!" And you know what? She was right. Every time I make this pie, I think of her and how she turned a simple recipe into a family treasure that we still cherish today.
So whether you're an experienced baker or just starting your kitchen adventures, this Impossible Pie Recipe carries a little bit of grandma's magic in every slice. Ready to create some sweet memories of your own? Let's get baking!
FAQ
Why didn't my impossible pie form layers?
The most common reasons are overmixing the batter, using cold ingredients, or incorrect oven temperature. Ensure ingredients are at room temperature and mix just until combined.
Can I make impossible pie ahead of time?
Yes! It actually tastes better the next day after the flavors have had time to meld. Make it up to 24 hours in advance and store in the refrigerator.
Why is my impossible pie runny?
If your pie seems runny, it likely needs additional baking time. The center should be set but might still have a slight wobble when done.
How did your Impossible Pie Recipe turn out?
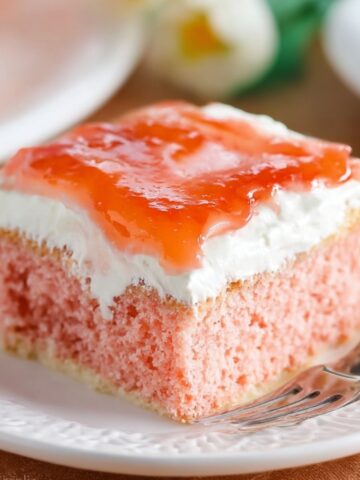
This recipe is sure to impress with its perfect balance of creamy custard, tender coconut, and that mysteriously perfect crust that forms all by itself! If you're a fan of magical self-layering desserts and vintage recipes that stand the test of time, be sure to try our Cherry Dump Cake Recipe next - another easy-to-make yet delicious treat that's just as simple and surprising!
Did you make this Impossible Pie Recipe? We'd love to hear about your experience! Leave a star rating and share your thoughts in the comments. Did you try any creative twists, like adding a sprinkle of cinnamon, or maybe swapping in some toasted almonds for part of the coconut? Your feedback not only helps others but also contributes to our growing community of home bakers who love these wonderfully simple yet impressive desserts.
And don't forget to share a photo of your magical creation! We especially love seeing those perfect layers when you slice into your Impossible Pie Recipe - it's always fun to see how the pie worked its magic in your kitchen. Happy baking!
1Related
Looking for other recipes like this? Try these:


Pairing
These are my favorite dishes to serve with Impossible Pie Recipe


Magical Impossible Pie Recipe 5-Ingredient
Equipment
- 9-inch pie dish
- Blender or food processor
- Measuring cups and spoons
- Mixing bowl
- Rubber spatula
Ingredients
- 4 large eggs room temperature
- 1¾ cups whole milk
- 1 cup granulated sugar
- ½ cup all-purpose flour
- ¼ cup unsalted butter melted and cooled
- 1 cup sweetened shredded coconut
- 1 teaspoon vanilla extract
- ¼ teaspoon salt
- Pinch of ground nutmeg optional
Instructions
- Preheat oven to 350°F (175°C). Lightly grease a 9-inch pie dish.
- In a blender, combine eggs, milk, and vanilla extract.
- Add melted butter and blend until combined.
- Add sugar, flour, and salt. Blend until smooth, about 30 seconds.
- Stir in shredded coconut by hand.
- Pour mixture into prepared pie dish.
- Bake for 50-60 minutes until golden brown and set.
- Cool completely before serving.
Notes
- All ingredients should be at room temperature
- Center may still have slight wobble when done
- Serve with whipped cream and fresh berries
Leave a Reply