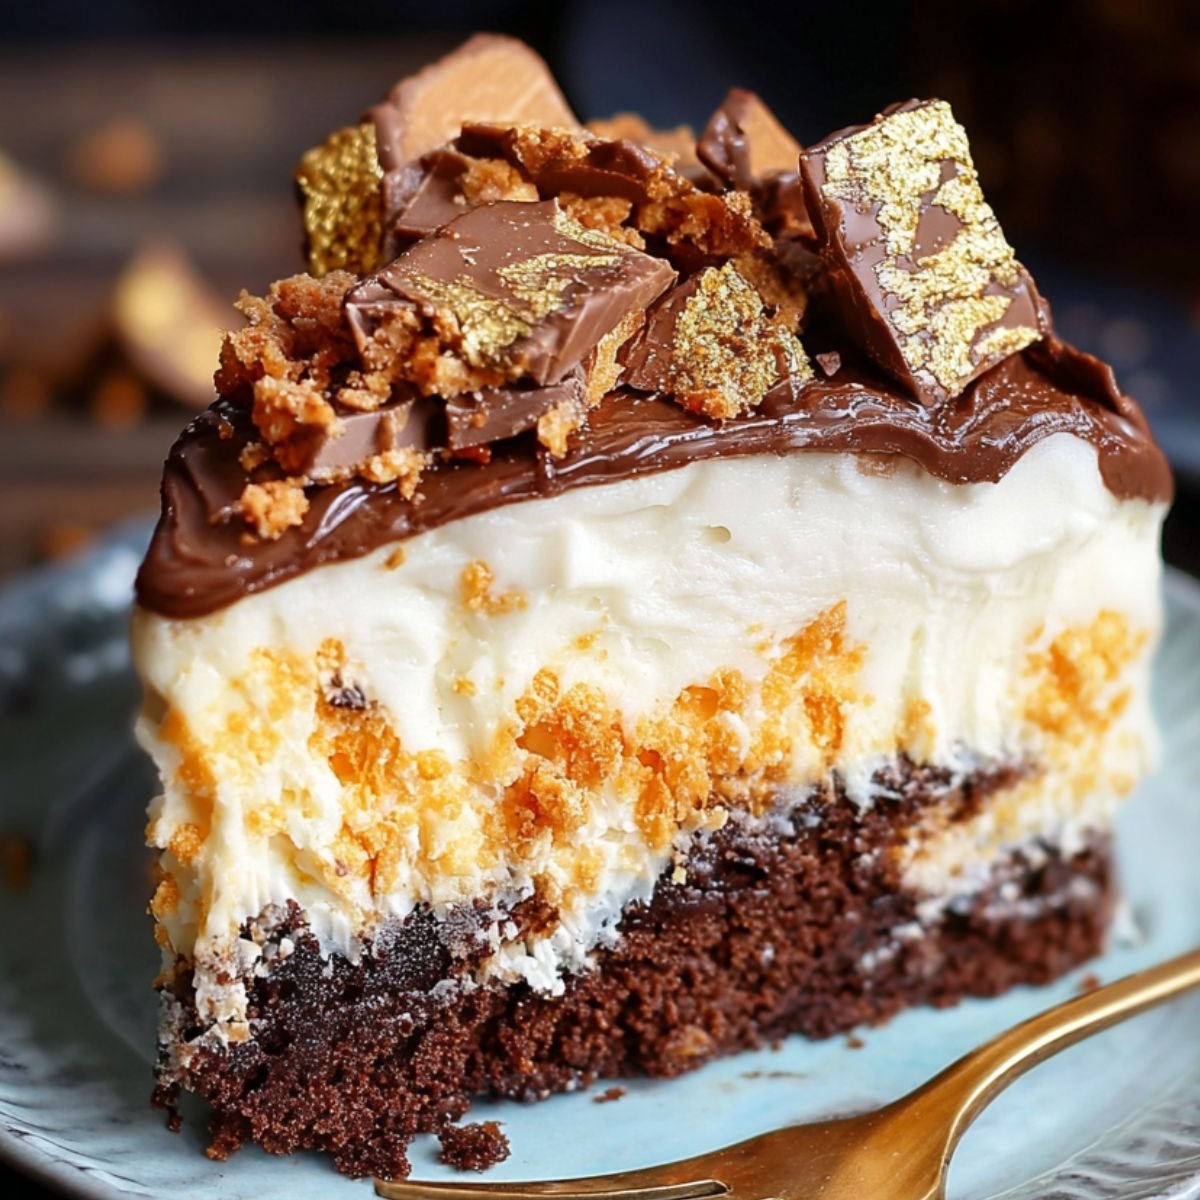
There's no dessert that brings out the kid in people quite like butterfinger cake - it's like someone took everything you loved about Halloween candy and turned it into an actual grown-up dessert. After 18 years of making this for birthdays, church potlucks, and random moments when life needed more peanut butter and chocolate, I've perfected a version that looks good but is actually super simple to make. Through 35 test batches (oliver was more than happy to help with quality control) and feedback from candy lovers who don't mess around, I've figured out how to keep those Butterfinger pieces perfectly crispy while making the most amazing layers of creamy, crunchy, sweet goodness.

Why You'll Love This Butterfinger Cake Recipe
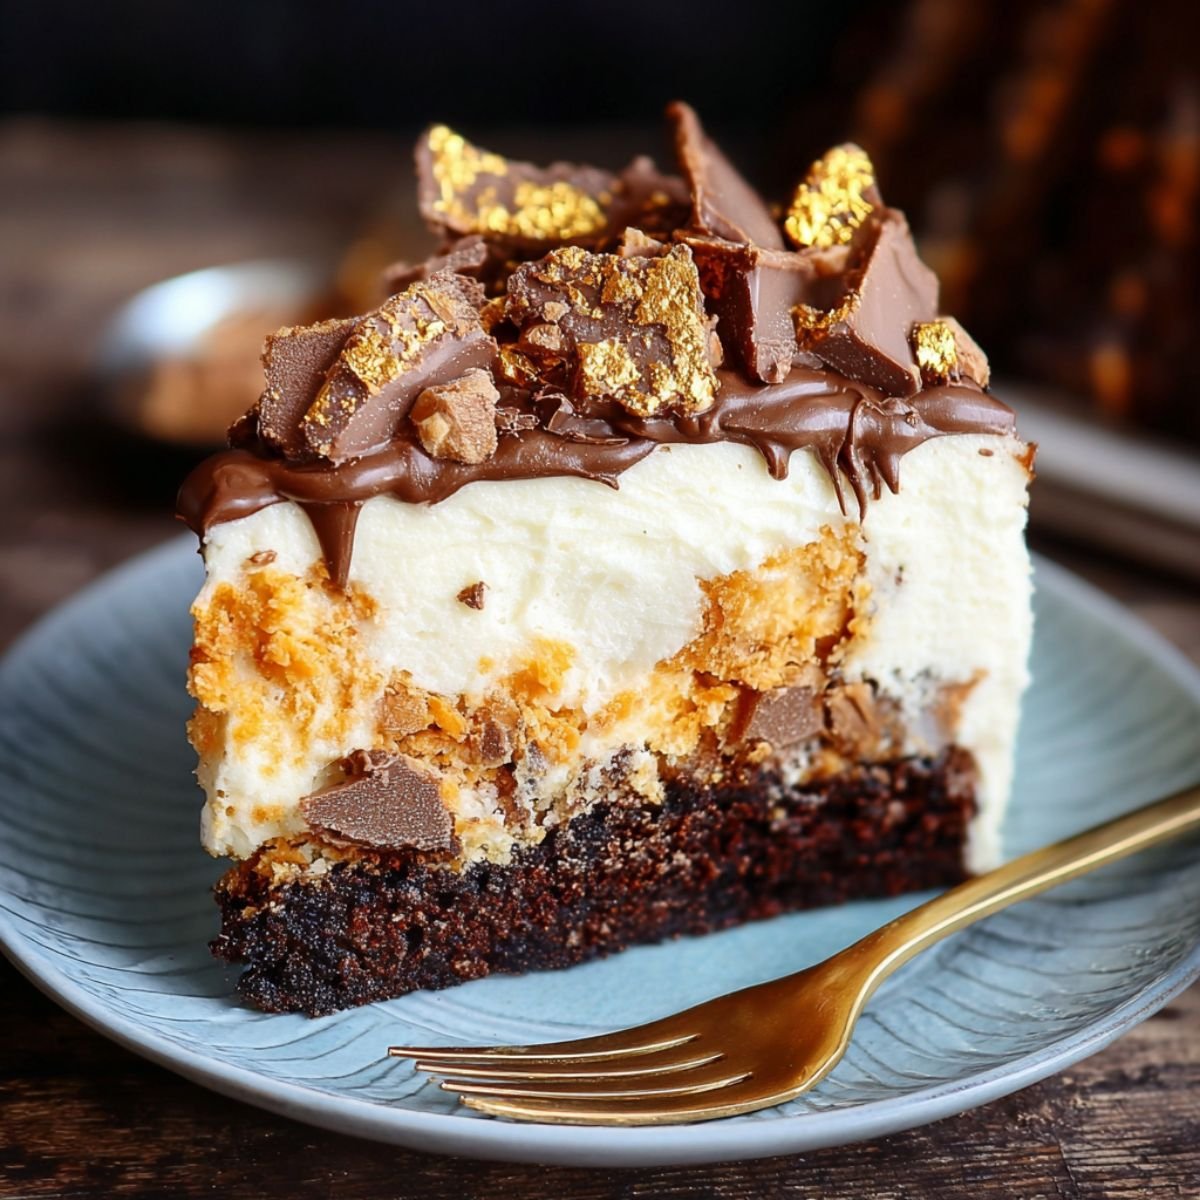
From years of making this for people who get excited about candy desserts, here's why this recipe is totally foolproof. This butterfinger cake fixes every problem I've ever had with candy bar desserts - no more soggy candy pieces, no more layers that slide around when you cut it, and definitely no more wondering if it's too sweet or not sweet enough. You get perfectly crispy Butterfinger pieces, creamy layers that hold together beautifully, and just the right balance of peanut butter and chocolate that makes every bite interesting without being too much.
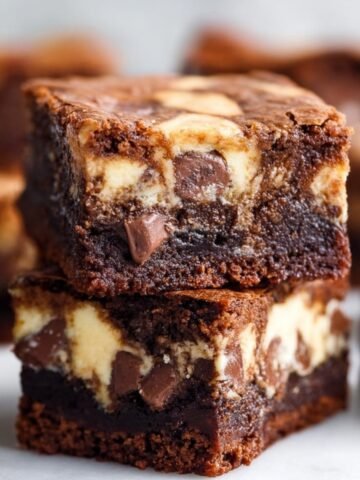
What makes this Butterfinger Cake different is how it handles the candy. Instead of just crushing Butterfingers and dumping them everywhere, I figured out exactly when and how to add them so they stay crunchy and don't get soaked up into the cream layers. The cake base is moist but sturdy enough to support all the toppings, and the cream layers are sweet but not so rich that you can't eat a decent-sized piece.oliver's friends always request this over regular birthday cake, and honestly, adults get just as excited when they see those golden Butterfinger pieces peeking through the layers.
Jump to:
- Why You'll Love This Butterfinger Cake Recipe
- Ingredients For Butterfinger Cake
- How To Make Butterfinger Cake Step By Step
- Equipment For Butterfinger Cake
- Storage Tips For Butterfinger Cake
- Smart Swaps For Butterfinger Cake
- Butterfinger Cake Variations
- Top Tip
- FAQ
- Candy Bar Heaven Made Simple!
- Related
- Pairing
- Butterfinger Cake
Ingredients For Butterfinger Cake
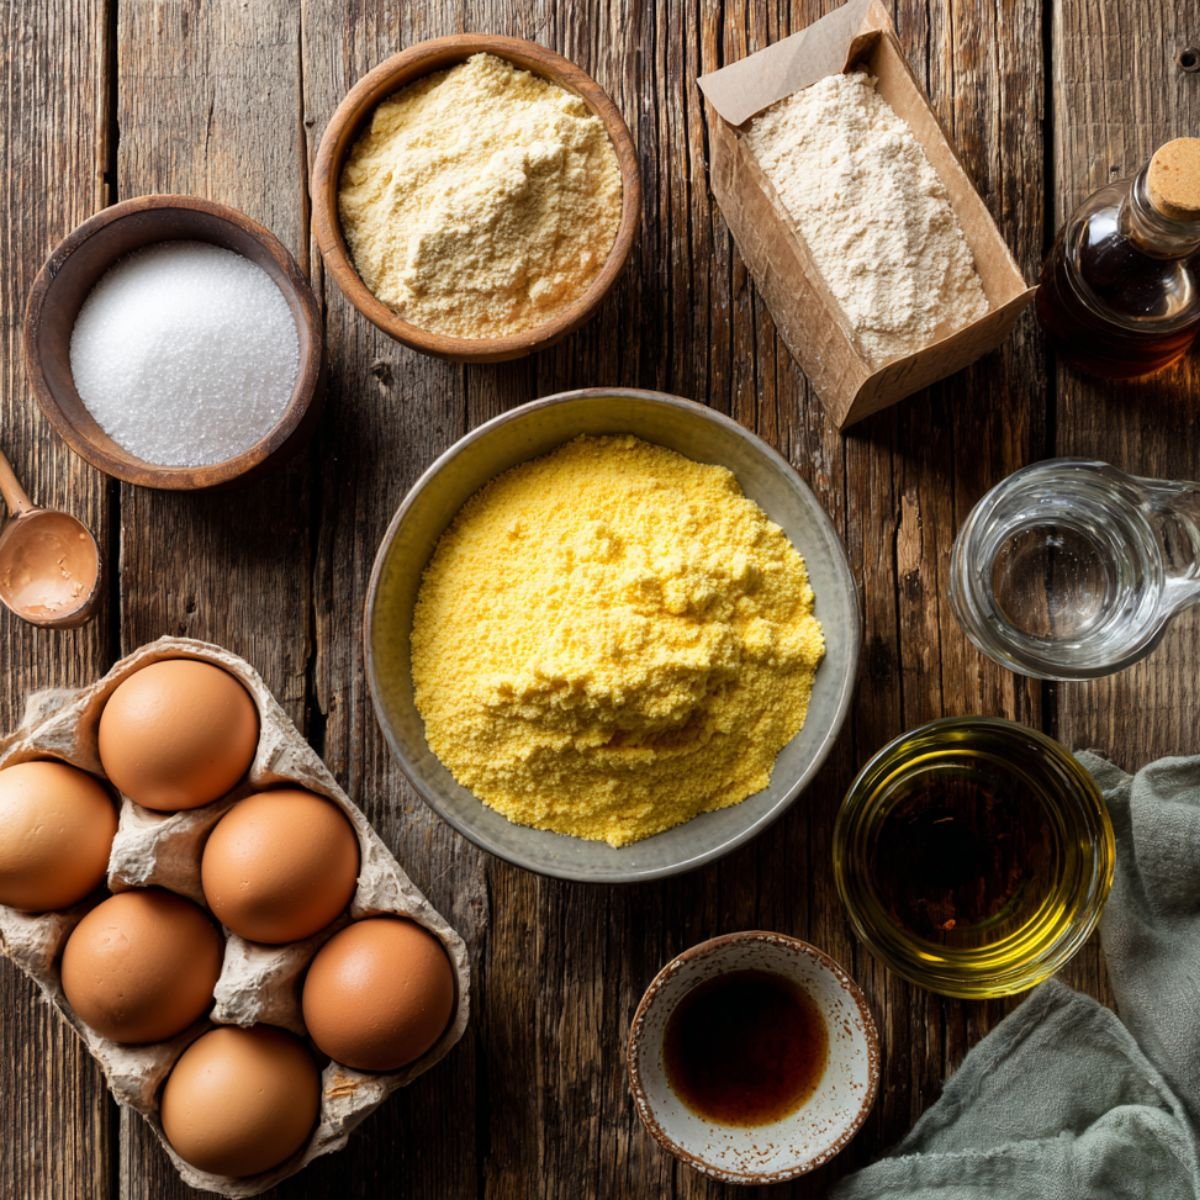
For the Cake Base:
- Yellow cake mix
- Large eggs
- Vegetable oil
- Water
- Vanilla extract
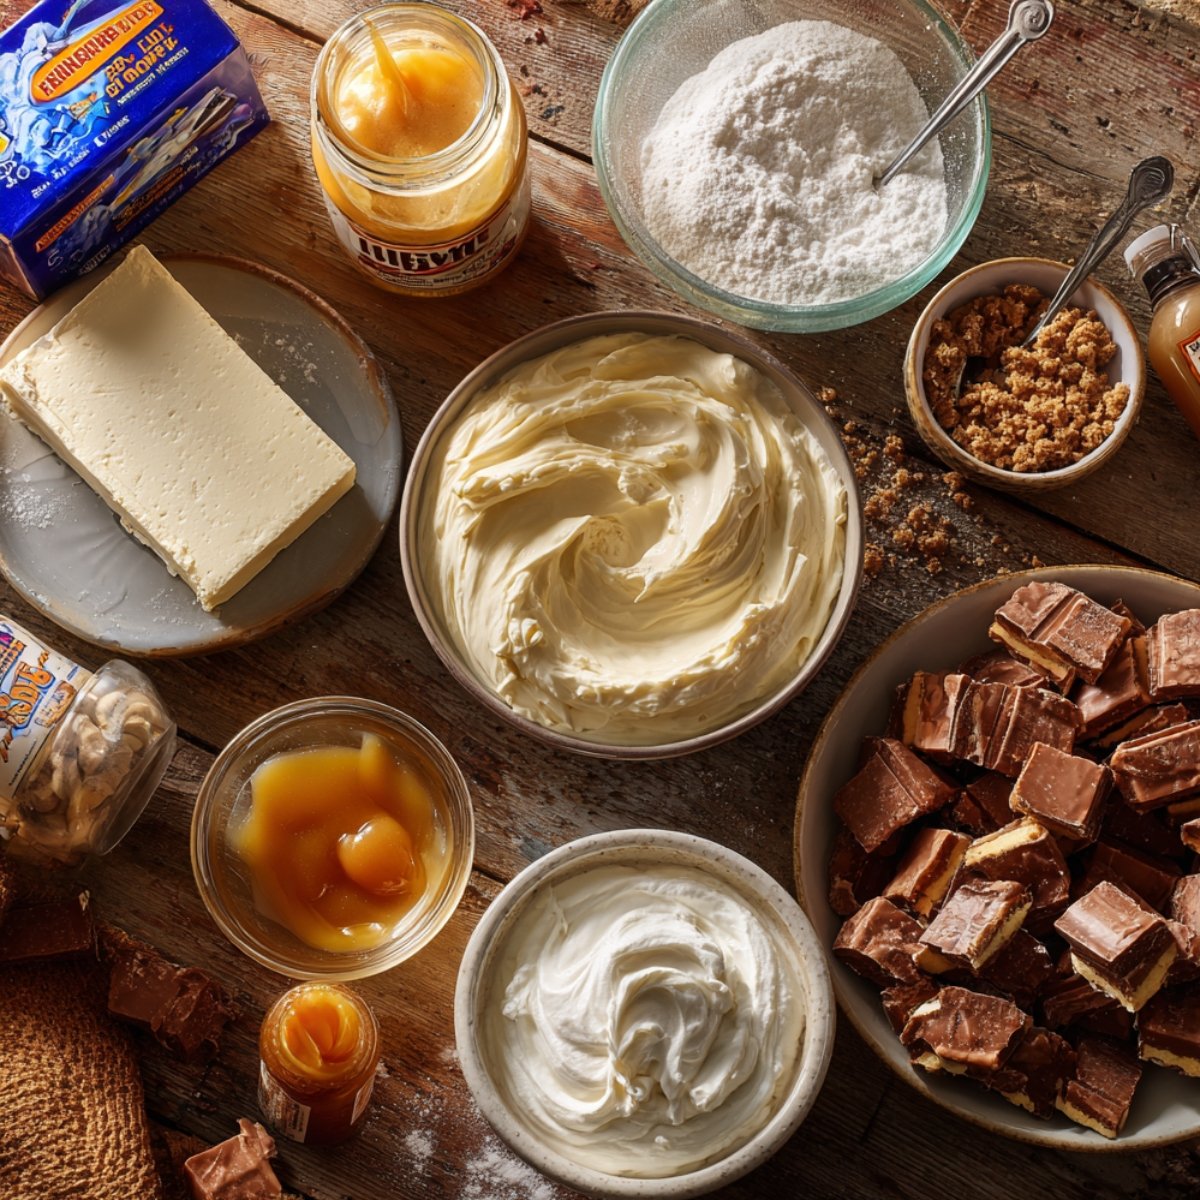
For the Cream Layers:
- Cream cheese
- Powdered sugar
- Creamy peanut butter
- Heavy whipping cream
- Vanilla extract
The Star Ingredients:
- Butterfinger candy bars
- Cool Whip or whipped topping
- Caramel sauce
- Extra crushed candy for topping
See recipe card for quantities.
How To Make Butterfinger Cake Step By Step
Bake the Base:
- Prepare cake mix according to package directions
- Bake in greased 9x13 pan
- Cool completely before adding layers
- Poke holes all over with fork handle
Crush the Candy:
- Put Butterfinger bars in zip-top bag
- Crush with rolling pin into chunky pieces
- Set aside ½ cup for final topping
- Keep pieces fairly large for crunch
Make the Cream Layer:

- Beat cream cheese until smooth
- Add powdered sugar and peanut butter
- Whip heavy cream separately until peaks form
- Fold whipped cream into peanut butter mixture
Assembly Magic:
- Spread cream mixture over cooled cake
- Sprinkle most of crushed Butterfingers on top
- Add layer of Cool Whip
- Drizzle with caramel sauce if using
Final Touches:
- Top with reserved crushed candy
- Refrigerate for at least 4 hours
- Cut into squares to serve
- Store covered in fridge
Equipment For Butterfinger Cake
- 9x13 inch baking pan
- Large mixing bowls
- Electric mixer
- Rolling pin for crushing candy
- Heavy-duty zip-top bags
- Rubber spatula for folding
Storage Tips For Butterfinger Cake
Refrigerator Storage (5-7 days):
- Cover tightly with plastic wrap or foil
- Store in refrigerator due to cream layers
- Cut pieces stay fresh when wrapped individually
- Candy pieces may soften slightly over time
Make-Ahead Magic:
- Assemble up to 2 days before serving
- Actually gets better after overnight chilling
- All flavors blend together perfectly
- Great for stress-free entertaining
Freezing (Not Recommended):
- Cream layers don't freeze well
- Candy pieces lose their crunch
- Texture changes when thawed
- Better to make fresh when needed
Smart Swaps For Butterfinger Cake
Cake Base Options:
- Yellow cake mix → Chocolate cake mix
- Box mix → Homemade vanilla cake
- Regular → Gluten-free cake mix
- Standard → Sugar-free cake mix
Cream Layer Alternatives:
- Cream cheese → Greek yogurt (thicker consistency)
- Heavy cream → Cool Whip (skip whipping step)
- Peanut butter → Almond butter or sunbutter
- Regular → Sugar-free versions
Candy Substitutes:
- Butterfinger → Snickers bars chopped
- Regular → Reese's peanut butter cups
- Standard → Heath bars for toffee flavor
- Traditional → Any crunchy peanut butter candy
Topping Swaps:
- Cool Whip → Homemade whipped cream
- Caramel sauce → Chocolate sauce
- Regular → Sugar-free options
- Store-bought → Homemade versions
Butterfinger Cake Variations
Chocolate Butterfinger:
- Use chocolate cake mix
- Add cocoa powder to cream layer
- Chocolate whipped topping
- Double the chocolate goodness
Peanut Butter Overload:
- Add peanut butter chips to cake
- Extra peanut butter in cream
- Peanut butter drizzle on top
- For serious peanut butter lovers
Caramel Butterfinger:
- Layer caramel sauce between everything
- Caramel whipped cream
- Salted caramel drizzle
- Rich and decadent
Mini Butterfinger Bites:
- Make in cupcake form
- Individual serving sizes
- Perfect for parties
- Easy portion control
No-Bake Version:
- Great for hot summer days
- Use graham cracker crust
- Skip baking completely
- Refrigerate until set

Top Tip
- This butterfinger cake tastes way better after chilling overnight - the cream layers set up perfectly and those candy flavors spread through the whole dessert, making every bite incredible.
- After making this cake for countless gatherings and potlucks, here's what I've learned about keeping it at its best. Store this cake in the fridge covered tight with plastic wrap or foil - it'll stay good for up to a week. Because of all the cream layers, it needs to stay cold, and cut pieces stay fresh when you wrap each one by itself. The candy pieces may soften slightly over time, but they still taste great.
- The best part about this Butterfinger Cake is that you can make it up to 2 days before you need it, and it actually gets better after sitting overnight in the fridge. All the flavors have time to mix together perfectly, and the cream layers set up just right. It's perfect for stress-free entertaining when you want to get your dessert done ahead of time. While you can freeze this cake, I don't recommend it because the cream layers get weird when they thaw and the candy pieces lose their crunch.
FAQ
What is the most delicious cake in the world?
That's totally up to personal taste, but this butterfinger cake is definitely up there! The combination of creamy layers, crunchy candy, and moist cake hits all the right spots. It's one of those desserts that makes people forget about everything else when they're eating it.
Why did Butterfinger change its recipe?
Butterfinger changed their recipe in 2019 to improve the taste and texture. The new version has a stronger peanut butter flavor and crispier texture. For this cake, both the old and new Butterfingers work great - just crush them up and enjoy.
How long does butterfinger cake last in the fridge?
This cake stays fresh in the fridge for up to a week when covered right. The cream layers keep it moist, though the candy pieces may soften slightly after a few days. It actually tastes better after the first day when all the flavors mix together.
How to make a cake moist and fluffy?
For moist cake, don't overbake it and make sure your ingredients are at room temperature before mixing. Adding an extra egg yolk or using cake flour instead of all-purpose can help too. This butterfinger poke cake stays moist because of all the cream layers on top.
Candy Bar Heaven Made Simple!
What I love most about this recipe is how it transforms simple ingredients into something that looks like it came from a fancy bakery. Every time I make a batch, people assume I spent hours creating this masterpiece, but the reality is that most of the work happens in the fridge while you're doing other things.
This cake has become my go-to dessert for every celebration, and I've watched it become the star of countless potluck tables over the years. The best part is seeing people's faces when they take that first bite and realize how perfectly balanced all the flavors are. Unlike some candy desserts that are just pure sugar overload, this one has real depth and texture that keeps you coming back for more. I've probably taught this recipe to fifty people, and every single one has become a butterfinger cake convert.
Craving more desserts that bring out your inner child? Try our Healthy Mango Sorbet Recipe: 3 Ingredients that captures all that campfire magic without needing an actual fire - it's another one of those recipes that looks good but is actually pretty straightforward. Want something fruity and easy? Our Easy Strawberry Tart Recipe is foolproof and tastes like summer in every bite, perfect for when you want homemade flavor without homemade effort. For holiday treats that look fancy but are simple to make, our Easy Vegetable Lasagna Recipe are covered in powdered sugar perfection and melt in your mouth like little bites of winter magic!
Share your butterfinger cake success! We love seeing your golden candy-topped creations and hearing about your family's reactions!
⭐️⭐️⭐️⭐️⭐️ Rate this Butterfinger Cake and join our baking community!
Related
Looking for other recipes like this? Try these:

Pairing
These are my favorite dishes to serve with Butterfinger Cake


Butterfinger Cake
Equipment
- 1 9x13 inch baking pan (For baking cake base)
- 2 Large mixing bowls (One for cream layer, one for whipping)
- 1 Electric mixer (For smooth cream and whipped peaks)
- 1 Rolling pin (To crush candy)
- 1 Heavy-duty zip-top bag (Holds candy for crushing)
- 1 Rubber spatula (For folding and spreading)
Ingredients
For the Cake Base:
- 1 box Yellow cake mix - Follow package directions
- 3 Large eggs
- ½ cup Vegetable oil
- 1¼ cup Water
- 1 teaspoon Vanilla extract - Optional for extra flavor
For the Cream Layer:
- 8 oz Cream cheese - Softened
- 1 cup Powdered sugar
- ½ cup Creamy peanut butter
- 1½ cup Heavy whipping cream - Whipped to stiff peaks
- 1 teaspoon Vanilla extract
Star Ingredients and Topping:
- 6-8 bars Butterfinger candy bars - Crushed, reserve ½ cup for topping
- 8 oz Cool Whip - Or any whipped topping
- ¼ cup Caramel sauce - Optional drizzle
Instructions
- Bake the cake base and poke holes
- Crush Butterfinger candy bars
- Make the cream filling
- Layer cream, candy, and whipped topping
- Add toppings, chill, and serve
Leave a Reply