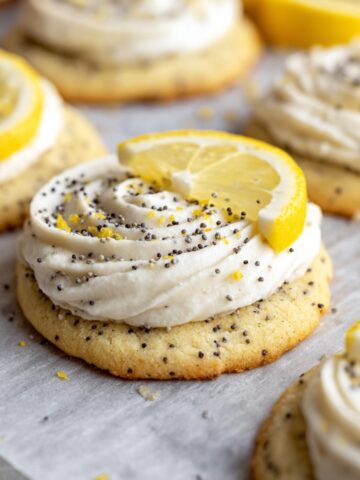
This raspberry thumbprint cookies recipe came about when I found my great-grandmother's faded index card tucked inside her old cookbook. Three ingredients were scribbled on it - no instructions, no temperatures, nothing else. What should have been simple turned into twelve years of kitchen experiments, failed batches, and gradually figuring out why some cookies turned out gorgeous while others cracked, spread weird, or had jam that burned.
Liam has been my taste tester since he could hold a cookie, and let me tell you - seven-year-olds don't lie about food. If something tastes off, you'll know immediately. His friends are even tougher critics. I've watched kids take one bite, make a face, and hand the cookie back to their mom. That kind of honesty pushed me to keep tweaking this recipe until I got it right.

Why You'll Love This Raspberry Thumbprint Cookies
When I teach these Raspberry Thumbprint Cookies in my kitchen, I watch people's faces light up when they see how easy the dough comes together. No sticky mess, no crumbly disasters, and you don't need to chill it for hours like most butter cookies. What really surprises everyone is how these cookies stay soft for days. Most thumbprint recipes give you cookies that taste wonderful fresh but turn into little rocks by the next morning. I figured out the exact butter-to-flour balance that keeps them tender, so you can bake them three days before your party and they'll still be perfect.
This recipe works whether you're making twelve Raspberry Thumbprint Cookies for Sunday dinner or 200 for the school fundraiser. I've done both, and the results are identical every time. The jam stays put instead of sinking into the dough or bubbling over the edges. Liam loves the thumb-pressing part, and his friends always fight over who gets to help. Plus, these freeze beautifully - shape them and freeze unbaked, then pop them straight into the oven when you need fresh cookies. Or bake them completely and freeze for up to three months. Either way, you'll have homemade cookies ready whenever someone drops by.
Jump to:
- Why You'll Love This Raspberry Thumbprint Cookies
- Ingredients For Raspberry Thumbprint Cookies
- How To Make Raspberry Thumbprint Cookies Step By Step
- Storage Tips
- Raspberry Thumbprint Cookies Variations
- Substitutions
- Equipment For Raspberry Thumbprint Cookies
- Top Tip
- FAQ
- Time for Cookie Magic!
- Related
- Pairing
- Raspberry Thumbprint Cookies
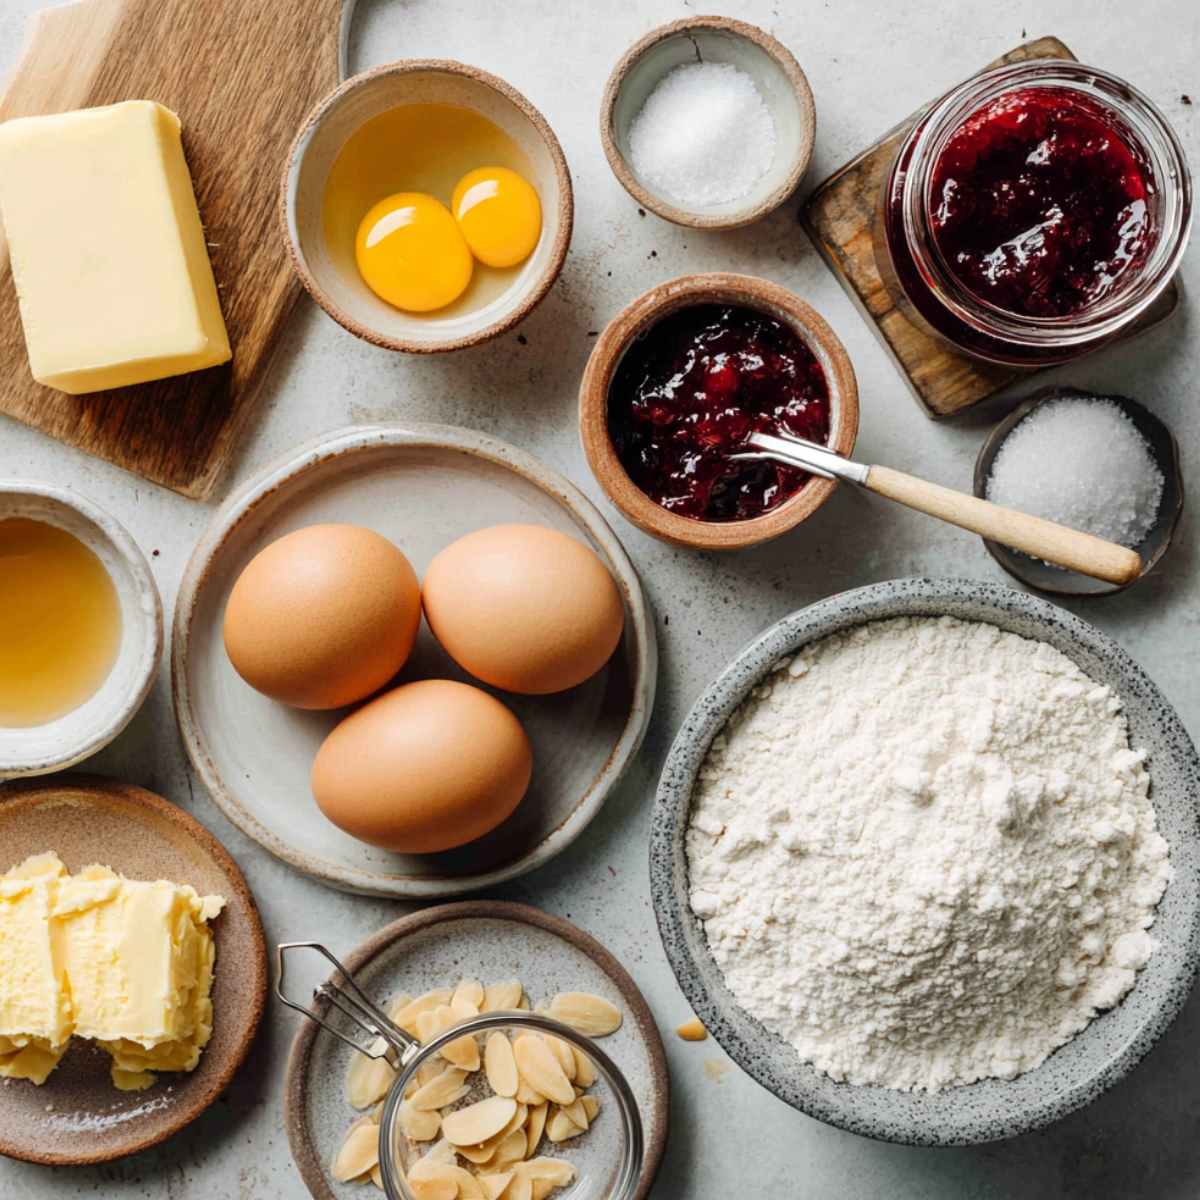
Ingredients For Raspberry Thumbprint Cookies
Cookie Base:
- European-style unsalted butter
- Superfine granulated sugar
- Large egg yolks
- Pure vanilla extract
- Almond extract
- All-purpose flour
- Fine sea salt
Filling & Finish:
- Seedless raspberry jam
- Powdered sugar glaze
- Sliced almonds for rolling
See recipe card for quantities.
How To Make Raspberry Thumbprint Cookies Step By Step
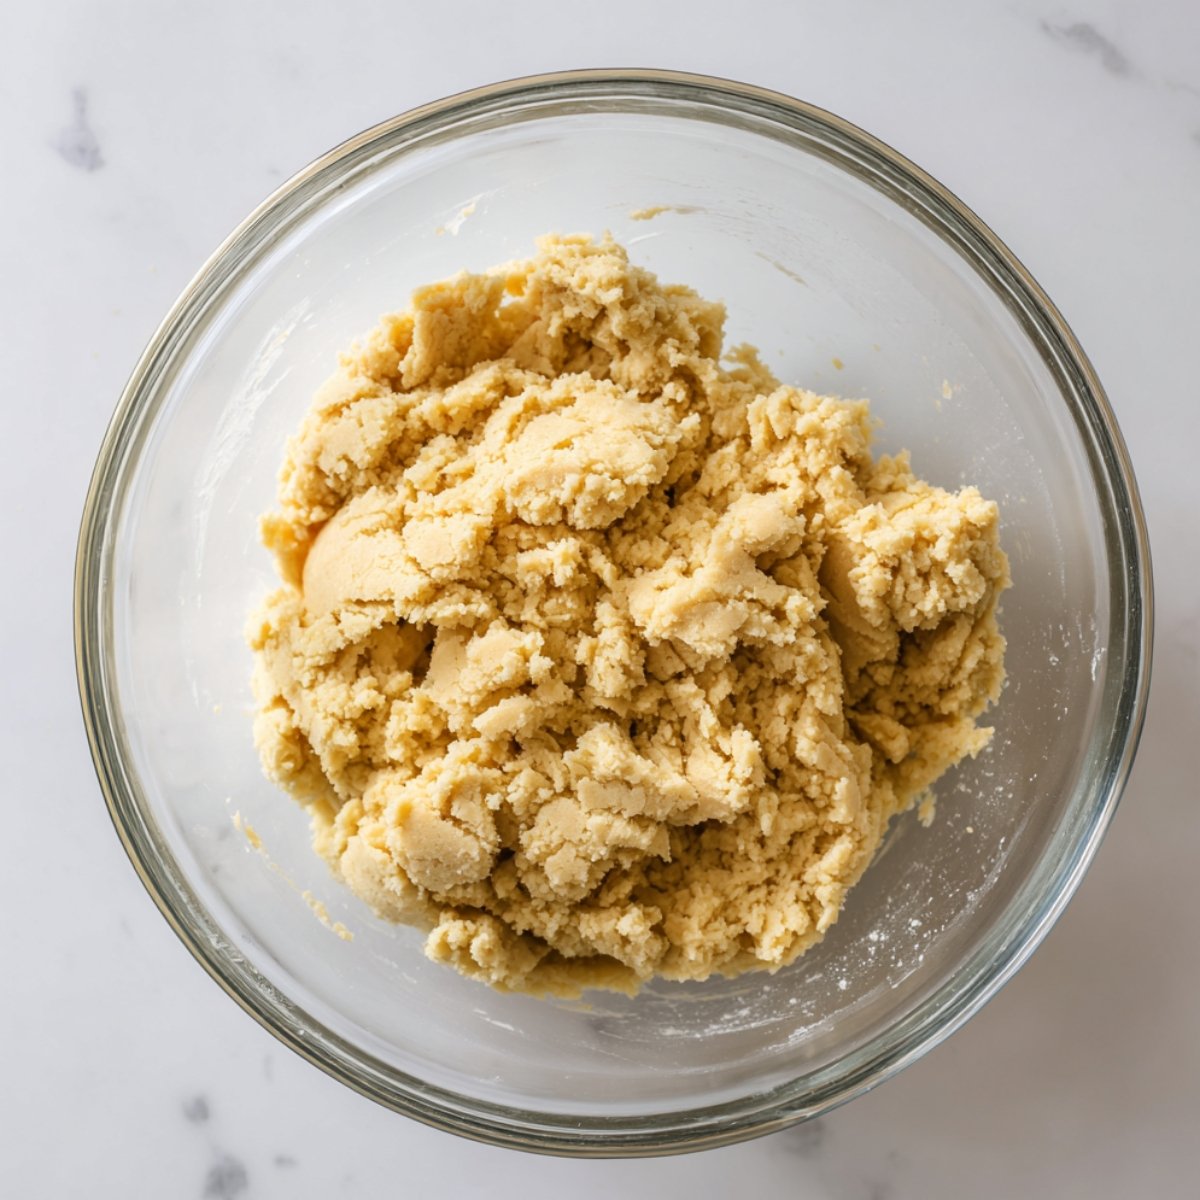
Stage One - Dough Preparation:
Cream the butter and sugar for exactly four minutes - I time it because under-creaming gives you dense cookies. Add egg yolks one at a time, then mix in both extracts just until combined. Gradually add the flour mixture, stopping as soon as it comes together. Overmixing makes tough cookies. The dough should feel soft but not sticky. If it's too soft to handle, chill for 30 minutes.
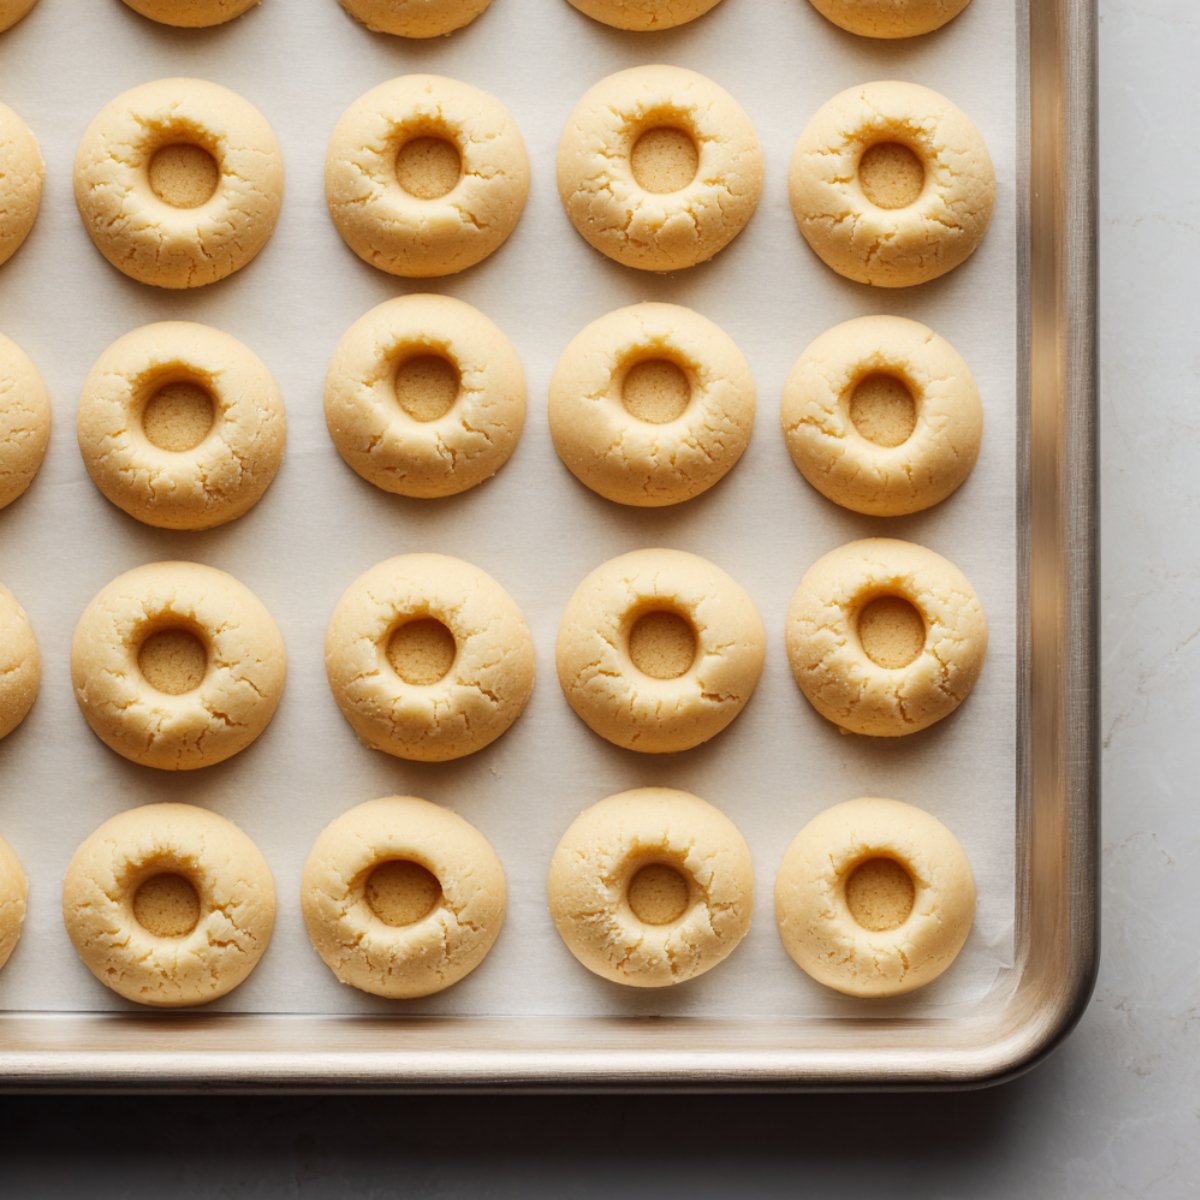
Stage Two - Shaping and Baking:
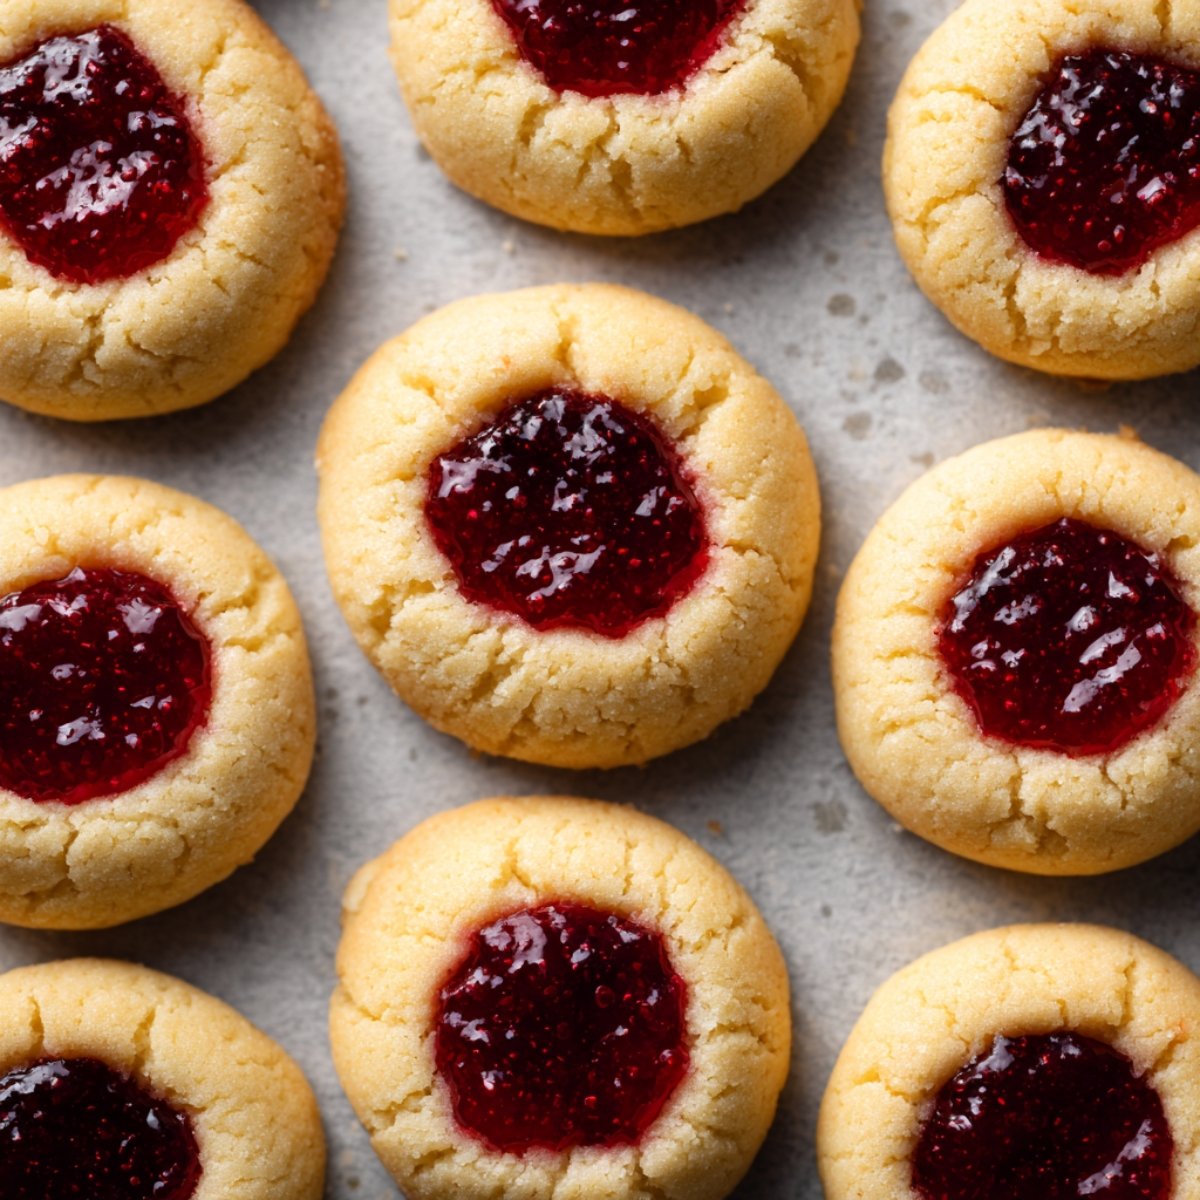
Preheat your oven to 350°F and line baking sheets with parchment. Roll dough into balls about the size of walnuts. If you're using almonds, roll each ball in the sliced almonds now. Place them on the baking sheets with about two inches between each cookie. Here's the key part: press your thumb gently into each center, going about halfway down but not all the way through. Don't worry if the edges crack a tiny bit - that's normal.
Stage Three - The Two-Bake Method:
Bake for 10 minutes without any jam. Pull them out and gently re-press the centers with your thumb or the back of a small spoon - they puff up a bit during baking. Now add about half a teaspoon of jam to each center. Bake for another 8-12 minutes until the edges are lightly golden. Let them cool on the baking sheet for five minutes before moving to a wire rack.
Storage Tips
Having baked these for years of Raspberry Thumbprint Cookies exchanges, here's what keeps them perfect:
Counter Storage (5 days):
- Cool completely first
- Airtight container only
- Parchment between layers
- Room temperature storage
- Away from heat sources
Freezer Storage (3 months):
- Unbaked: Freeze shaped cookies on trays, transfer to bags
- Baked: Single layer freeze, then container
- Bake frozen cookies with 2-3 extra minutes
- Thaw baked cookies at room temperature
Make-Ahead Options:
- Dough refrigerates 3 days
- Shaped cookies overnight before baking
- Actually taste better next day
- Let cold dough warm before shaping
Important Notes:
- Never refrigerate baked cookies
- Don't store while warm
- Jam may darken slightly (normal)
- Separate layers prevent sticking
Raspberry Thumbprint Cookies Variations
Chocolate Raspberry Thumbprints:
Add 3 tablespoons cocoa powder to the dough and take out the same amount of flour. The cookies turn rich and chocolatey, almost like brownies but still tender. Fill them with raspberry jam - that chocolate-berry combo never gets old. Liam calls these "fancy cookies" because they look so elegant on the plate.
Almond Cherry Delight:
Use twice as much almond extract and roll each cookie ball in sliced almonds before you make the thumbprint. The nuts get toasted and crunchy during baking, and the almond flavor really comes through. Cherry preserves work beautifully here - it tastes like those almond pastries from fancy bakeries.
Lemon Curd Sunshine:
Grate the zest from two lemons right into the dough. Your kitchen will smell incredible while these bake. Instead of jam, fill the centers with lemon curd - you can buy it or make your own. These are perfect when you want something bright and cheerful, especially in winter.
Pecan Caramel Indulgence:
Chop pecans really fine and roll the cookie balls in them before pressing the thumbprints. The nuts stick to the outside and get golden during baking. Fill the centers with thick caramel sauce or dulce de leche. These taste like fancy candy shop treats but they're just cookies.
Substitutions
Having made these Raspberry Thumbprint Cookies for friends with various dietary needs, here are the substitutions that actually work:
Butter Alternatives:
- Unsalted → Salted (reduce added salt)
- Regular → Plant-based butter sticks
- Dairy → Solid coconut oil (room temperature)
- European-style → Regular unsalted butter
Flour Options:
- All-purpose → Gluten-free baking blend (add 2 extra tablespoons)
- White → Whole wheat pastry flour
- Regular → Almond flour (use 25% less)
Sugar Swaps:
- Granulated → Coconut sugar
- White → Light brown sugar
- Regular → Sugar-free erythritol (use 25% less)
Egg Substitutes:
- Egg yolks → Whole egg
- Regular → Flax eggs (2 tablespoons ground flax + 6 tablespoons water)
- Dairy → Applesauce (3 tablespoons)
Jam Variations:
- Raspberry → Apricot preserves
- Regular → Sugar-free jam
- Store-bought → Homemade jam
- Seedless → Chunky preserves
Equipment For Raspberry Thumbprint Cookies
Must-Have Tools:
- Stand mixer or hand mixer
- Large mixing bowls
- Measuring cups and spoons
- Cookie sheets
- Parchment paper
- Wire cooling racks
Really Helpful Extras:
- Kitchen scale
- Cookie scoop
- Small spoon for jam
Top Tip
- These raspberry thumbprint cookies stay soft for days when you add a small piece of apple to your storage container. I learned this trick from my neighbor Mrs. Henderson, who kept her Christmas cookies fresh for weeks. The apple gives off just enough moisture to keep the cookies from getting hard.
- Here's what you do: cut a slice of apple about the size of a quarter and tuck it into one corner of your container. Don't let it touch the Raspberry Thumbprint Cookies directly, or you'll get soggy spots. The apple slowly releases moisture into the air, which keeps the cookies tender without making them wet. Change the apple piece every few days if you're storing cookies for more than a week.
- This works because Raspberry Thumbprint Cookies get stale when they dry out. The apple acts like a little humidifier inside your container. Mrs. Henderson used this trick for everything - sugar cookies, snickerdoodles, even brownies. She said her grandmother taught it to her back in the 1940s when people couldn't afford to waste food. I was skeptical until I tried it myself.
FAQ
Should you fill thumbprint cookies before or after baking?
Fill the cookies partway through baking. I bake them for 10 minutes first, then take them out and add the jam. This keeps the jam from burning while making sure the cookie dough cooks properly. If you add jam before baking, it bubbles over and makes a mess.
What's the secret to a tender thumbprint cookie?
Don't overwork the dough, and make sure your butter is the right temperature. It should be soft enough to dent with your finger but not so soft that it's melting. Mix everything just until it comes together, then stop. Chilling the dough for 30 minutes makes it easier to shape too.
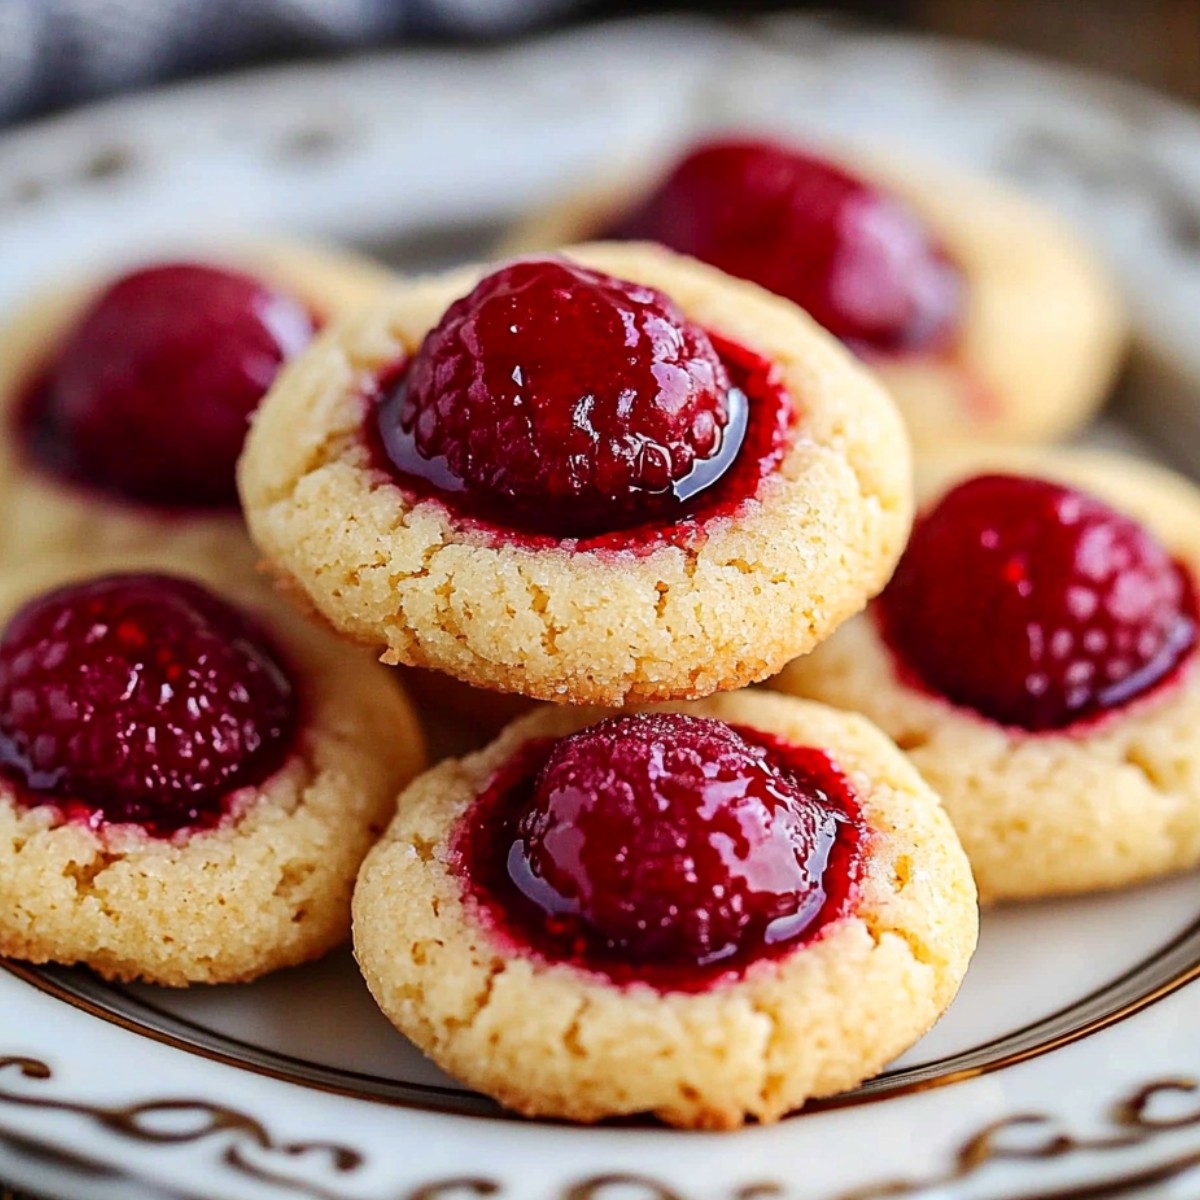
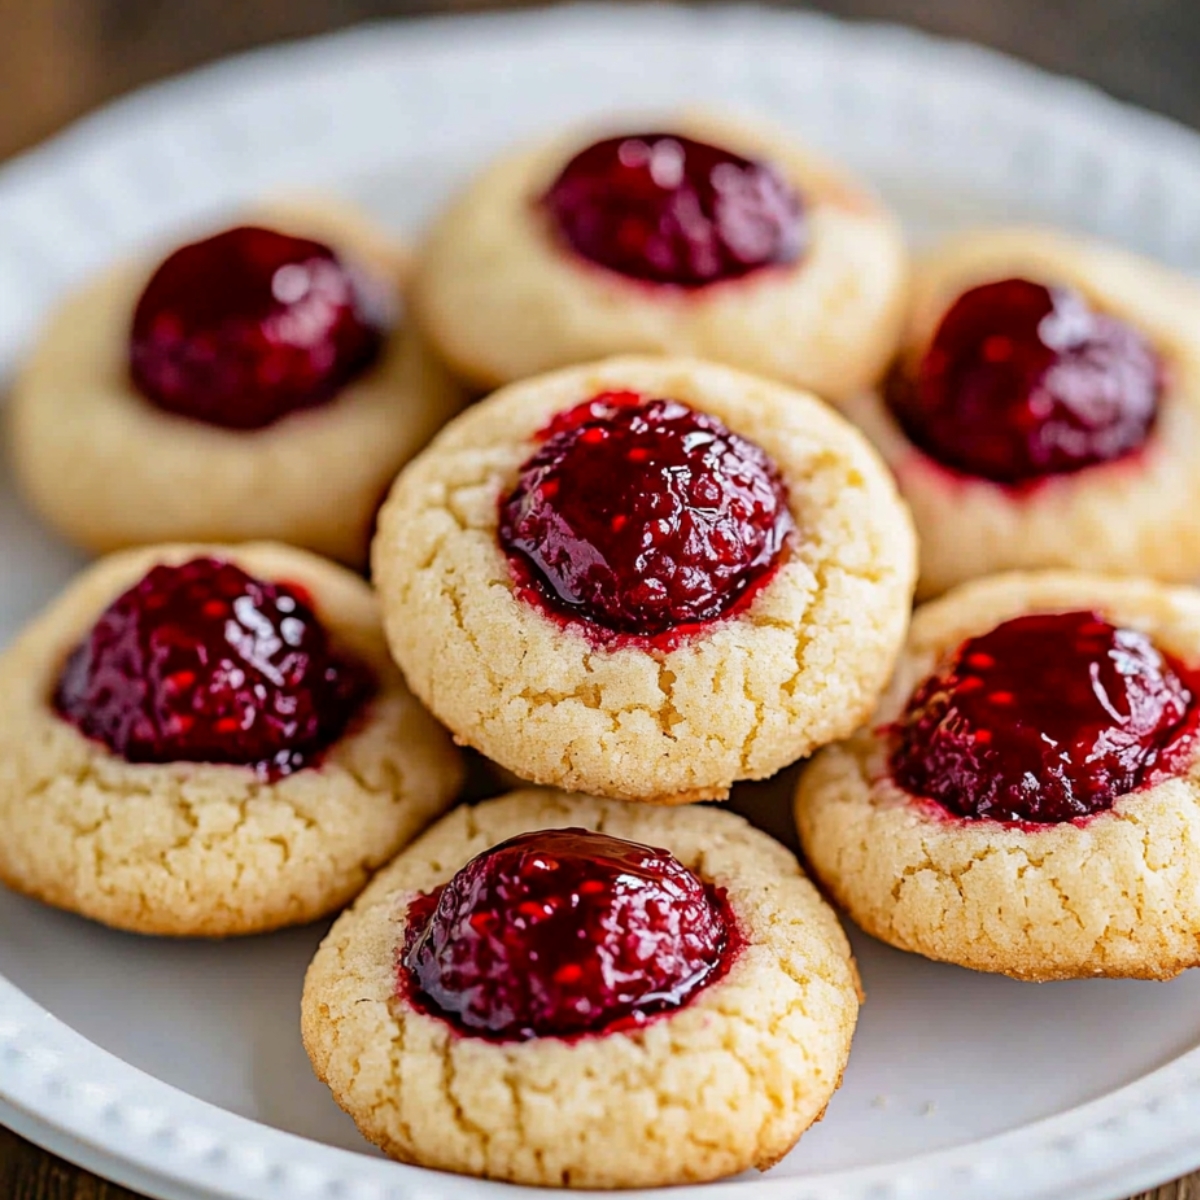
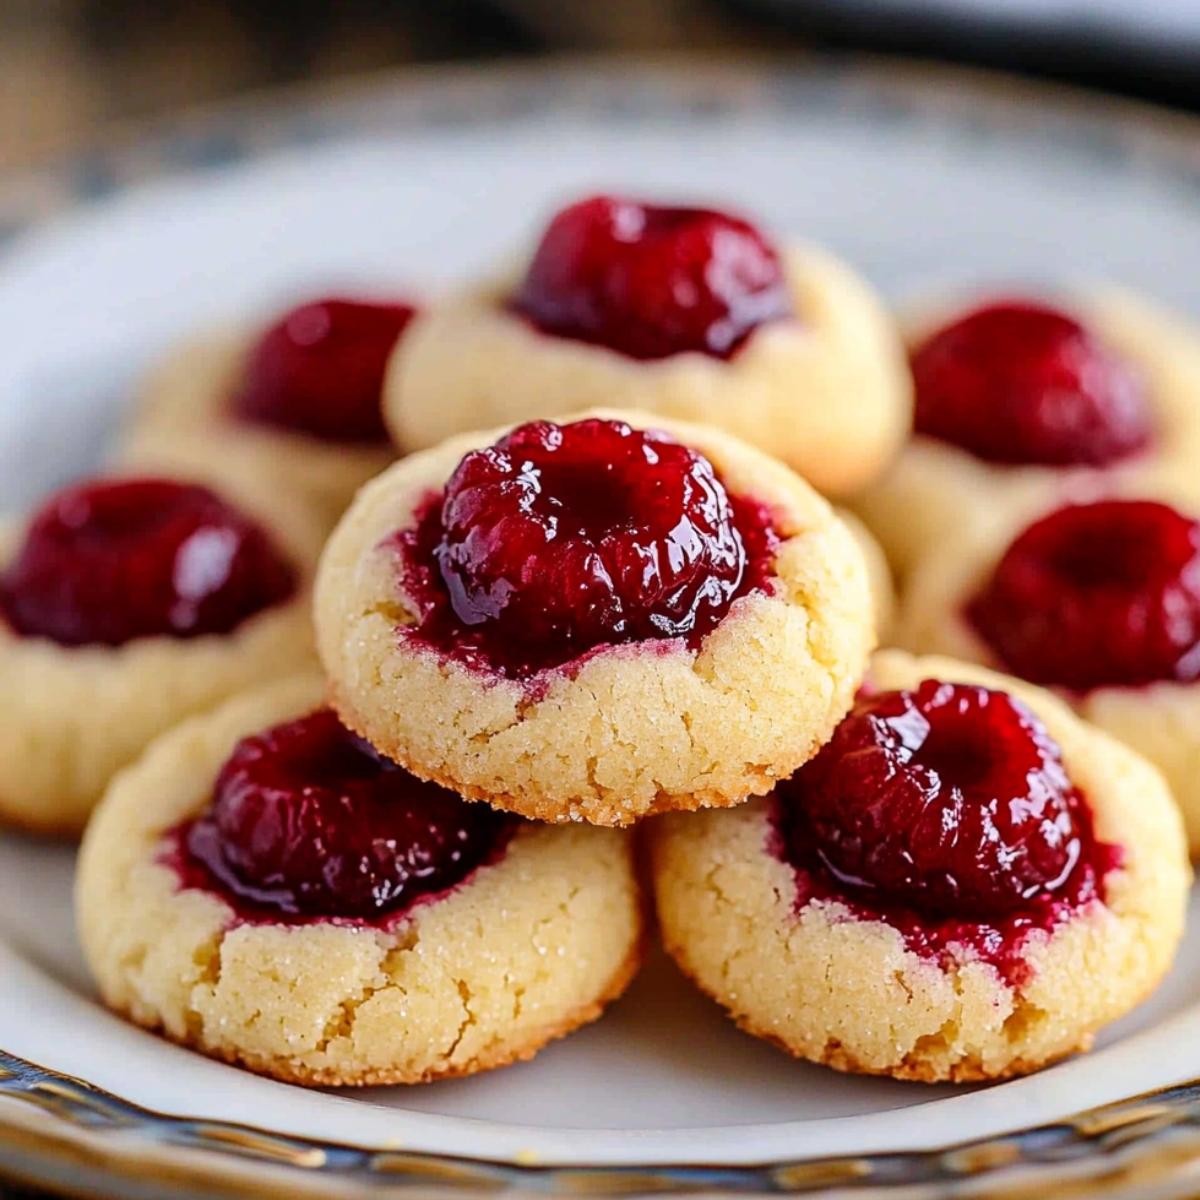
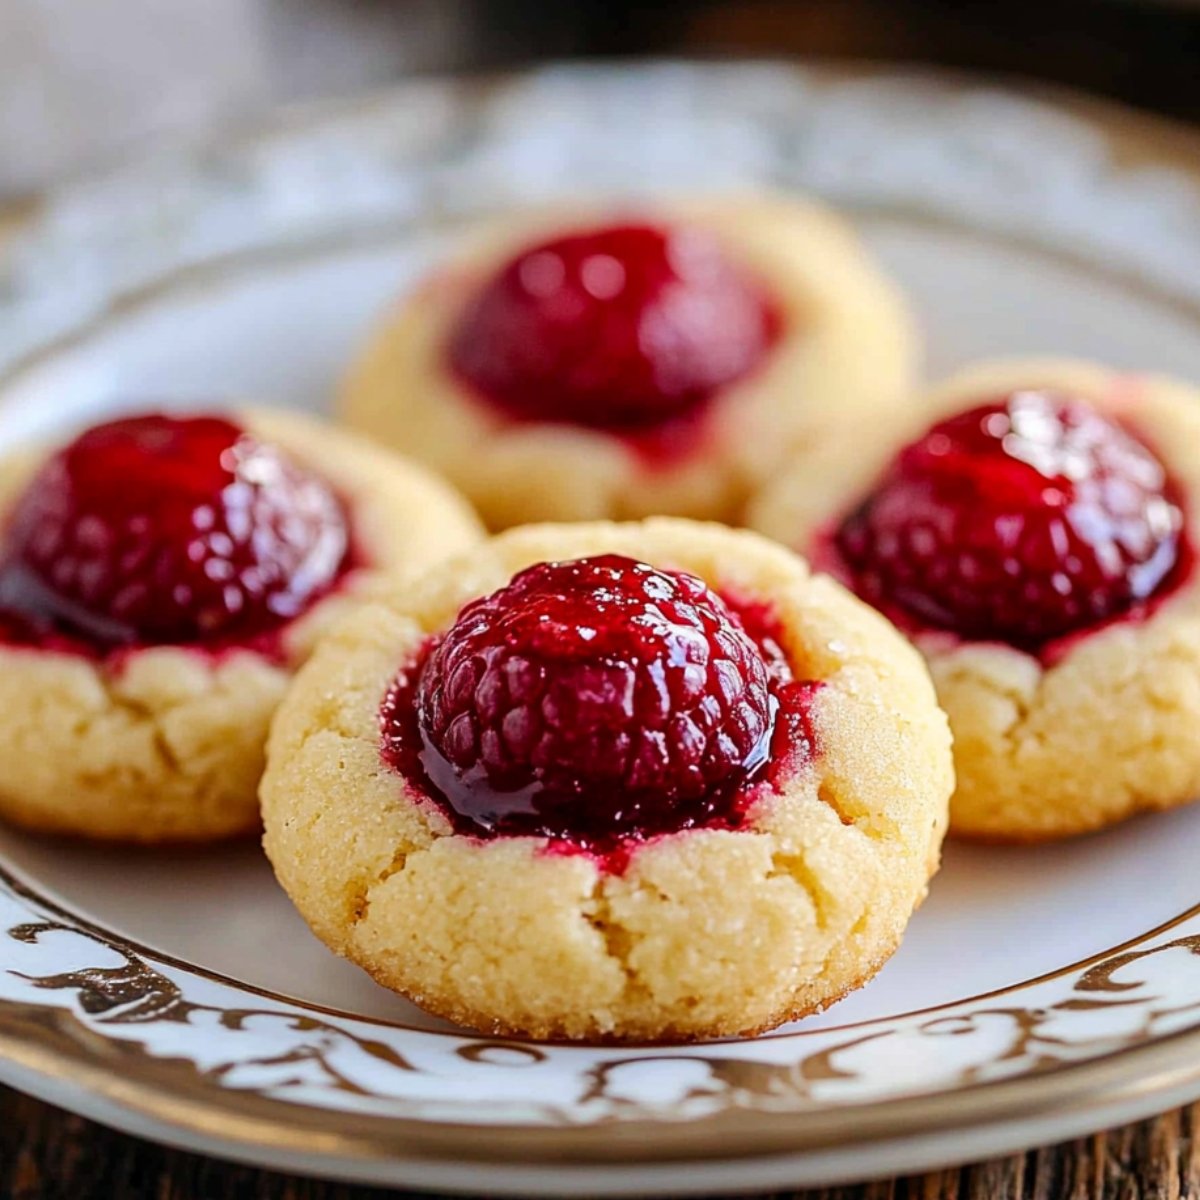
What are raspberry thumbprint cookies?
They're buttery cookies with little wells pressed in the center, filled with raspberry jam. My great-grandmother made them every Christmas. The cookie part tastes like shortbread - rich and tender - and the jam gives you that sweet-tart bite that makes them special.
Are thumbprint cookies just sugar cookies?
No, they're much richer than sugar cookies. These have more butter and I use egg yolks instead of whole eggs, which makes them more tender and dense. Sugar cookies are lighter and crispier. The extra fat in thumbprint cookies is what lets them hold the jam without getting soggy.
Time for Cookie Magic!
These Raspberry Thumbprint Cookies are part of our family now. Every December, Liam drags his step stool over to help me measure flour and press the little wells. He's gotten much better at it - no more cookies that look like tiny volcanoes because he pushed too hard. We always make extra because his friends have figured out exactly when the cookies come out of the oven. There's something wonderful about watching kids bite into a warm cookie and get that huge smile.
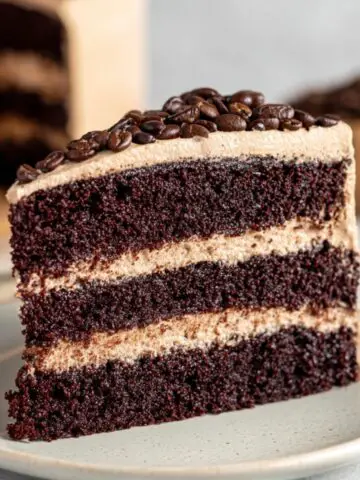
Want more recipes that create happy memories? Try our Best Lemon Meringue Pie Recipe that looks impressive but uses simple steps anyone can handle. The cream cheese filling and spiced cake make it perfect for birthdays or weekend baking. For something rich and comforting, our Easy Seafood Bisque Recipe has deep coffee flavor in silky custard that coffee lovers crave. Or make our Best Boston Cream Cupcakes Recipe - they're crispy, sweet, and melt in your mouth while being naturally gluten-free.
Share your Raspberry Thumbprint Cookies pictures! We love seeing your jam-filled cookies and hearing about the memories you're making in your kitchen.
Rate this Raspberry Thumbprint Cookies and join our baking community!
Related
Looking for other recipes like this? Try these:


Pairing
These are my favorite dishes to serve with Raspberry Thumbprint Cookies


Raspberry Thumbprint Cookies
Equipment
- 1 Stand mixer or hand mixer (For creaming butter and sugar)
- 2 Large mixing bowls (Separate dry and wet ingredients)
- 1 Measuring cups and spoons (Accurate measurements)
- 2 Cookie sheets (Line with parchment paper)
- 1 Parchment paper (Prevent sticking)
- 1 Wire cooling rack (Cool cookies)
Ingredients
Cookie Base:
- 1 cup European-style - softened
- ⅔ cup superfine granulated sugar
- 3 large egg yolks
- 1 teaspoon pure vanilla extract
- ½ teaspoon almond extract - optional
- 2 cups all-purpose flour
- ¼ teaspoon fine sea salt
Filling & Finish:
- ½ cup seedless raspberry jam
- ½ cup powdered sugar - for glaze, optional
- ¼ cup sliced almonds - optional, for rolling
Instructions
- Préchauffer le four à 350°F (175°C). Dans un grand bol ou un robot, battre le beurre et le sucre pendant 4 minutes jusqu'à obtenir une texture légère et crémeuse. Cette étape incorpore de l'air pour que les cookies soient tendres.
- Ajouter les jaunes d'œufs un par un et mélanger. Incorporer les extraits de vanille et d'amande juste jusqu'à homogénéité. Cela ajoute du goût et aide à lier la pâte.
- Ajouter progressivement la farine et le sel. Mélanger juste assez pour que la pâte se forme. Trop mélanger rendrait les cookies durs. La pâte doit être douce mais manipulable.
- Former des boules de pâte de la taille d'une noix. Presser légèrement le centre avec le pouce pour créer un creux. Vous pouvez rouler les boules dans des amandes tranchées si désiré.
- Cuire les cookies 10 minutes. Retirer et réappuyer légèrement les creux. Ajouter environ ½ cuillère à café de confiture dans chaque centre, puis cuire encore 8-12 minutes jusqu'à ce que les bords soient légèrement dorés.
- Laisser refroidir 5 minutes sur la plaque, puis transférer sur une grille. Les cookies se raffermissent légèrement en refroidissant et sont prêts à déguster.
Leave a Reply